If you’re looking for effective kitchen cleaning hacks from TikTok, you’ve got to try mixing vinegar and baking soda for tough stains—they fizz and lift grime. Lemon juice is great for deodorizing your microwave, while soaking greasy pans in dish soap and hot water makes scrubbing easy. Don’t forget to use dryer sheets for dusting surfaces, and hydrogen peroxide is excellent for disinfecting. Stick around to explore more innovative hacks that could simplify your cleaning routine!
What Are TikTok Kitchen Cleaning Hacks?

When you scroll through TikTok, you might stumble upon a treasure trove of kitchen cleaning hacks that promise to make your life easier.
Discover a wealth of kitchen cleaning hacks on TikTok that can simplify your cleaning routine and bring joy to the process.
These TikTok trends often showcase viral cleaning methods that seem almost too good to be true. From using baking soda and vinegar to tackle stubborn stains to repurposing household items for quick clean-ups, you’ll find plenty of creative ideas.
People share their before-and-after transformations, proving these hacks can save you time and effort. You may discover how to clean your microwave with just a bowl of water or how to keep your cutting boards spotless.
Embracing these viral cleaning techniques can make your kitchen shine while keeping the process fun and engaging. Incorporating natural ingredients like baking soda and vinegar can enhance your cleaning results and promote a healthier environment.
The Science Behind Popular Cleaning Hacks
Many of the kitchen cleaning hacks you see on TikTok rely on scientific principles that explain why they work so effectively.
Understanding cleaning chemistry helps you grasp how different substances interact to break down grime and stains. For example, acids like vinegar can dissolve mineral deposits, while bases like baking soda effectively tackle grease. An effectiveness analysis of these hacks shows that combining ingredients often enhances their cleaning power. When you mix vinegar and baking soda, for instance, you create a foaming reaction that lifts dirt away. Additionally, using vinegar’s acetic acid allows for effective germ-killing and odor removal in various cleaning applications.
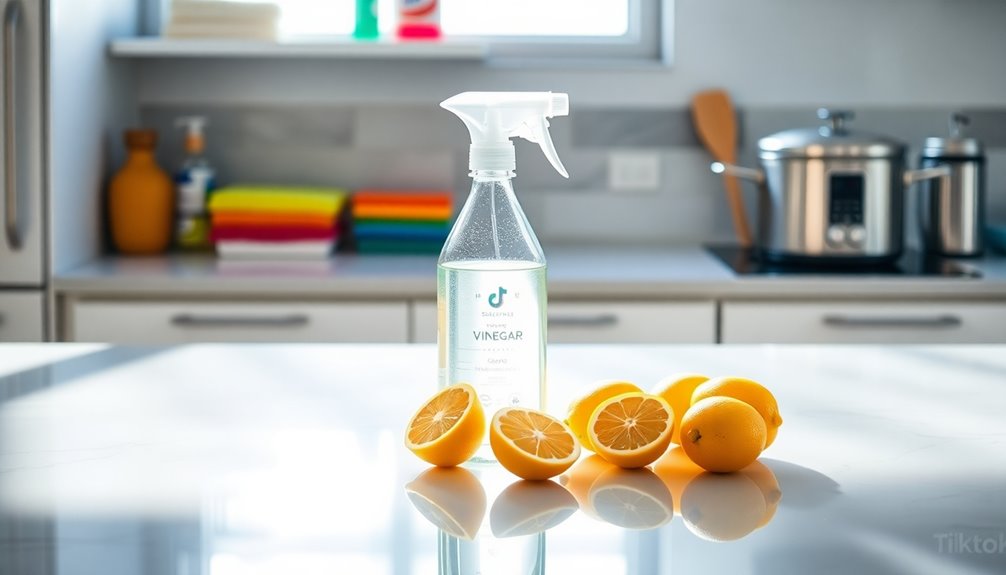
Hack #1: Vinegar and Baking Soda for Stubborn Stains
If you’ve got stubborn stains in your kitchen, mixing vinegar and baking soda might just be your best bet. This dynamic duo works wonders, thanks to vinegar’s benefits, like its natural acidity, which breaks down grime.
Start by pouring some vinegar directly onto the stain, letting it sit for a few minutes. Then, sprinkle baking soda over the vinegar. You’ll see it fizz and bubble—this reaction helps lift the stains.
After a few minutes, scrub the area gently with a sponge or cloth. Rinse with water, and you’ll be amazed at how easily the stains lift away.
This simple, eco-friendly hack not only cleans effectively but also saves you money on harsh chemicals. Additionally, using eco-friendly alternatives like baking soda and vinegar promotes a healthier kitchen environment. Give it a try!
Hack #2: Lemon Juice for Deodorizing the Microwave
If your microwave smells less than fresh, lemon juice is a simple and effective solution. Not only does it neutralize odors, but it also leaves a pleasant citrus scent behind. This method utilizes natural ingredients that promote a healthier indoor air quality. Let’s walk through the step-by-step process of using lemon juice, and explore some alternative deodorizing options too.
Benefits Of Lemon Juice
While cooking can leave your microwave smelling less than pleasant, lemon juice offers a simple and effective solution for deodorizing.
One of the standout lemon benefits is its natural ability to neutralize odors. The citric acid in lemon juice works as a powerful natural cleaner, breaking down grime while leaving a fresh scent behind. This makes it an ideal choice for your microwave, where food splatters can cause lingering smells.
Plus, using lemon juice is safe and environmentally friendly, unlike harsh chemical cleaners. Not only will your microwave smell better, but you’ll also enjoy the peace of mind that comes from using a natural solution.
Step-By-Step Process
To deodorize your microwave effectively, follow this simple step-by-step process using lemon juice.
First, grab a microwave-safe bowl and fill it with one cup of water. Then, slice a lemon in half and squeeze the juice into the water, tossing in the lemon halves for extra freshness.
Next, place the bowl in the microwave and set it on high for five minutes. The steam will loosen any grime while eliminating odors.
After the time’s up, let it sit for a couple of minutes before carefully removing the bowl. Wipe down the interior with a clean cloth or sponge from your cleaning supplies.
This not only keeps your microwave fresh but also contributes to overall kitchen organization by maintaining a clean space.
Alternative Deodorizing Solutions
When you’re looking for a natural way to freshen up your microwave, lemon juice is a fantastic alternative deodorizing solution. It’s not only effective but also one of the best eco-friendly alternatives.
Here’s how to use it:
- Mix: Combine 1 cup of water with 2 tablespoons of lemon juice in a microwave-safe bowl.
- Heat: Microwave the mixture on high for 5 minutes, allowing the steam to penetrate and loosen any food particles.
- Wipe: Carefully remove the bowl and wipe down the interior with a clean cloth.
This simple method utilizes natural deodorizing methods, leaving your microwave smelling fresh without harsh chemicals.
It’s a quick and easy way to maintain a clean kitchen environment!
Hack #3: Dish Soap and Hot Water for Greasy Pans
If you’ve ever faced the intimidating task of cleaning greasy pans, you know how frustrating it can be.
Fortunately, there’s an effective solution that uses just dish soap and hot water. Start by filling your sink or a large bowl with hot water, then add a generous squirt of dish soap.
Let the greasy pans soak for at least 15 minutes to loosen that stubborn greasy residue. After soaking, grab a non-abrasive sponge and start scrubbing; you’ll be amazed at how easily the grease lifts away.
Rinse thoroughly with warm water, and your pans will be clean and ready for the next meal. This simple hack not only saves time but also makes the cleaning process much more manageable. For even better results, consider using regular cleaning habits to prevent grease buildup in the first place.
Hack #4: Olive Oil for Shining Stainless Steel
After tackling those greasy pans, it’s time to shift your focus to your stainless steel appliances. Using olive oil is a simple yet effective way to bring that sparkle back. Here’s how you can do it:
- Clean: Start with a gentle cleaner to remove any dirt or grime.
- Apply: Pour a small amount of olive oil onto a soft cloth.
- Buff: Wipe the stainless steel in the direction of the grain, buffing as you go to achieve a shiny finish.
This natural hack not only enhances the shine but also helps repel fingerprints and smudges. Regular maintenance with gentle cleaning methods ensures your appliances stay looking their best.
You’ll be amazed at how easily olive oil transforms your stainless steel into a gleaming centerpiece of your kitchen!
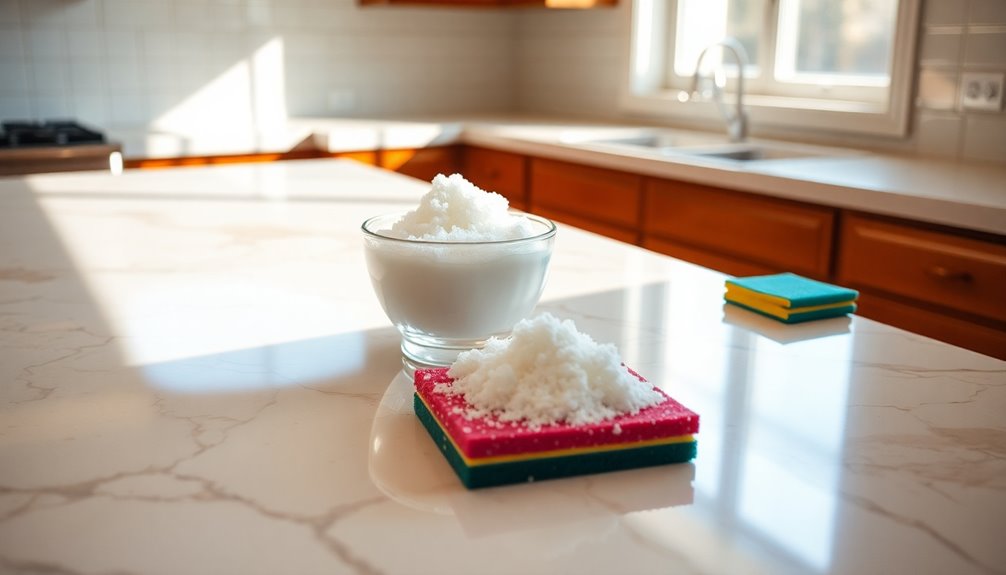
Hack #5: Coffee Grounds as a Natural Scrub
If you’re looking for an eco-friendly way to scrub your kitchen surfaces, coffee grounds are a game changer.
Not only do they effectively remove grime, but they also add a pleasant aroma to your cleaning routine. Additionally, using natural ingredients like coffee grounds aligns with the trend of incorporating eco-friendly products into your cleaning habits for a healthier home environment.
Let’s explore how to use coffee grounds effectively and the best surfaces to tackle with this natural scrub.
Benefits Of Coffee Grounds
While you might think of coffee grounds as just waste, they actually serve as an excellent natural scrub for your kitchen surfaces.
Using coffee grounds not only helps you clean but also offers several benefits:
- Natural Abrasive: The coarse texture of coffee grounds effectively scrubs away grime without scratching your surfaces.
- Deodorizing Power: Coffee grounds absorb odors, leaving your kitchen smelling fresh after cleaning.
- Eco-Friendly: Instead of tossing them out, you can utilize coffee grounds for cleaning, promoting kitchen composting and reducing waste.
How To Use Effectively
To effectively use coffee grounds as a natural scrub, start by collecting your used grounds and dampening them slightly. This helps the grounds stick better to your cleaning supplies.
Next, choose the surface you want to scrub, like countertops or pots. Sprinkle the damp coffee grounds directly onto the surface or mix them with a bit of dish soap for added cleaning power.
Use a sponge or cloth to scrub in circular motions, focusing on tough stains. Rinse thoroughly to remove any residue.
This method not only helps with cleaning but also saves you time and money on chemical cleaners. Plus, you’ll enjoy the fresh coffee scent while you manage your cleaning tasks!
Best Surfaces For Scrubbing
After you’ve mastered how to use coffee grounds effectively, it’s important to know which surfaces benefit most from this natural scrub.
Coffee grounds are one of the best scrubbing tools for tackling tough grime. Here are three effective surfaces you can scrub with them:
- Cast Iron Pans: The gritty texture helps remove stuck-on food without damaging the seasoning.
- Kitchen Counters: Use coffee grounds to scrub away stains and odors, especially on non-porous surfaces.
- Stainless Steel Appliances: They can polish and remove fingerprints, leaving your appliances looking shiny.
Hack #6: Cornstarch for Cleaning Windows
If you’re looking for a budget-friendly way to achieve streak-free windows, cornstarch might just be your new best friend. This kitchen staple isn’t just for cooking; it offers incredible cornstarch benefits for window cleaning too!
To start, mix two tablespoons of cornstarch with a quart of warm water. Use a spray bottle to apply the mixture to your windows, and then wipe with a microfiber cloth. You’ll notice how the cornstarch lifts dirt and grime effortlessly, leaving your glass sparkling clean.
Plus, since it’s all-natural, you won’t have to worry about harsh chemicals. Try this simple hack, and enjoy clearer views without breaking the bank! You’ll be amazed at the difference cornstarch can make in your window cleaning routine. Additionally, using natural cleaning alternatives ensures a safer environment while still achieving effective results.
Hack #7: Essential Oils for Freshening Up
While cleaning your kitchen, you might notice that the air can feel stale or musty. One great way to invigorate things up is by using essential oil blends.
These natural fragrances not only smell amazing but also provide a revitalizing atmosphere. Here’s how to use them effectively:
- Diffuser: Add a few drops of your favorite essential oil blend to a diffuser for an instant aroma boost.
- Spray: Mix water and essential oils in a spray bottle and mist around the kitchen for a quick rejuvenation.
- Cleaning Solution: Incorporate essential oils into your cleaning solutions for a fresh scent while you scrub. Antimicrobial properties of oils like tea tree and lemon make them particularly effective in killing germs while you clean.
With these tips, you’ll transform your kitchen into a fragrant haven, making cleaning feel more enjoyable!
Hack #8: Toothpaste for Polishing Silverware
Toothpaste isn’t just for your teeth; it’s also a fantastic hack for polishing silverware! When you need a quick and effective solution for silverware maintenance, grab some toothpaste.
Apply a small amount to a soft cloth or sponge, and gently rub it onto your tarnished silver. The mild abrasives in the toothpaste work wonders, lifting away tarnish without scratching the surface. Remember to avoid using abrasive materials that can damage the finish of your silverware, similar to the advice for cleaning stainless steel appliances.
After you’ve polished it up, rinse the silverware with warm water to remove any residue. Dry it thoroughly with a clean cloth to prevent water spots.
This simple toothpaste application not only restores shine but also makes your silverware look brand new. Next time you’re in a pinch, remember this easy trick for sparkling silver!
Hack #9: Ice Cubes in the Garbage Disposal
Using ice cubes in your garbage disposal can keep it clean and sharp.
Just toss a handful in while running cold water, and you’ll notice a difference in performance.
Plus, it’s an easy maintenance tip that helps prevent clogs and keeps your kitchen smelling fresh.
Benefits Of Ice Cubes
If you want a quick way to freshen up your garbage disposal, tossing in some ice cubes can work wonders. Not only do these little frozen gems help sharpen the blades, but they also provide several other ice cube benefits.
Here are three fantastic ice cube uses for your disposal:
- Odor Neutralization: The cold from the ice cubes helps eliminate lingering smells by breaking down food particles.
- Cleaning Power: As the ice grinds against the disposal’s walls, it helps dislodge stuck debris, making your disposal cleaner.
- Maintenance: Regularly using ice cubes can extend the life of your garbage disposal by keeping the blades in top condition.
How To Implement Hack
Ice cubes aren’t just for cooling drinks; they can be a game-changer for your garbage disposal too.
To implement this hack, simply toss a handful of ice cubes into the disposal and run cold water while you turn it on. The ice helps dislodge food particles stuck to the blades, improving efficiency and maintaining the disposal’s performance.
It’s an easy, eco-friendly alternative to chemical cleaners and contributes to better kitchen organization by keeping your disposal fresher. You can do this once a week to keep things running smoothly.
Plus, it’s a quick and simple way to enhance your kitchen’s cleanliness without spending much time or money. Give it a try for a cleaner, more efficient disposal!
Maintenance Tips For Disposal
A clean and efficient garbage disposal is essential for a well-maintained kitchen.
To guarantee your disposal’s longevity and performance, follow these simple disposal maintenance tips:
- Use Ice Cubes: Regularly toss a handful of ice cubes down the disposal. This helps sharpen the blades and dislodge any debris stuck inside.
- Citrus Peels: Feed your disposal with citrus peels once a week. They’ll freshen the smell and help break down grease.
- Clean Water Flush: After each use, run cold water for 30 seconds. This helps clear out any remaining food particles and maintains peak cleaning frequency.
Hack #10: Dryer Sheets for Dusting Surfaces
While many people overlook mundane tasks like dusting, using dryer sheets can transform this chore into a breeze.
These sheets aren’t just for your laundry; they’re fantastic for dust removal, too! Simply grab a used dryer sheet and wipe down surfaces like countertops, shelves, and appliance exteriors. The anti-static properties help trap dust, making surface maintenance easier and more efficient. Plus, you’ll enjoy a pleasant scent lingering in the air.
This hack not only saves you time but also reduces the need for multiple cleaning products.
Hack #11: Hydrogen Peroxide for Disinfecting
If you’re looking for a powerful yet budget-friendly disinfectant, hydrogen peroxide is your go-to solution. With its strong hydrogen properties, it effectively kills germs and bacteria.
Here are three easy disinfecting techniques you can try:
- Countertops: Spray a solution of 3% hydrogen peroxide on your kitchen surfaces and let it sit for 10 minutes before wiping it down.
- Cutting Boards: Pour hydrogen peroxide directly onto your cutting boards to eliminate harmful pathogens, then rinse with water.
- Sponges: Soak your sponges in a mix of equal parts hydrogen peroxide and water for about 30 minutes to disinfect them.
Incorporating these methods into your cleaning routine will guarantee a cleaner, safer kitchen space.
How to Evaluate the Effectiveness of Each Hack?
How can you tell if a cleaning hack really works? Start by establishing your effectiveness criteria. Look for tangible results, like reduced grime or a cleaner surface.
Test the hack in a controlled manner—try it on a small area first to see if it meets your expectations. Pay attention to the time and effort it takes; a good hack should save you both.
Next, consider your personal preferences. Some methods mightn’t suit your style or the products you like to use. For example, if you prefer eco-friendly solutions, a hack using harsh chemicals may not resonate with you.
Ultimately, evaluate each hack based on the results and how well it fits into your cleaning routine.
Final Thoughts on TikTok Cleaning Hacks
As you explore the world of TikTok cleaning hacks, you’ll discover a mix of innovative ideas and some that may fall short. The key is to find those that boost your cleaning efficiency while being practical for your routine.
Here are three essential takeaways:
- Adaptability: Not every hack will work for your specific needs, so be ready to tweak them.
- Research: Before diving into the latest TikTok trends, check reviews or comments from others who’ve tried the hacks.
- Trial and Error: Some hacks may not live up to the hype, so experiment to see what truly works for you.
Ultimately, blending these trendy hacks with your personal methods can lead to a cleaner, more organized kitchen.
Conclusion
Ultimately, TikTok cleaning hacks can be a game-changer for your kitchen routine. For instance, after trying the vinegar and baking soda method on a stubborn stovetop stain, you might find it spotless in minutes! Just remember to evaluate each hack’s effectiveness before fully committing. With a little experimentation, you can turn cleaning into a breeze, making your kitchen a fresher, more inviting space. So why not give these hacks a shot and see what works for you?