Moving in or out requires careful planning, so having cleaning checklists helps keep you organized. Start with gathering cleaning supplies, like all-purpose cleaner and microfiber cloths. Focus on deep cleaning kitchens and bathrooms, making sure surfaces and fixtures shine. Don’t forget to declutter and decide what to keep or donate. Finally, perform a walkthrough of both properties to guarantee everything’s ready for the next occupants. You’ll discover even more tips to make your move seamless as you continue.
Preparing for the Move: Essential Supplies Checklist
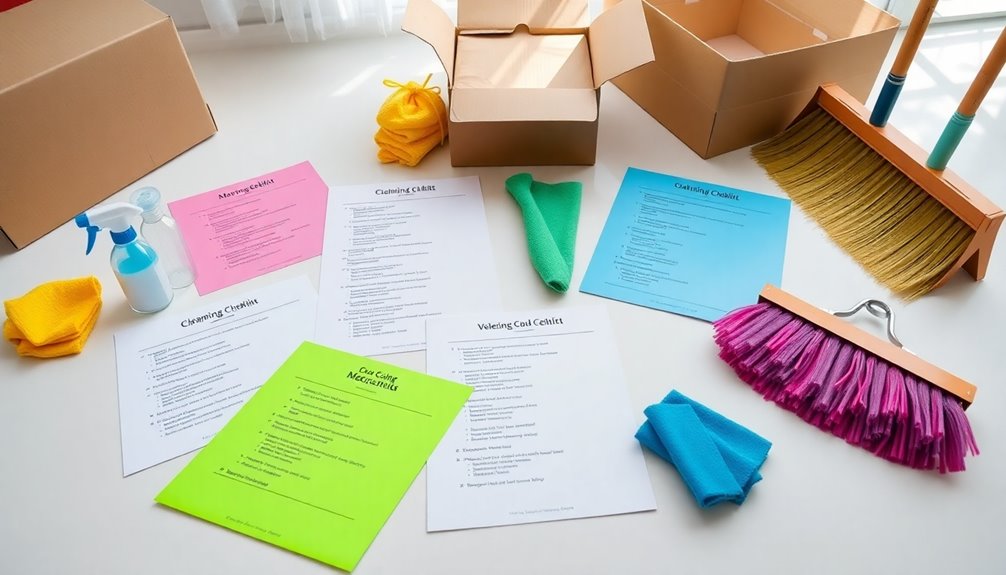
When you’re gearing up for a move, having the right supplies on hand can make all the difference. Start by gathering essential moving supplies, like sturdy boxes in various sizes.
Preparing for a move? Gather essential supplies like sturdy boxes to make the process smoother and less stressful.
You’ll need packing materials, such as bubble wrap or packing paper, to protect fragile items. Don’t forget packing tape—it’s vital for sealing boxes securely.
Labels are also a must; they help you identify what’s inside each box, making unpacking a breeze. Consider using furniture pads or blankets to safeguard larger items during the move.
Finally, keep a supply kit with scissors, markers, and tools handy for any last-minute needs. With these supplies ready, you’ll streamline your moving process and reduce stress, ensuring a smoother shift to your new home. Additionally, having a cleaning supplies checklist prepared in advance can help ensure that you are ready for the thorough cleaning required during the move.
Cleaning Your New Home Before Unpacking
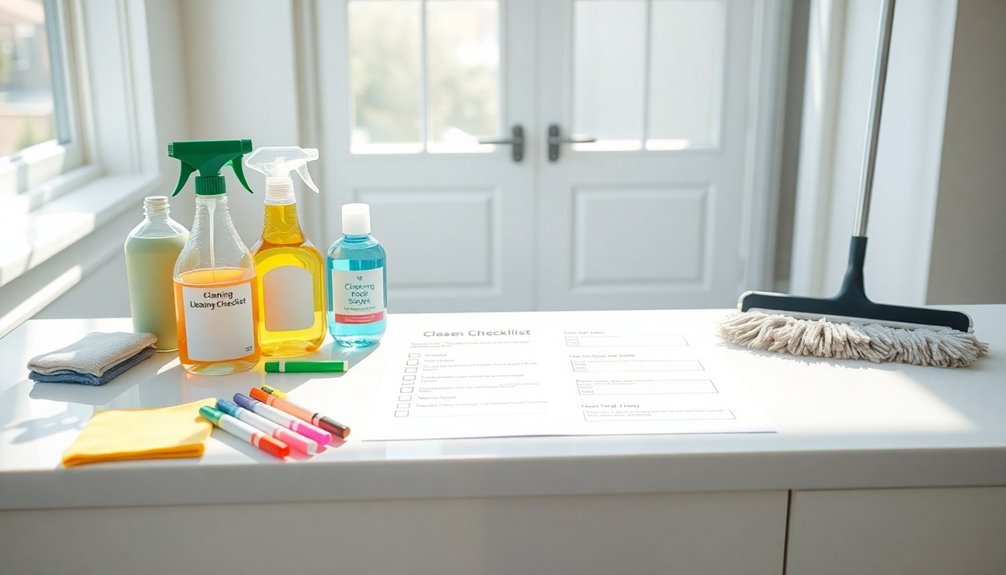
Before you start unpacking, it’s important to give your new home a thorough cleaning. This guarantees that your space is fresh and welcoming.
Begin by dusting all surfaces, including shelves and baseboards, to remove any lingering dirt. Use effective cleaning techniques like a microfiber cloth to trap dust without spreading it around. Don’t forget to clean windows and mirrors for a brighter atmosphere.
Next, vacuum or mop the floors to eliminate any debris from the previous occupants. Pay special attention to corners and under furniture. Efficient vacuuming techniques can help ensure that you capture dirt from all angles for a thorough clean.
Finally, wipe down light switches and door handles, as these often go unnoticed. By cleaning your new home before unpacking, you’ll create a healthier environment for you and your belongings.
Deep Cleaning the Kitchen: What to Focus On
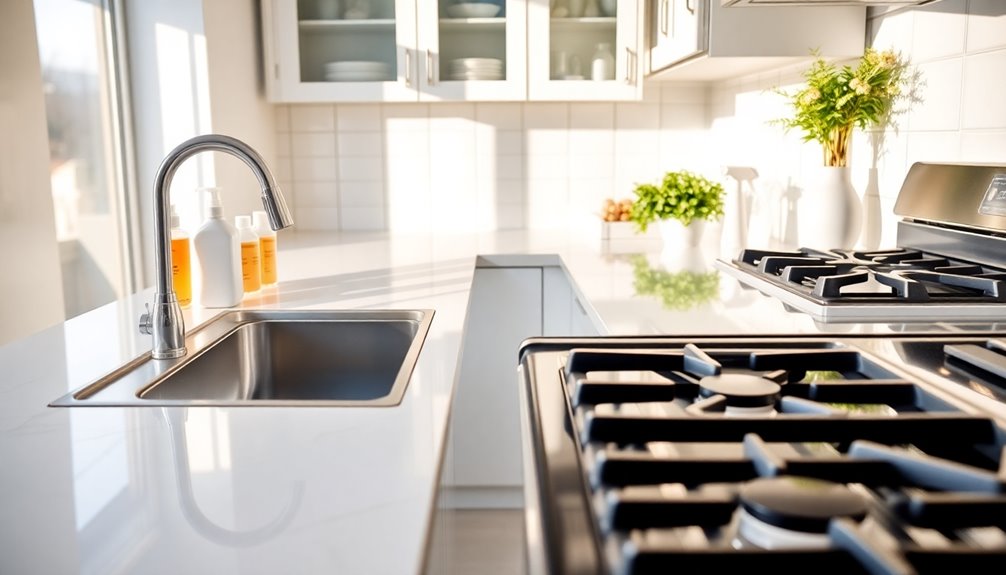
When you tackle deep cleaning the kitchen, focus on the key areas that often get overlooked.
Start with scrubbing your appliances and fixtures, then move on to wiping down cabinets and countertops. Remember to use a pH neutral cleaner, such as mild dish soap, to ensure your cabinets remain undamaged during the cleaning process. Finally, don’t forget to clean the floors and backsplash for a truly fresh start.
Appliances and Fixtures Cleaning
To guarantee your kitchen sparkles and feels fresh, focusing on appliances and fixtures is essential during your deep cleaning process.
Start by unplugging and cleaning your appliances, like the refrigerator, oven, and microwave. Use a gentle cleaner to wipe down surfaces and don’t forget to remove crumbs and stains from inside. For the refrigerator, check expiration dates and discard old items.
Next, pay attention to fixtures. Follow fixture care guidelines by cleaning faucets and sinks with a mixture of vinegar and baking soda to remove stains and buildup.
Wipe down light switches and outlets to make sure they’re grime-free. Finally, keep appliance maintenance tips in mind, like regularly checking for leaks or wear to extend the lifespan of your kitchen essentials.
Cabinets and Countertops Wipe
After tackling your appliances and fixtures, it’s time to focus on cabinets and countertops.
Begin by emptying your cabinets, allowing you to wipe down all surfaces thoroughly. Use a mild cleaner to scrub away any grime or stains, ensuring you reach every nook and cranny. As you clean, consider cabinet organization—grouping like items together can save you time later.
Next, move to your countertops. Clear them off and wipe down the surfaces with a suitable cleaner for the material. Pay attention to any spills or stains that might’ve been overlooked.
Regular countertop maintenance is essential in keeping your kitchen looking pristine. Finish by putting everything back neatly, and you’ll have a clean and organized kitchen space ready for use!
Floors and Backsplash Scrubbing
Scrub those floors and backsplash to complete your kitchen’s deep clean!
Pay attention to different floor types and backsplash materials to guarantee a thorough job. Here’s what to focus on:
- Sweep and Vacuum: Remove loose dirt and debris from all floor types, including tile, hardwood, or laminate.
- Mop: Use an appropriate cleaner for your floor type, making sure to rinse the mop frequently.
- Wipe Down Backsplash: For materials like ceramic or glass, use a gentle cleanser to tackle grease and stains.
- Seal Grout: If your backsplash has grout lines, consider sealing them to prevent future buildup.
Bathroom Cleaning Essentials for a Fresh Start
A clean bathroom sets the tone for a fresh start in your new home, making it essential to tackle the space before unpacking.
Begin by clearing out any items left behind and organizing your essentials. Use eco-friendly cleaners to scrub surfaces, focusing on the sink, toilet, shower, and mirrors. These cleaners aren’t only effective but also safe for your family and the environment. Additionally, incorporate regular maintenance to prevent future build-up of bacteria and mildew in your shower tiles.
Don’t forget to wipe down fixtures and replace old towels with fresh ones. Once everything’s clean, arrange your toiletries neatly in cabinets or baskets to enhance bathroom organization.
This way, you’ll create a calming atmosphere that’s ready for use. A spotless bathroom will welcome you and your guests with open arms in your new place.
Living Room and Common Areas: Dust and Shine
With the bathroom sparkling and ready for use, it’s time to shift focus to the living room and common areas.
Once the bathroom is pristine, redirect your attention to refreshing the living room and communal spaces.
Start by implementing decluttering strategies to create a more inviting space. A well-organized room enhances comfort and functionality.
- Rearrange your furniture for better flow and accessibility.
- Dust surfaces, including shelves, electronics, and decorative items.
- Wipe down windows and mirrors to let in more light.
- Vacuum or sweep the floors, taking care to get under furniture.
Incorporate a regular decluttering schedule to maintain an organized space and prevent clutter from accumulating over time.
Bedrooms: Creating a Clean Sleep Space
While a clean bedroom is essential for a restful night’s sleep, it can also serve as a peaceful retreat. Start by decluttering your space to improve bedroom organization. Remove items that don’t belong, and find a designated spot for everything. Dust surfaces and vacuum the floors to enhance your environment.
Next, focus on sleep hygiene. Wash your bedding regularly and keep pillows fresh to eliminate allergens. Consider investing in blackout curtains to block out light and promote better sleep. Experts recommend changing bed linens every 1-2 weeks to maintain hygiene and comfort.
A well-organized bedroom with minimal distractions can greatly enhance your relaxation. Finally, create a calming atmosphere by incorporating soothing scents, like lavender. With these steps, your bedroom will be a sanctuary for rejuvenation and rest.
Laundry Room and Utility Areas: Don’t Overlook These Spaces
Although the laundry room and utility areas are often overlooked during the moving process, neglecting these spaces can lead to clutter and disorganization in your new home.
Neglecting laundry and utility areas during your move can result in chaos and disarray in your new home.
To guarantee effective laundry organization and utility maintenance, tackle these key tasks:
- Clean the washer and dryer: Wipe down surfaces and run a cleaning cycle, if possible.
- Organize laundry supplies: Sort detergents, softeners, and dryer sheets, placing them in labeled bins.
- Check for leaks: Inspect hoses and connections for any signs of wear or leaks.
- Declutter utility areas: Remove outdated items and guarantee tools are accessible and organized.
Additionally, regularly cleaning your washer is essential to prevent buildup of detergent and ensure fresh laundry free from bacteria and allergens.
Outdoor Spaces: Cleaning Patios and Balconies
Cleaning your outdoor spaces, like patios and balconies, is just as important as the inside of your home. You’ll need some essential supplies and a clear step-by-step process to make the task easier. Plus, I’ll share some tips to keep these areas looking great long after you’ve moved in. Incorporating eco-friendly alternatives can not only reduce waste but also enhance your outdoor cleaning routine.
Essential Cleaning Supplies Needed
When tackling the task of cleaning patios and balconies, having the right supplies makes all the difference. You’ll want to guarantee you have effective cleaning products, including some eco-friendly options.
Here’s a list of essential supplies to gather before you start:
- Broom and Dustpan – Perfect for sweeping debris and dirt.
- Mop or Pressure Washer – Great for deep cleaning surfaces.
- All-Purpose Cleaner – Look for eco-friendly formulations to protect the environment.
- Scrub Brush – Ideal for tough stains and grime removal.
With these supplies on hand, you’ll be well-equipped to make your outdoor spaces shine, setting the stage for a fresh start in your new home.
Step-By-Step Cleaning Process
With your cleaning supplies gathered, you’re ready to tackle the patios and balconies.
Start by clearing the area of furniture and any debris. Use a broom to sweep away dirt and leaves, employing effective cleaning strategies to make the job easier.
Next, scrub the surfaces with a mixture of warm water and detergent, focusing on stains or grime. Rinse thoroughly with a hose to guarantee everything’s clean.
For outdoor furniture, wipe down surfaces with a suitable cleaner, taking care to follow any specific organization tips for different materials.
Finally, replace the furniture neatly, ensuring it’s positioned for maximum enjoyment.
Tips for Long-Lasting Cleanliness
To keep your patios and balconies looking their best, regular maintenance is key.
By establishing long-lasting habits, you can enjoy clean outdoor spaces year-round.
Here are four essential maintenance routines:
- Sweep regularly to remove dirt, leaves, and debris.
- Wash surfaces with a pressure washer or hose every few months to prevent grime buildup.
- Inspect furniture for rust or damage; clean or replace as needed.
- Treat plants and greenery to keep them healthy, trimming as necessary.
Final Touches for a Spotless New Home
As you settle into your new home, making those final touches can transform it from just a space into a welcoming sanctuary.
Start by adding fresh linens and fluffy towels in the bathrooms, giving them a cozy, inviting feel. Place a few potted plants or fresh flowers in key areas to breathe life into your space.
Don’t forget to personalize your walls with artwork or family photos that reflect your style. A thorough dusting and polishing of surfaces will guarantee a spotless home, making everything shine. Incorporate a cleaning regimen that includes DIY vinegar solution for maintaining shiny bathroom fixtures.
Finally, consider incorporating soft lighting with lamps or candles for a warm ambiance. These simple additions will create a sense of comfort and make your new house truly feel like home.
Cleaning Your Old Home: A Step-by-Step Guide
Before you hand over the keys to your old home, you’ll need the right cleaning supplies to make the space shine.
Follow this step-by-step guide to guarantee every corner is spotless and ready for the new occupants. Incorporating essential cleaning tools can significantly enhance your efficiency and effectiveness during the cleaning process.
Let’s get started on making your old place look its best!
Essential Cleaning Supplies Needed
Moving out can feel overwhelming, but having the right cleaning supplies makes the process much smoother. To guarantee you’re fully equipped, gather these essential cleaning tools that are must-have supplies for your move:
- All-purpose cleaner – Ideal for surfaces throughout your home.
- Microfiber cloths – Perfect for dusting and wiping down surfaces without scratching.
- Scrub brushes – Great for tackling tough stains in bathrooms and kitchens.
- Trash bags – Necessary for disposing of unwanted items and debris.
With these supplies in hand, you’ll be ready to clean efficiently and effectively, making your old home look its best for the next occupants.
A well-stocked cleaning kit can save you time and stress during this change.
Step-by-Step Cleaning Process
Cleaning your old home doesn’t have to be an intimidating task; breaking it down into manageable steps can make it much easier.
Start by gathering your cleaning supplies and creating a checklist. Focus on one room at a time to maintain organization. Use cleaning hacks, like using vinegar for windows and baking soda for tough stains, to streamline your efforts.
Dust surfaces before vacuuming or mopping to avoid double work. Don’t forget to clean behind appliances and inside cabinets.
Once you finish a room, check it off your list—this will motivate you to keep going. Finally, do a thorough final walk-through to verify you haven’t missed anything.
Following these organization strategies will leave your old home spotless and ready for its next occupants.
Decluttering: What to Keep, Donate, or Discard
How do you decide what to keep, donate, or discard when decluttering? Embracing a minimalist mindset can help you simplify this process.
Start by evaluating each item and asking yourself if it serves a purpose or brings you joy. Here’s a quick guide:
- Keep: Essential items you use regularly.
- Donate: Gently used clothes or household items that others might need.
- Discard: Broken or damaged items that can’t be repaired.
- Sentimental Items: Choose a few meaningful pieces to keep; let go of the rest.
Special Considerations for Different Types of Flooring
When you’re preparing to move out, special care is needed for different types of flooring to guarantee they remain in good condition.
For hardwood care, start by sweeping or vacuuming to remove dust and debris. Use a damp mop with a suitable cleaner, but avoid excess water that can warp the wood. Be sure to address any scratches with appropriate wood polish or filler.
For carpet maintenance, vacuum thoroughly to lift dirt and pet hair. Spot clean any stains with a gentle solution, and consider renting a carpet cleaner for a deep clean.
Don’t forget to check for any damage, like frayed edges, and fix those before you leave. Keeping these tips in mind will help you leave the flooring in top shape.
Leaving the Bathroom in Pristine Condition
As you prepare to leave your home, guaranteeing the bathroom is spotless can make a significant difference for the next occupants.
Follow these bathroom organization tips and eco-friendly cleaning practices to leave a great impression:
- Declutter: Remove personal items, toiletries, and any trash.
- Clean Surfaces: Wipe down all surfaces, including counters, sinks, and mirrors, using eco-friendly cleaning solutions.
- Scrub the Toilet: Don’t forget to clean inside and around the toilet bowl thoroughly.
- Mop the Floor: Finish up by mopping the floor with a biodegradable cleaner to guarantee it’s fresh and inviting.
Final Walkthrough: Ensuring Everything Is Ready for the Next Occupants?
As you prepare for the final walkthrough, make certain to inspect all rooms thoroughly to catch any last-minute issues.
Check appliances and fixtures to verify everything’s in working order for the next occupants.
Finally, go over your cleaning tasks list to confirm nothing’s been overlooked.
Inspect All Rooms Thoroughly
A thorough inspection of all rooms during your final walkthrough is essential for guaranteeing everything is ready for the next occupants.
Use effective thorough inspection techniques to conduct a room by room assessment. Here’s a quick checklist to guide you:
- Walls and Ceilings: Check for stains, holes, or damage.
- Floors: Look for scratches, dirt, or any missing tiles.
- Windows and Doors: Ensure they open smoothly and have no broken hardware.
- Lighting: Verify that all fixtures work and bulbs are replaced if needed.
Check Appliances and Fixtures
Checking appliances and fixtures is crucial during your final walkthrough to guarantee everything’s in working order for the next occupants.
Start with a thorough appliance maintenance check. Verify that the refrigerator, oven, dishwasher, and washer/dryer function correctly. Test each one to confirm they operate without issues.
Next, conduct a fixture inspection. Check all light switches, faucets, and outlets for proper functionality. Look for any signs of wear or damage that might need addressing.
It’s also a good idea to replace burnt-out light bulbs or leaky faucets before you leave. By taking these steps, you’re facilitating a smooth changeover for the next residents and showcasing the care you’ve put into maintaining the property.
Your attention to detail will make a lasting impression.
Finalize Cleaning Tasks List
Before you hand over the keys, it’s essential to finalize your cleaning tasks list to make certain everything’s ready for the next occupants.
A well-structured cleaning timeline will help you stay organized and guarantee no detail gets overlooked.
Here’s a quick checklist organization for your final walkthrough:
- Sweep and mop all floors – Remove dirt and dust from every corner.
- Wipe down surfaces – Clean countertops, cabinets, and shelves thoroughly.
- Check bathrooms – Sanitize toilets, sinks, and tubs while replacing any used toiletries.
- Inspect windows and doors – Ensure they’re clean and functioning properly.
Conclusion
Moving can be a whirlwind, but with these cleaning checklists, you can hit the ground running. By tackling each area methodically, you’ll guarantee your new home sparkles and your old place is left in tip-top shape. Remember, a little elbow grease goes a long way, and you’ll be able to settle in with peace of mind. So roll up your sleeves and get to work—before you know it, you’ll be ready to make new memories in your fresh space!