You should always dust first before vacuuming. Dusting clears surfaces and lets dust settle to the floor, where vacuuming can easily pick it up. If you vacuum first, you risk scattering dust back into the air and onto clean surfaces. Take a systematic approach by dusting high to low and focusing on hidden areas. Once you’re done dusting, let things settle for about 15 minutes before vacuuming for the best results. Discover even more tips for cleaning efficiently.
The Importance of Dusting First
When you dust first, you set the stage for more efficient cleaning. Dusting first effectively removes loose dust and debris from surfaces, which reduces your overall workload and time needed for vacuuming.
By tackling dust particles before vacuuming, you minimize airborne dust, helping to reduce allergens and pollutants in your indoor air. This not only contributes to a healthier environment but also improves air quality considerably. Incorporating allergen-proof covers for bedding during your cleaning routine can further enhance allergy management in your bedroom.
Following a proper cleaning sequence, start from higher surfaces like ceiling fans and light fixtures, allowing dislodged dust to settle before you vacuum. Dusting first prevents the vacuum from blowing dust back onto the floor, ensuring it can effectively capture all the dirt and dust, keeping your space clean and allergen-free.
Tools and Steps for Dusting
To tackle dusting effectively, you’ll need a few essential tools like microfiber cloths and static dusters that capture dust without spreading it. Start from the highest surfaces and work your way down to keep your efforts efficient. With the right steps and techniques, you can guarantee a thorough clean while protecting your furniture. Incorporating gravity-based cleaning techniques ensures that dust does not settle on already cleaned areas, maximizing your cleaning efficiency.
Essential Dusting Tools
An effective dusting routine relies on the right tools to capture and remove dust efficiently. Microfiber cloths are essential, as they trap dust without scattering it. Feather dusters and static dusters also help reach high areas like ceiling fans and light fixtures.
Use dusting sprays for an effective clean, especially on hard surfaces. Remember to dust regularly, focusing on hidden spots behind furniture and along baseboards to reduce allergens.
For delicate surfaces, choose soft cloths or specialized dusting tools to prevent damage. After dusting, collect debris in a trash bag to maintain your cleaning routine.
Regular heavy dusting every few months is vital for improving air quality and preventing dust buildup.
Step-by-Step Dusting Guide
Regularly dusting your home is essential for maintaining a clean and healthy environment. Start your cleaning process by dusting the highest surfaces, like ceilings and light fixtures, allowing dust to fall onto areas that you’ll clean later.
Use microfiber cloths or feather dusters, along with dusting sprays, to effectively capture dust without spreading it around. Pay special attention to hidden areas, such as behind furniture and on top of cabinets, where dirt and debris accumulate.
After dusting, gather the collected dust into a trash bag to prevent it from resettling. Allow a 15-minute wait before vacuuming, so any airborne particles settle, ensuring a more effective cleaning session.
Don’t forget to use air purifiers to enhance air quality!
Tips for Effective Dusting
Effective dusting starts with the right tools and techniques to guarantee your efforts yield the best results. Use microfiber cloths, feather dusters, and dusting sprays to effectively capture dust particles without spreading them.
Begin with the highest surfaces, like ceiling fans and light fixtures, working your way down to prevent dust from settling on already cleaned areas. Employ gentle motions to avoid scattering dust back into the air, paying special attention to hidden spots behind furniture and along baseboards.
After dusting, gather the debris into a trash bag to maintain a clean environment. Regular heavy dusting every few months helps reduce allergens and improves air quality, making your home a healthier place.
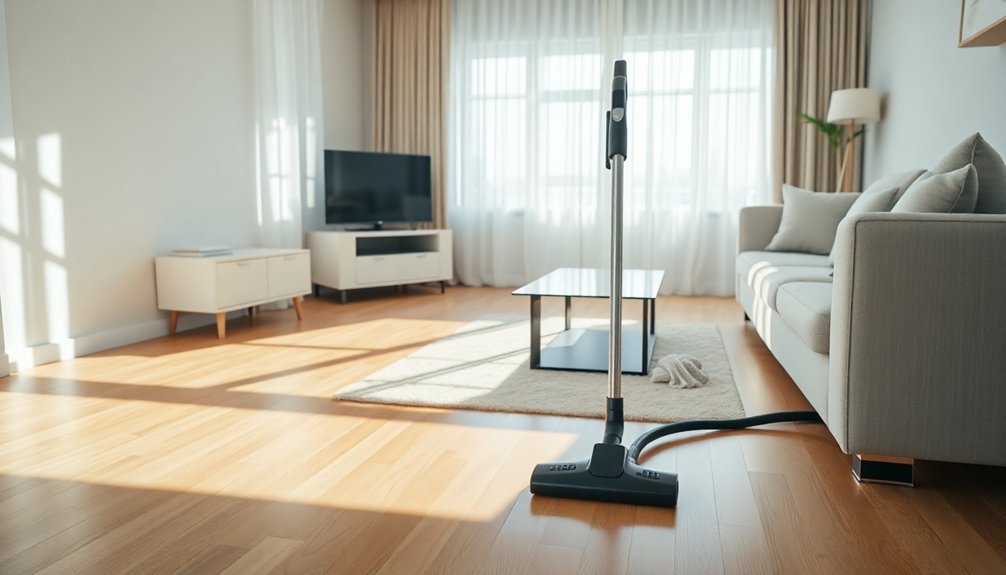
Tools and Steps for Vacuuming
When it comes to vacuuming, having the right tools and a clear strategy can make all the difference. Start by verifying your vacuum cleaner is ready: check the filter and dust bag for cleanliness to maximize suction power.
If you’ve done dusting before vacuuming, you’re already ahead. Use a soft upholstery brush for delicate surfaces like ceilings and walls.
Vacuum in a systematic grid pattern, beginning at the room’s perimeter and moving toward the center—this helps you cover all areas thoroughly. Pay special attention to high-traffic areas and corners, where dirt accumulates most.
Finally, regularly maintain the vacuum by emptying the dust canister or replacing the bag to guarantee peak performance and prolong its lifespan. Consistent regular maintenance ensures your vacuum operates efficiently and lasts longer.
Cleaning Sequence and Tips
To achieve a truly clean space, it’s essential to follow a logical sequence during your cleaning routine.
Start by removing clutter from the room, as this allows for more effective dusting and vacuuming without obstacles.
Use a microfiber cloth to dust from the top down—begin with ceiling fans and light fixtures, then move to furniture and baseboards. This method prevents dust from settling on already cleaned areas.
After dusting, wait at least 15 minutes to let airborne particles settle before you begin vacuuming.
When vacuuming, work in a grid pattern, covering all corners and under furniture. Adjust your vacuum settings according to your flooring type for an efficient clean.
Consider running an air purifier to help reduce dust mites afterward. Implementing time-saving strategies can further enhance your cleaning routine and ensure efficiency.
Tips to Reduce Dust and Maintain Cleanliness
To keep your home dust-free, start by closing windows regularly to block outdoor allergens. Don’t forget to wash your bedding weekly in hot water to cut down on dust mites. Additionally, using air purifiers can help trap airborne particles and maintain a cleaner atmosphere. Implementing a weekly dusting routine can further improve indoor air quality and reduce allergens in your home.
Close Windows Regularly
Keeping your windows closed regularly can greatly reduce the dust and allergens that invade your home. This simple action minimizes indoor dust accumulation, especially during high pollen seasons, which is a boon for allergy sufferers.
Sealing windows properly not only helps reduce dust but also enhances energy efficiency by maintaining consistent indoor temperatures. If you do open your windows for fresh air, make sure to use window screens to keep larger particles out. Remember to clean those screens often to prevent dust buildup.
Additionally, regularly check and maintain the seals around your windows to close any gaps where dust and dirt might sneak in. By following these tips, you’ll create a cleaner, healthier indoor environment.
Wash Bedding Weekly
Washing your bedding weekly is essential for maintaining a clean and healthy sleeping environment, especially since dust mites thrive in warm, humid conditions.
These pesky critters can double in population every 20 days, making regular washing vital to reduce allergens in your home. Use hot water to effectively eliminate dust mites, and consider incorporating hypoallergenic pillow covers and mattress protectors to further decrease exposure.
Regular laundering also removes skin cells, hair, and debris that contribute to dust accumulation, enhancing air quality in your bedroom.
To trap airborne particles released during washing, consider using a high-efficiency particulate air (HEPA) filter in your laundry area, minimizing dust and ensuring you breathe easier at night.
Use Air Purifiers
After ensuring your bedding is fresh and free from allergens, consider incorporating air purifiers into your home for added protection against dust and pollutants.
Air purifiers equipped with HEPA filters can trap up to 99.97% of airborne particles, greatly reducing dust and allergens. Regular use of these devices enhances indoor air quality, especially in homes with pets or allergy sufferers.
To maximize effectiveness, place air purifiers in high-traffic areas and rooms prone to dust accumulation. Don’t forget to maintain air purifiers by replacing filters every 6 to 12 months for peak performance.
Some models even feature air quality sensors that adapt purification levels, offering a customizable cleaning experience, making it easier for you to maintain a dust-free environment.
Why You Should Vacuum First
Since vacuuming first captures larger debris and allergens that could become airborne during dusting, it sets the stage for a cleaner home environment.
By choosing to vacuum first, you’ll streamline your cleaning process and enhance the effectiveness of your dusting. This approach is especially important if you have pets, as it reduces pet dander and hair before you tackle surfaces.
Consider these benefits:
- Cleaner air free from allergens
- Less dust settling back on cleaned areas
- More efficient dusting with fewer clingy particles
- A noticeable difference in your home’s freshness
Taking the time to vacuum first guarantees your space not only looks better but feels healthier too. Additionally, regular cleaning, such as vacuuming at least twice a week, helps maintain indoor air quality and hygiene.
How To Make Cleaning More Manageable

Vacuuming lays the groundwork for a cleaner home, but making cleaning manageable is just as important. Start by dusting surfaces to capture a combination of tiny particles before vacuuming. Consider vacuuming twice a week to keep dust at bay.
Organize cleaning tasks by room, focusing on one area at a time to avoid feeling overwhelmed. Break down larger cleaning projects into smaller tasks, allocating specific times for each to create a structured schedule that fits your lifestyle. Utilizing daily cleaning routines can help streamline your efforts and keep your home consistently tidy.
Utilize cleaning caddies to keep your supplies organized and easily accessible, streamlining the process. With these strategies, you’ll transform cleaning from an intimidating chore into a more manageable and efficient routine.
Why Adding An Extra Step Will Save You Time
While it might seem like an extra step, starting with a quick vacuum can actually save you time in the long run. By incorporating this initial vacuuming phase, you enhance your cleaning efficiency and tackle dust and allergens effectively.
Here’s why this approach matters:
- Captures larger particles that might scatter during dusting.
- Reduces the risk of allergens becoming airborne, promoting a healthier environment.
- Targets problem areas like corners and high-traffic zones, ensuring thorough cleaning.
- Makes subsequent dusting and mopping more focused and effective.
Using a handheld vacuum for this step streamlines your overall routine, allowing you to clean smarter, not harder. Additionally, maintaining a designated spot for your vacuum ensures it’s always ready for use, further enhancing your cleaning efficiency.
Related Articles
Cleaning your home effectively often raises questions about the best methods to use, including whether to dust or vacuum first.
You might find it helpful to explore related articles that investigate effective cleaning order and the impact of each method on air quality. For instance, some tips recommend dusting every week using a microfiber cloth to clean, as it traps allergens and improves your home’s air quality.
Other articles discuss vacuuming in high-traffic areas to quickly remove larger debris before dusting. Understanding the recommended frequency of vacuuming twice a week alongside weekly dusting can enhance your cleaning routine. Implementing a structured cleaning schedule can also help you stay organized and efficient in your cleaning efforts.
Vacuuming high-traffic areas regularly helps eliminate larger debris, setting the stage for effective dusting.
Tailoring your approach based on room usage can further elevate your efficiency and guarantee a healthier living environment.
Conclusion
In the battle against dust, you’ve got the upper hand by dusting first. This simple step guarantees you’re not just moving dirt around, but truly cleaning your space. By following the right sequence—dusting before vacuuming—you’ll create a cleaner, more invigorating home that feels like a breath of fresh vitality. So, grab your dusting tools and tackle that grime! Remember, a little effort now saves you time later, making your cleaning routine a breeze.