To clean your fridge properly, start by emptying it completely. Check expiration dates and group similar items. Next, remove shelves and drawers for a thorough wash. Wipe down all interior surfaces using a mix of vinegar and water. Dispose of any expired food, then sanitize the interior with natural cleaners. Finally, refill your fridge efficiently, organizing items by category. For a detailed checklist to guide you through each step, stick around for more tips!
Why Regularly Cleaning Your Fridge Matters
While it might seem like a chore, regularly cleaning your fridge is crucial for maintaining a healthy kitchen environment.
By prioritizing fridge hygiene, you’re not just tidying up; you’re also preventing the growth of harmful bacteria that can contaminate your food. A clean fridge helps you keep track of expiration dates, reducing food waste and ensuring you consume fresh ingredients. This practice greatly enhances your health benefits, as you’re more likely to choose nutritious foods when they’re organized and easily accessible. Plus, a well-maintained fridge operates more efficiently, saving you energy and money in the long run. Additionally, regular inspection and discarding of expired food can significantly reduce odor sources and enhance freshness.
What Do You Need to Prepare Before Starting?
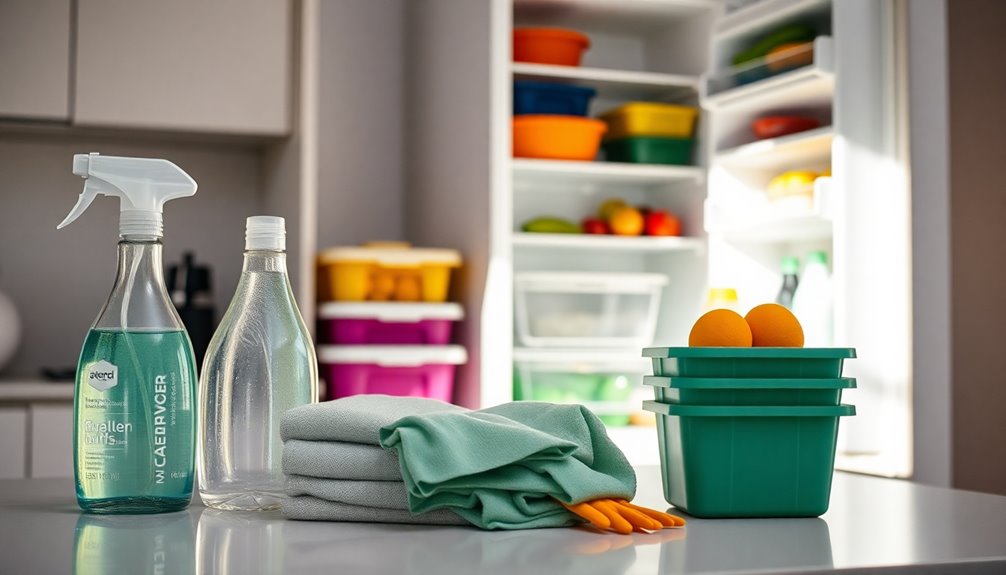
Before diving into the cleaning process, it’s essential to gather a few supplies to make the task easier and more efficient. Start with your essential cleaning supplies, like a multi-surface cleaner, sponges, microfiber cloths, and a bucket for rinsing.
You might also want to have a baking soda solution handy for tough stains and odors.
Next, consider some organization tips to streamline the process. Grab storage bins or containers to group similar items together, making it easier to sort through everything.
Having a trash bag on hand is also a smart move for expired or unwanted food. Additionally, regular maintenance of your fridge can help prevent unpleasant odors and build-up. By preparing these items, you’ll set yourself up for a successful and hassle-free fridge cleaning experience.
Step 1: Empty Your Fridge Completely
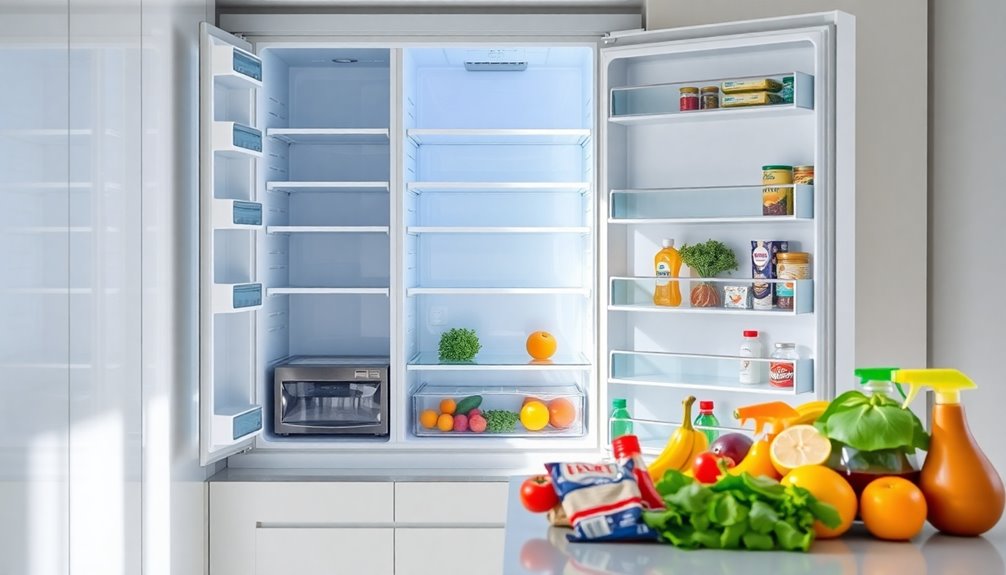
To start cleaning your fridge, you need to empty it completely.
As you remove all food items, check expiration dates to decide what to keep and what to toss. This step sets the stage for a thorough and effective cleaning process, ensuring that you maintain food safety and reduce foodborne illness risks.
Remove All Food Items
Start by clearing out your fridge completely. This step is essential for maintaining food safety and ensuring your fridge is organized.
Begin by removing all food items, placing them on a counter or table. As you do this, consider grouping similar items together to streamline your fridge organization later. Keep perishable items in a cooler with ice packs to prevent spoilage.
Once everything’s out, take a moment to assess what you have. This is a great opportunity to think about how to better organize your fridge when you put everything back.
Check Expiration Dates
How can you guarantee your fridge is a safe and healthy space for your food? Start by checking expiration dates on all items.
As you empty your fridge, take a moment to inspect each product. Look for those expiration reminders, and don’t hesitate to toss anything that’s past its date. This step is essential for food safety, as expired items can lead to illness.
Remember, even if something looks fine, it’s not worth the risk. Keep a pen and paper handy to jot down what you need to replace. This way, you’ll maintain a fridge filled only with fresh, safe food.
Regularly checking expiration dates helps keep your fridge organized and guarantees you’re eating healthily.
Organize Keep and Toss
After checking expiration dates, it’s time to tackle the clutter in your fridge. Start by emptying it completely; this helps you see what you actually have.
As you pull out each item, decide what to keep, toss, or donate. If something’s expired or looks questionable, don’t hesitate to toss it.
For items you plan to keep, think about food storage. Group similar items together—dairy, veggies, and condiments—so you can find them easily later. This step is essential for effective fridge organization.
Once you’ve sorted everything, wipe down shelves to remove spills and crumbs before putting back the items you’ve decided to keep.
With a clean and organized fridge, you’ll save time and reduce waste.
Step 2: Remove and Clean Shelves and Drawers
To effectively clean your fridge, begin by removing all shelves and drawers. This step is essential for thorough shelf cleaning and guarantees that you can reach every corner of your fridge.
Once you’ve taken them out, follow these steps:
- Soak: Fill your sink with warm, soapy water and let the shelves and drawers soak for a few minutes.
- Scrub: Use a non-abrasive sponge to scrub away any stains or spills, paying special attention to corners.
- Rinse: Rinse each piece with clean water to remove soap residue.
- Dry: Wipe everything dry with a clean towel before returning them to the fridge. Additionally, leaving the fridge door open for a short period can help eliminate odors and maintain a fresh environment.
This drawer organization process keeps your fridge clean and helps maintain its efficiency.
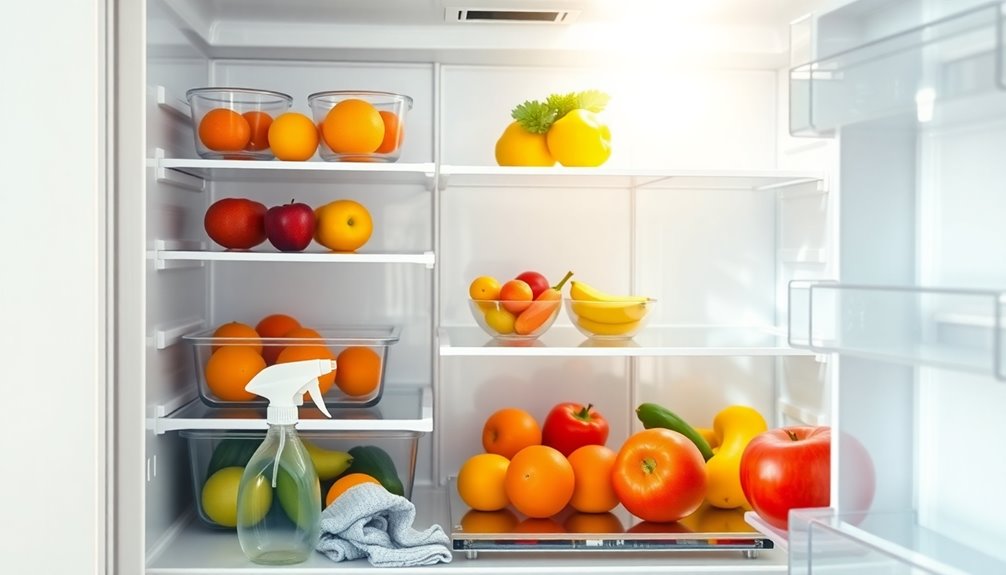
Step 3: Wipe Down Interior Surfaces
Now that you’ve cleaned the shelves and drawers, it’s time to tackle the interior surfaces.
Choose the right cleaning solutions that are safe for food areas, and use proper wiping techniques to guarantee everything is sanitized. This step is essential for maintaining a clean and healthy fridge environment, as using non-toxic and eco-friendly cleaning products ensures minimal chemical exposure.
Choose Appropriate Cleaning Solutions
Selecting the right cleaning solutions is essential for effectively wiping down your fridge’s interior surfaces. You want to make certain that the products you use are safe and effective.
Here are some great options:
- Vinegar and Water: A mixture of equal parts vinegar and water is a powerful, eco-friendly option that cuts through grease and odors.
- Baking Soda Paste: Combine baking soda with a bit of water for a gentle abrasive cleaner that’s great for tough stains.
- Castile Soap: This biodegradable soap can be diluted with water for a natural cleaning solution.
- Commercial Green Cleaners: Look for eco-friendly options specifically designed for kitchen use, making sure they’re safe for food contact surfaces.
Choose a solution that fits your needs, and you’ll have a fresh, clean fridge in no time!
Use Proper Wiping Techniques
As you get ready to wipe down the interior surfaces of your fridge, it’s important to use the right techniques to guarantee a thorough clean.
Start by grabbing a few microfiber cloths; they’re great for trapping dust and grime without scratching surfaces. Dampen a cloth with your chosen cleaning solution, but avoid soaking it.
Begin at the top and work your way down, using smooth, circular motions. This technique helps lift dirt and assures you cover every inch. Don’t forget to pay extra attention to corners and crevices where spills often accumulate.
After wiping, use a dry microfiber cloth to remove any excess moisture, leaving your fridge sparkling clean and ready for fresh food storage.
Step 4: Clean the Door and Gaskets
While cleaning your fridge, don’t overlook the door and gaskets, as they can harbor grime and bacteria.
Regular door cleaning and gasket maintenance are essential for keeping your fridge fresh and functional.
Maintaining clean doors and gaskets is crucial for a fresh and efficient fridge.
Here’s how to tackle this step:
- Remove any food or items from the door shelves.
- Use a mixture of warm water and mild detergent to wipe down the door, paying attention to handles and edges.
- For the gaskets, gently clean them with the same solution, ensuring you get into any folds where dirt might hide.
- Check for wear and tear on the gaskets; if they’re damaged, consider replacing them to maintain an airtight seal. Regularly checking for hidden areas that may require extra attention helps prevent mold and mildew growth.
A clean door and gaskets help keep your fridge operating efficiently!
Step 5: Organize and Sort Food Items
Now that your fridge is clean, it’s time to organize and sort your food items.
Start by categorizing everything by type, making it easier to find what you need.
Don’t forget to check expiration dates to keep your food fresh and safe. Regularly disposing of expired items can help maintain a fresh and inviting environment in your refrigerator.
Categorize By Food Type
One effective way to organize your fridge is by categorizing food items by type. This approach not only enhances fridge organization but also simplifies food storage.
By grouping similar items, you’ll find what you need quickly and keep your fridge tidy. Here’s how to categorize:
- Fruits and Vegetables: Keep fresh produce together for easy access.
- Dairy Products: Store milk, cheese, and yogurt in one section.
- Meats and Seafood: Place these items in a designated area, ideally towards the bottom to prevent leaks.
- Condiments and Sauces: Organize these in the door for quick reach.
This method helps maintain an efficient fridge, ensuring everything is visible and accessible.
Check Expiration Dates
After organizing your fridge by food type, it’s time to check expiration dates on all items.
Start with the items that are closest to expiring. Discard anything that’s past its date to maintain food safety. If you find items nearing their expiration, consider using them in meals soon or freezing them for later use.
Don’t forget to set expiration reminders on your phone or calendar for items that have a shorter shelf life. This simple step not only helps reduce food waste but also guarantees you’re consuming safe, fresh food.
Step 6: Dispose of Expired and Unwanted Food
As you sort through your fridge, it’s essential to identify and dispose of expired and unwanted food to maintain a clean and healthy space.
Practicing good food safety habits not only keeps your fridge organized but also supports waste reduction. Here are some steps to follow:
- Check expiration dates on all items.
- Toss any items that show signs of spoilage, like mold or off odors.
- Consider donating unopened, non-perishable items you no longer want.
- Properly dispose of any food packaging or containers that are empty or damaged. Additionally, eco-friendly methods for waste disposal can help reduce your environmental impact.
Step 7: Sanitize the Fridge With Natural Cleaners
With expired and unwanted food out of the way, it’s time to focus on sanitizing your fridge.
You can use natural disinfectants like a vinegar and water solution or baking soda paste to effectively kill germs without harsh chemicals.
Mix equal parts of water and white vinegar in a spray bottle for a quick, eco-friendly option. Spray it inside your fridge and wipe it down with a clean cloth.
Alternatively, sprinkle baking soda on surfaces, let it sit for a few minutes, then scrub and rinse.
These natural cleaners not only sanitize but also eliminate odors, making your fridge a healthier space for your food. Using homemade spray cleaners gives you control over ingredients, ensuring a healthier cooking space.
Enjoy peace of mind knowing you’re using safe, eco-friendly options for your fridge!
Step 8: Refill Your Fridge Efficiently
Once you’ve sanitized your fridge, it’s time to refill it efficiently to maximize space and maintain freshness.
Proper fridge organization helps you find what you need quickly and reduces food waste. Here are four tips to get started:
- Group Similar Items: Keep dairy, meats, and veggies together for easy access.
- Use Clear Containers: Store leftovers and snacks in transparent containers to see what you have.
- Label Everything: Clearly label items with dates to monitor freshness.
- Store at the Right Temperature: Confirm your fridge is set between 37°F and 40°F for ideal food storage. Additionally, regularly check the temperature settings to ensure optimal conditions for food preservation.
Printable Checklist for a Sparkling Clean Fridge
After efficiently refilling your fridge, keeping it clean should be a top priority. A printable checklist is your best friend for maintaining a sparkling clean fridge.
Maintaining a clean fridge is essential; a checklist can help keep it sparkling and organized effortlessly.
Start by setting a cleaning frequency; aim for a deep clean every month and a quick wipe-down weekly. Gather all items, checking expiration dates and tossing out anything spoiled.
Next, remove shelves and drawers, washing them with warm, soapy water. Don’t forget to wipe down the interior with a safe cleaning solution.
Once everything’s clean, reorganize your fridge for ideal fridge organization—group similar items and place older products at the front.
This checklist guarantees you stay on track, making fridge maintenance easy and manageable!
Conclusion
Now that your fridge sparkles like a new penny, you can enjoy the peace of mind that comes with a clean and organized space. Regular cleaning not only keeps your food fresh but also makes it easier to find what you need. Think of your fridge as a well-tended garden—nurturing it leads to a bountiful harvest. So, keep this checklist handy and make fridge cleaning a regular part of your routine for a healthier kitchen!