To clean your oven without harsh chemicals, start by removing all items and ensuring it’s cool. Mix 1/2 cup of baking soda with a few tablespoons of water to create a paste. Coat the oven’s interior with this paste and let it sit overnight. Wipe it down with a damp cloth, using vinegar to tackle stubborn spots. Don’t forget to clean the oven racks separately! There’s plenty more to discover for a spotless oven and effective maintenance.
What You’ll Need to Clean Your Oven
When you’re ready to tackle that oven cleaning, gather a few essential supplies to make the job easier.
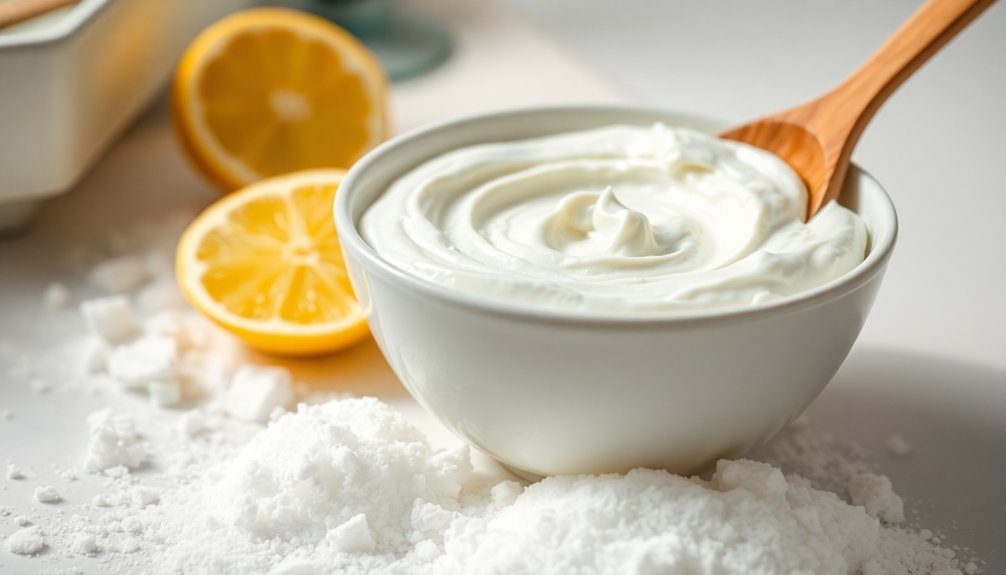
You’ll need baking soda, a natural cleaning agent that breaks down oven grease effectively. Mix it with water to create a paste that sticks to the surfaces you want to clean.
Don’t forget rubber gloves to protect your hands while you apply the paste. A bottle of white vinegar is also vital; when sprayed over the baking soda, it creates a foaming reaction that helps lift stubborn stains.
Finally, have a damp cloth on hand to wipe down the surfaces and remove any residues after you’ve rinsed your cleaning solution. Using these natural cleaning methods not only ensures a cleaner oven but also contributes to a safer environment for your family.
With these supplies, you’re all set for a successful oven cleaning!
Preparing Your Oven for Cleaning
Before you start cleaning, make sure to remove all items from your oven, including racks and accessories.
Next, mix 1/2 cup of baking soda with a few tablespoons of water to create a paste.
This preparation sets you up for an effective cleaning session. Additionally, using eco-friendly alternatives can ensure a safe cleaning experience without harsh chemicals.
Remove Oven Items
Start by clearing out your oven completely. Remove the baking soda, oven racks, baking sheets, and any accessories like thermometers or pizza stones. This guarantees you have a clean workspace for cleaning the oven.
While you’re at it, check for any spills or grease at the bottom of the oven and remove those too. It’s essential to clear out these items to avoid mixing them with your cleaning solutions later.
Make certain your oven is completely cool before you begin to prevent burns. Once everything’s out, gather your cleaning supplies, including rubber gloves and a damp dish cloth, to streamline the cleaning process.
You’re now ready to tackle the next steps in achieving a spotless oven!
Prepare Cleaning Paste
To prepare your cleaning paste, mix ½ cup of baking soda with a few tablespoons of water until it reaches a thick, spreadable consistency.
Before applying the paste, make sure all items, including racks and accessories, are removed from the oven. This step avoids any interference during your cleaning process.
Apply the baking soda paste evenly to the interior surfaces, but be careful to avoid direct contact with heating elements to prevent damage.
For tough grease, let the paste sit for at least 12 hours or overnight for ideal cleaning.
If your oven needs a deep clean, you can strengthen your paste by mixing 1 pound of baking soda, 1 tablespoon of salt, and 2 tablespoons of water for better results.
Making a Baking Soda Paste
To make an effective baking soda paste, you’ll want to mix 1/2 cup of baking soda with a few tablespoons of water until it’s thick and spreadable.
If you’re tackling tougher grime, consider a stronger mix with 1 pound of baking soda, salt, and water. Regular cleaning with this paste can help prevent residue buildup in your oven.
Once you’ve got the right consistency, it’s time to apply the paste to your oven’s surfaces carefully.
Mixing Ingredients Properly
While preparing to clean your oven, mixing the right baking soda paste is essential for effective results. Start with 1/2 cup of baking soda and add a few tablespoons of water, stirring until you achieve a thick, spreadable consistency.
If you’re tackling tougher grime, create a more heavy-duty baking soda mixture using 1 pound of baking soda, 1 tablespoon of salt, and 2 tablespoons of water for a sandy texture.
Make sure to adjust the water or baking soda as needed to keep the paste thick enough to adhere to surfaces. Use a bowl and spoon for even distribution, enhancing the paste’s cleaning power against grease and stains.
This careful mixing sets you up for successful oven cleaning.
Application Techniques Explained
Applying the baking soda paste effectively is essential for achieving a clean oven. First, mix ½ cup of baking soda with a few tablespoons of water until you reach a spreadable consistency, similar to toothpaste.
Now, use baking soda to cover the interior surfaces of your oven evenly, steering clear of heating elements. For an easy way to clean, let it sit for at least 12 hours or overnight.
Once the time’s up, dampen a cloth to wipe away the dried paste. For stubborn spots, grab a rubber spatula to help.
To finish, spray vinegar in a spray bottle on any remaining residue; the foaming action will make it easier to clean your oven thoroughly.
Coating Your Oven With the Paste
Once you’ve gathered your materials, mixing 1/2 cup of baking soda with a few tablespoons of water creates a thick paste that’s perfect for coating your oven.
This easy cleaning method will help tackle those stubborn food stains without harsh chemicals. Follow these steps:
- Apply the baking soda paste evenly over the interior surfaces of the oven, steering clear of heating elements.
- Guarantee thorough coverage by spreading the paste onto the bottom, side walls, and inside the glass door.
- Allow the paste to sit for at least 12 hours or overnight to break down grease and grime effectively. Incorporating a DIY oven cleaner like this ensures an effective cleaning process.
After the waiting period, use a damp cloth to wipe away the dried paste, ensuring all residue is removed for a clean, shiny oven.
You’ll love the results!
Cleaning the Oven Racks
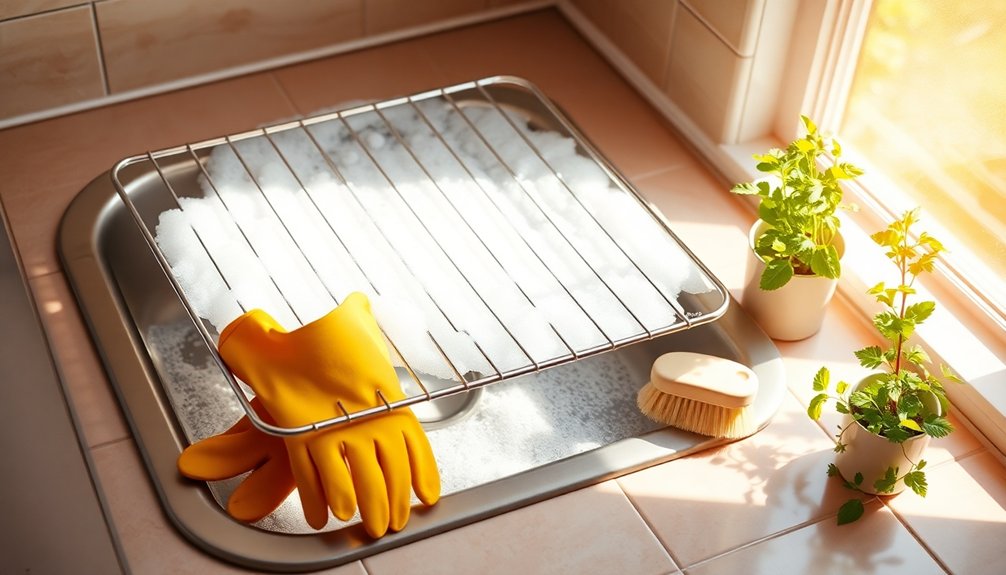
Cleaning your oven racks can seem intimidating, but it doesn’t have to be a chore. Start by lining your bathtub with old towels and filling it with water and a dishwasher tablet. Let the racks soak for several hours or overnight to loosen grime.
After soaking, grab an old toothbrush to scrub the racks, reaching into all the crevices, then rinse and dry them thoroughly.
Alternatively, you can create a baking soda paste (mix one cup of baking soda with water) and apply it to the racks. Let it sit for a few hours before scrubbing. Regular cleaning of stovetop surfaces prevents grease buildup, maintaining efficiency and prolonging appliance lifespan.
Wiping Down the Oven
Here’s how to effectively wipe down your oven:
- Mix a cleaning solution using baking soda and hot water, or vinegar and dish soap.
- Use a damp paper towel or sponge to apply the solution on the oven surfaces, especially the oven door. For stubborn stains, let it sit for 15-30 minutes to loosen the grime.
- Rinse your cloth or sponge frequently to avoid spreading grease, and finish by wiping down with plain water for a streak-free shine. Regular maintenance prevents streaks and buildup.
With a little elbow grease, your oven will look fresh and clean!
Final Touches and Maintenance Tips
After you’ve wiped down your oven and replaced all the racks and accessories, it’s time to focus on the final touches that keep your appliance in top shape.
To maintain cleanliness, regularly schedule deep cleaning sessions every few months to prevent grease buildup. Use protective liners or trays to catch drips and spills during cooking, making future clean-ups easier. Additionally, consider implementing regular routines for maintenance to ensure your kitchen stays spotless.
Don’t forget to clean up spills immediately as they occur to avoid tougher, baked-on residues later. Periodically check the heating elements and clean them to prevent residue accumulation, ensuring even cooking temperatures.
Conclusion
Now that your oven sparkles like new, you can feel proud of your hard work! By using natural ingredients, you’ve not only avoided harsh chemicals but also created a safe cooking environment for your family. Remember, a clean oven isn’t just about looks; it’s about enjoying the warmth of home-cooked meals without worry. Keep up with regular maintenance, and you’ll guarantee your oven stays in great shape, ready to whip up delicious memories for years to come.