To polish your concrete kitchen counters, start by ensuring they’re fully cured. Use a variable speed wet polisher with a coarse 50-grit diamond pad for initial grinding. Keep the surface wet to reduce dust and heat. Move in circular motions for even coverage, then inspect for imperfections. Progress through higher grit pads (up to 3000) for a high-gloss finish, applying a concrete sealer afterwards for durability. There’s more to perfecting your finish than you might think!
Safety Information
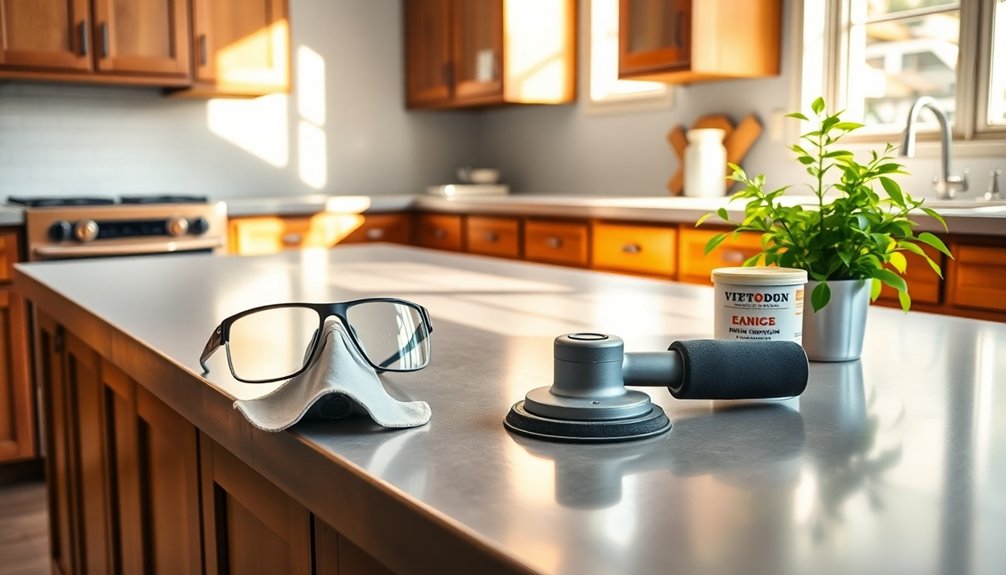
When working on your concrete kitchen counters, it’s important to prioritize safety.
Always use a GFCI outlet when operating electrical tools near water to prevent electrocution risks while polishing. Protect your eyes by wearing safety goggles to guard against dust and flying particles generated during the process. A dust mask is vital to avoid inhaling harmful concrete dust, especially during dry polishing phases.
Don’t forget to wear protective gloves, which prevent skin irritation and keep you insulated while handling equipment. Additionally, make sure your work area is free of hazards and maintain a wet surface during polishing. This not only reduces heat build-up but also minimizes dust production, making your workspace safer and cleaner. Regularly cleaning your workspace with non-toxic cleaners can further enhance safety by reducing harmful chemical exposure.
Types of Polishing Pads
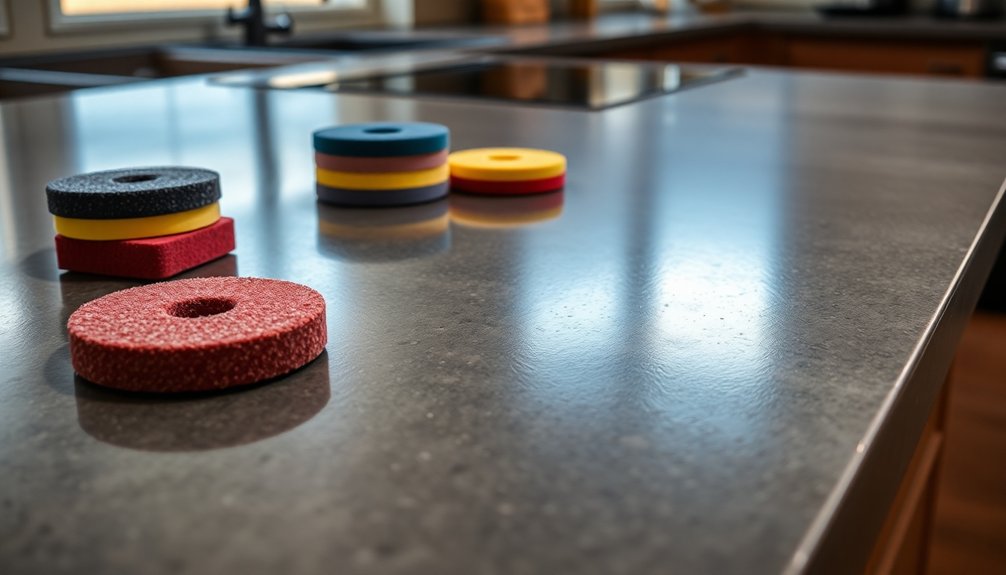
Understanding the different types of polishing pads is essential for achieving the desired finish on your concrete kitchen counters.
Here are the main types of pads you’ll encounter:
- Coarse Grit Pads (50-100 grit): Perfect for grinding and exposing aggregates, setting the foundation for your project.
- Mid-Range Pads (200-400 grit): These help remove scratches and prepare the surface for finer polishing, ensuring a smooth progression.
- Higher Grit Pads (800-3000 grit): Ideal for achieving that high-gloss finish, making your countertops shine beautifully.
- Wet Polishing Pads: These are preferred for concrete countertops as they reduce dust and keep the surface lubricated during the polishing process.
Choosing the right grit pads can make all the difference in your polishing journey! Additionally, maintaining cleanliness with regular routines can help keep your polished surfaces looking their best.
Wet Polishing Preparation
Before diving into the wet polishing process, it’s crucial to confirm your concrete countertop is fully cured and free of defects. Ideally, wait 1-3 days post-pour for best results.
For your wet polishing preparation, gather the necessary materials: diamond polishing pads ranging from 50 to 3000 grit, a variable speed wet polisher with a water feed system, and protective gear like safety goggles and dust masks.
Prepare your work area by covering surrounding surfaces to shield them from water and debris. Ascertain a stable surface for effective polishing.
Start with a coarse 50-grit diamond pad attached to your wet polisher, as this pad will help grind and expose heavier aggregates. Maintaining a wet surface while polishing is essential for optimal cleaning results, which helps achieve a smoother finish.
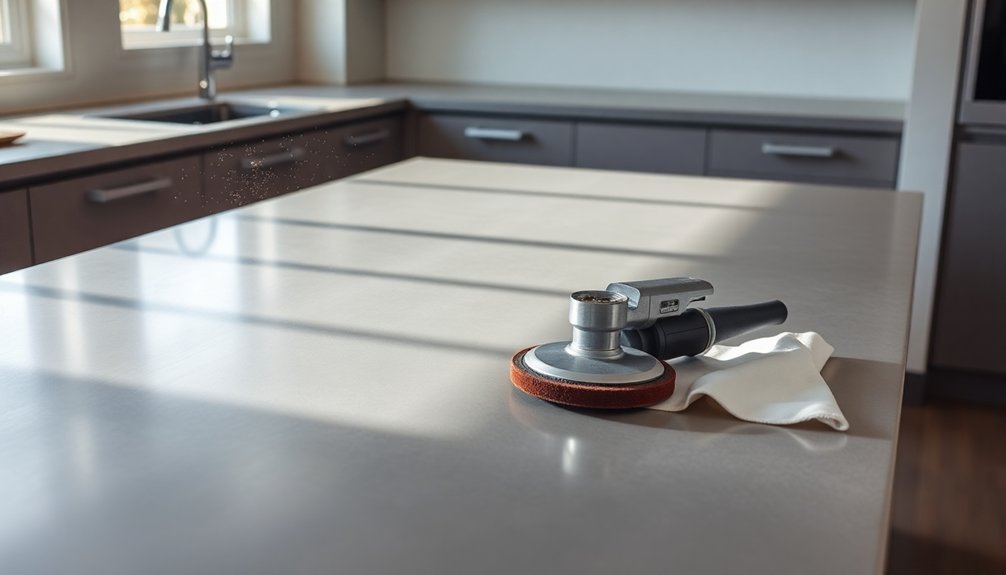
Initial Polish
Now that your concrete countertop is prepped and ready, it’s time to start the initial polish.
Begin with a coarse 50-grit diamond pad attached to your variable speed wet polisher. This step is essential for effectively grinding down the surface. Remember to apply water throughout the process to reduce dust and prevent heat buildup.
Start with a coarse 50-grit diamond pad on your wet polisher, ensuring a smooth surface by using water to minimize dust and heat.
Use circular motions for even coverage, which helps avoid depressions or uneven areas.
Keep an eye out for imperfections and correct them before moving on. Incorporating natural cleaning solutions can help maintain the polished look of your countertop over time.
Here’s what to keep in mind:
- Use the right grit for effective grinding.
- Maintain a wet surface for best results.
- Inspect regularly for a flawless finish.
- Clean thoroughly before progressing to finer grits.
Final Polish
Achieving a high-gloss finish on your concrete kitchen counters requires careful attention during the final polish.
Start by using higher grit pads, beginning at 400 grit and moving up to 3000 grit for that perfect shine. Applying a slurry during this stage helps fill in small holes or imperfections, enhancing the smoothness of the concrete surface.
It’s a good idea to maintain a wet surface while polishing concrete to prevent heat buildup and attain an even finish. Work in sections to guarantee thorough coverage, avoiding any streaks or uneven areas.
Once you’ve attained your desired polish, don’t forget to apply a concrete sealer, like Z Siacryl 14, to boost durability and protect against stains and scratches. Additionally, consider using eco-friendly options to reduce chemical waste while maintaining your surfaces.
Conclusion
With your newly polished concrete counters gleaming like the legendary Excalibur, you’ve transformed your kitchen into a modern masterpiece. Remember, regular maintenance will keep them shining, ensuring they remain the crown jewel of your home. Embrace the beauty of your hard work, and don’t hesitate to show off your stunning surfaces. After all, every meal prepared on these counters is a feast fit for royalty! Keep that luster alive, and enjoy your kitchen’s newfound elegance!