To achieve spotless tile, you need to clean your grout regularly—every week in high-traffic areas and at least monthly elsewhere. A simple DIY grout cleaning solution involves mixing baking soda and hydrogen peroxide for tough stains or using equal parts vinegar and water for general cleanup. Always scrub firmly, rinse well, and dry the area to prevent future grime. Want to learn more tips and tricks to keep your tiles pristine? Keep going!
How Often Should You Clean Tile Grout?
When it comes to cleaning tile grout, the frequency really depends on how much foot traffic your space sees.
In high-traffic areas like kitchens and bathrooms, aim for weekly cleaning to maintain grout cleanliness and prevent dirt buildup. For less frequented rooms, every few weeks may suffice.
However, keep an eye on your grout; if it looks dingy or discolored, it’s time for a thorough cleaning, regardless of your schedule.
In moisture-prone areas, such as showers, increase your cleaning frequency to combat mold and mildew growth. A deep clean at least once a month is recommended to preserve the integrity and appearance of your grout. Regularly applying a grout sealant can also help to protect against stains and moisture.
Staying proactive will keep your grout looking fresh and new.
How to Make a DIY Grout Cleaning Solution
Creating a DIY grout cleaning solution is easier than you might think, especially if you want to tackle stubborn stains without harsh chemicals. Here are a few effective options you can try:
- Baking Soda and Hydrogen Peroxide: Mix two parts baking soda with one part hydrogen peroxide to create a thick paste. Scrub the grout with this cleaning solution for tough stains.
- Dish Soap Boost: For greasy grime, add a few drops of dish soap to the baking soda and hydrogen peroxide mix.
- Vinegar Solution: Combine equal parts distilled white vinegar and warm water in a spray bottle to remove dirt and mildew effectively. Using these natural ingredients can help reduce exposure to harmful chemicals.
Always test any DIY grout cleaning solution on a small area first to avoid discoloration.
Step-by-Step Guide to Cleaning Grout
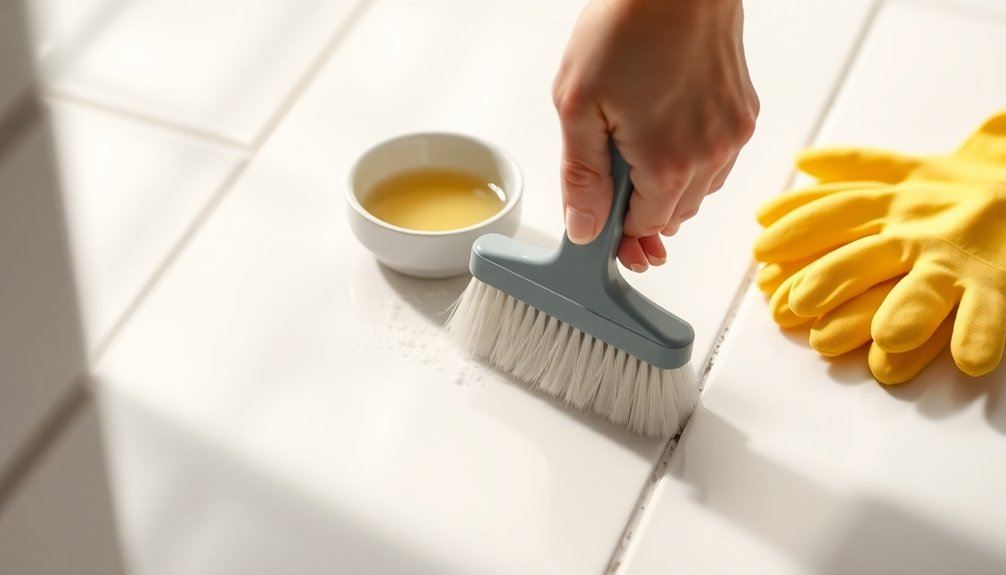
To clean your grout effectively, start by gathering all the necessary supplies, including your cleaning solution and a stiff-bristled brush.
Once you’ve got everything ready, apply the solution generously to the grout lines.
After letting it sit, scrub and rinse to reveal a fresh, clean surface. Using non-toxic cleaners not only ensures a spotless finish but also protects your family’s health and the environment.
Gather Necessary Supplies
Before diving into your grout cleaning project, it’s important to gather all the necessary supplies to guarantee a smooth and efficient process. Here’s what you need:
- A grout brush or old toothbrush for scrubbing
- Baking soda and hydrogen peroxide for your DIY cleaning solution
- A microfiber cloth for wiping away residue
Don’t forget to include rubber gloves and knee pads for protection and comfort, especially if you’re working on tile surfaces.
Prepare your cleaning solution by mixing two parts baking soda with one part hydrogen peroxide in a bowl to create a thick paste. Also, have warm water and dish soap ready for an extra cleaning boost before you start scrubbing.
With these supplies, you’ll be well-equipped for a spotless grout transformation!
Apply Cleaning Solution
Once you’ve gathered your supplies, it’s time to apply the cleaning solution for a thorough grout clean.
Start by prepping the surface; sweep or vacuum to remove loose dirt and debris.
For a DIY cleaning solution, mix two parts baking soda with one part hydrogen peroxide to form a paste.
Apply the cleaning solution liberally to the grout lines using a grout brush or an old toothbrush, ensuring it thoroughly covers the area.
Allow the paste to sit for 10 to 15 minutes to penetrate stubborn grime.
After that, scrub the grout with firm pressure.
Finally, rinse the area with clean water using a damp cloth to remove residue, and dry the surface to prevent moisture buildup.
Scrub and Rinse
After allowing the cleaning solution to penetrate, it’s time to scrub and rinse the grout for a spotless finish. Grab your old toothbrush to scrub the grout gently in circular motions, focusing on stubborn areas to lift dirt and grime effectively.
Here’s how to proceed:
- Use a stiff-bristle brush or old toothbrush to scrub the grout lines.
- Wipe away the paste with a damp microfiber cloth or sponge.
- Rinse the area thoroughly with clean water to avoid residue.
Once you’ve cleaned your grout, dry the surface thoroughly with a clean towel to prevent water spots and mildew growth.
Finally, consider applying a grout sealer for added protection against future stains on your shower walls.
Alternative Methods for Cleaning Grout
While commercial grout cleaners can be effective, exploring alternative methods offers eco-friendly and budget-friendly options for tackling stubborn stains.
One effective method involves mixing equal parts baking soda and white vinegar. This combination creates a fizzing action that helps break down grout stains; just follow up with a scrub using a toothbrush.
Mix equal parts baking soda and white vinegar for a fizzing action that effectively tackles stubborn grout stains.
For a deeper clean, mix two parts baking soda with one part hydrogen peroxide to form a powerful paste. Apply this to the grout lines and let it sit for 15 minutes before scrubbing.
Additionally, consider steam cleaning for a chemical-free approach that restores your grout without harsh substances. Using eco-friendly ingredients can enhance your cleaning routine while contributing to a healthier home.
Oxygen bleach is another gentler option, lifting stains while avoiding the unpleasant smell of traditional bleach.
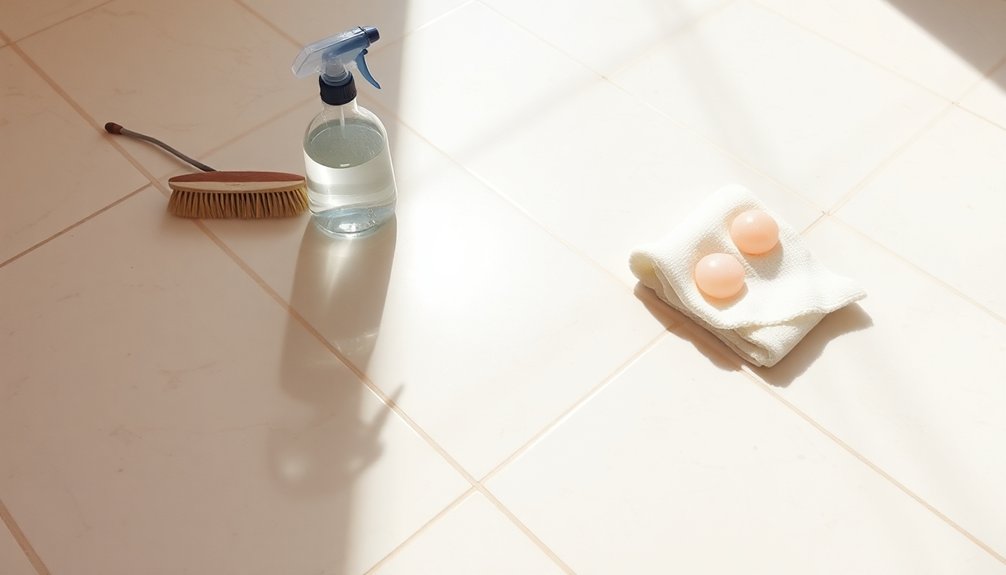
Tips for Maintaining Tile and Grout
Maintaining your tile and grout doesn’t have to be an intimidating task—just a few simple habits can make a big difference.
By following a consistent maintenance routine, you can keep grime and dirt at bay, especially in high-moisture areas. Here are some tips to get you started:
- Regularly clean grout lines at least once a month and more often in bathrooms and kitchens to prevent mold and mildew.
- Wipe down your shower walls and tiles after each use to minimize water buildup.
- Use a grout sealer after cleaning to protect against stains and moisture.
- Consider using natural cleaning methods like vinegar and baking soda to help maintain the cleanliness and freshness of your tile and grout.
Incorporate these practices into your cleaning checklist, and you’ll be well on your way to spotless tile and grout!
When to Consider Professional Help
If you notice severe damage like loose tiles or persistent stains that won’t budge, it’s time to think about getting professional help. Mold growth, especially in hidden areas, also signals that your grout needs expert attention. Don’t wait until it leads to costly repairs; a professional can tackle these issues effectively. Additionally, regular disinfection is crucial to prevent harmful bacteria that can thrive in grout lines.
Signs of Severe Damage
When grout shows signs of severe damage, it’s essential to recognize the urgency of the situation. Ignoring these issues can lead to more extensive damage and costly repairs.
Here are some key indicators that you need to consult a professional:
- Extensive discoloration or persistent stains that DIY cleaning can’t fix
- Weakened grout that’s chipping, caving, or crumbling, hinting at structural problems
- Presence of mold or mildew, especially in moisture-prone areas, indicating a thorough cleaning is necessary
If you notice water seeping through grout lines or find loose tiles, don’t hesitate to call a professional.
Regularly inspect your grout to catch any significant wear early, ensuring the longevity and integrity of your tiled surfaces.
Persistent Stains and Mold
Sometimes, persistent stains and mold in grout can be more than just an eyesore; they can signal deeper issues that DIY cleaning can’t resolve. If you’ve tried regular maintenance and still see discolored grout or widespread staining, it’s time to evaluate professional intervention.
Mold growth, especially in high-moisture areas like bathrooms, poses health concerns and often requires specialized equipment for thorough removal. Additionally, neglected grout can lead to loose tiles and potential water seepage, indicating significant deterioration that needs expert attention.
Professional cleaning services can assess the damage and restore your grout, achieving results that are tough to replicate with household methods, ensuring your tile remains clean and safe for your home.
Signs Your Grout Needs Replacement
Grout can be a silent indicator of underlying issues in your tiled surfaces, and knowing the signs that it needs replacement is vital for maintaining both aesthetics and functionality.
Here are key signs to watch for:
- Chipping or cracking: If your grout is deteriorated with visible damage, it’s time to replace it to prevent further issues.
- Significant discoloration: Stains that regular cleaning methods can’t remove indicate a need for replacement to restore your tile’s appearance.
- Moisture damage: Loose tiles or gaps can signal hidden water damage, leading to mold growth and necessitating grout replacement.
Regularly inspecting your grout every 5 to 10 years can save you from costly repairs and guarantee your tiled surfaces remain intact. Additionally, mindful usage of drains and regular maintenance can prevent related plumbing issues from escalating.
Eco-Friendly Grout Cleaning Solutions
Eco-friendly grout cleaning solutions use natural ingredients like baking soda and hydrogen peroxide. Mix two parts baking soda with one part hydrogen peroxide to create a powerful paste that lifts tough stains while being safe for the environment. You can also use vinegar mixed with warm water, but apply it cautiously to avoid damaging certain grout types. For a chemical-free option, consider steam cleaning, which sanitizes grout using just water. Ultimately, regularly apply a grout sealer made from natural ingredients to protect against stains and moisture, keeping your living space cleaner and healthier. Incorporating green cleaning products into your routine can further enhance the safety and effectiveness of your cleaning efforts.
Conclusion
Just like a knight tending to their armor, keeping your tile grout clean requires regular care and the right tools. With a bit of effort and the DIY solutions we’ve shared, you can banish stains and restore your floors to their former glory. Remember, a well-maintained castle not only looks inviting but also stands strong against the test of time. So, wield your cleaning supplies like a sword, and let your home shine bright!