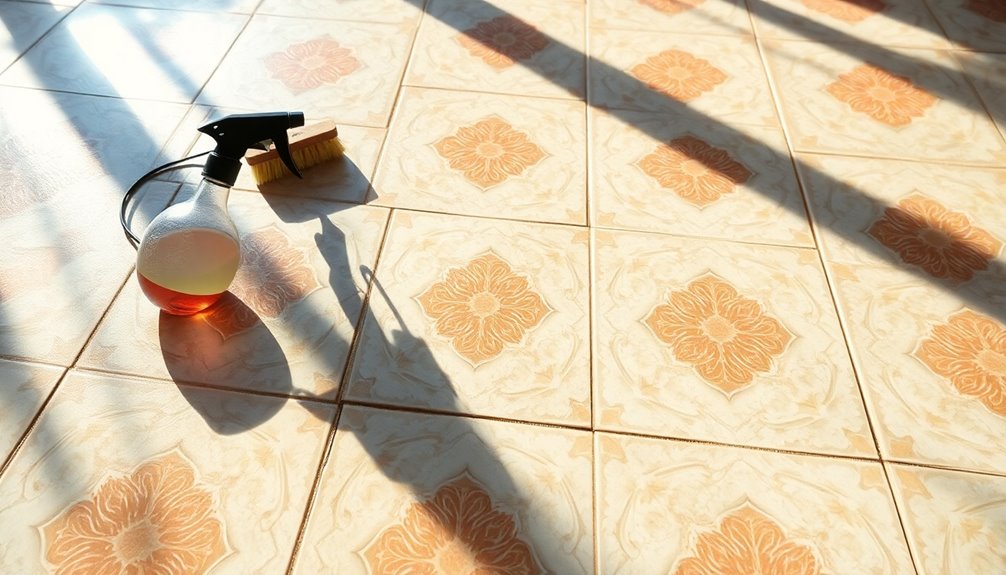
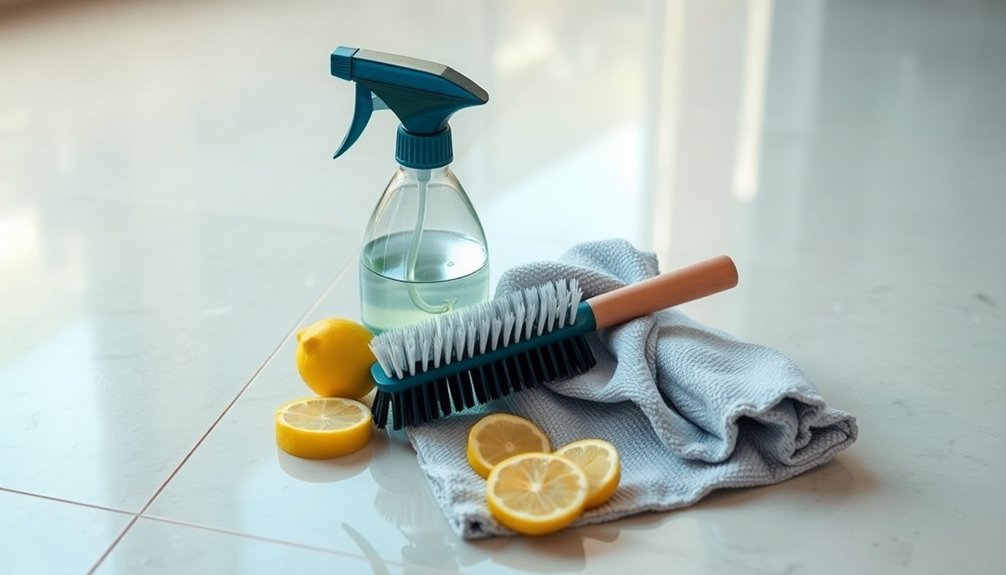
To achieve a like-new look for your tile and grout, start by gathering essential supplies like a sturdy brush and microfiber cloths. Mix equal parts of vinegar and water for a powerful homemade cleaner. Use baking soda for stains, and hydrogen peroxide for deep cleaning grout. Regular sweeping and immediate spill clean-up will help prevent build-up. You’ll also discover eco-friendly alternatives to commercial cleaners that keep your home healthy and fresh, plus more effective tips ahead.
Understanding the Importance of Clean Tile and Grout
While it might seem like a minor detail, clean tile and grout play an essential role in maintaining the overall appearance and hygiene of your home.
Neglecting tile hygiene can lead to unsightly stains and a buildup of bacteria, which can compromise your family’s health. Regular grout maintenance is vital, as dirty grout can trap moisture and create a breeding ground for mold and mildew. By prioritizing clean tile and grout, you not only enhance your home’s aesthetic appeal but also guarantee a healthier living environment. You’ll find that investing time in this maintenance pays off, as a fresh, clean look can elevate your space. Additionally, just like regular washing of pillows helps maintain hygiene, keeping your tile and grout clean is crucial for overall home health.
Essential Supplies for Tile and Grout Cleaning
To keep your tile and grout looking their best, having the right supplies on hand is key.
Start by gathering essential cleaning tools like a vacuum or broom to remove loose dirt and debris. You’ll need a sturdy mop for regular maintenance, but don’t forget about grout brushes for those tough stains. A good-quality scrub brush can also help tackle grime and buildup effectively.
Gather essential cleaning tools like a vacuum, mop, and grout brushes to effectively maintain your tile and grout.
Consider a bucket for mixing your cleaning solutions, along with microfiber cloths for drying and polishing. If you have tough stains, a spray bottle can help you apply your chosen cleaner precisely. Additionally, using mild detergents for cleaning tile and grout can help avoid discoloration and maintain the appearance of your floors.
With these supplies in hand, you’ll be well-prepared to restore your tile and grout to a like-new condition!
How to Make a Homemade Tile Cleaner
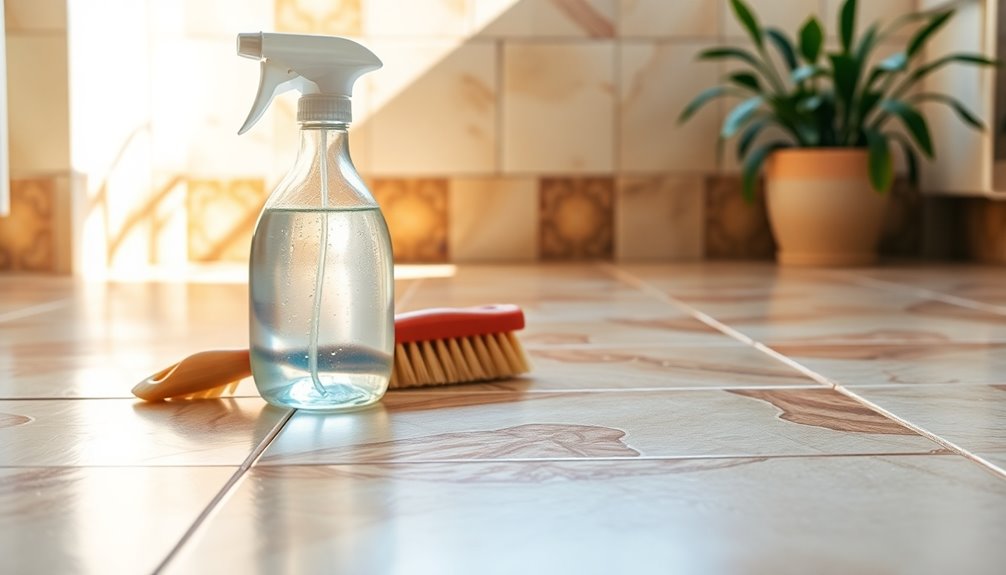
If you’re looking for an effective and budget-friendly solution to clean your tiles, making a homemade tile cleaner is a great option. You can whip up a simple DIY solution using common household ingredients.
Mix equal parts of white vinegar and water in a spray bottle for a quick and easy cleaner. If you prefer a more powerful concoction, add a few drops of dish soap. Shake well before use.
Spray the mixture onto your tiles and let it sit for a few minutes to break down grime. Then, scrub with a soft-bristle brush or mop and rinse with clean water. This homemade cleaner not only saves you money but also keeps your tiles looking fresh and vibrant, as vinegar is effective against bacteria and odors.
The Power of Baking Soda and Vinegar for Stains
When you’re faced with stubborn stains on your tile and grout, baking soda and vinegar can be your best friends.
These natural cleaning solutions not only tackle tough marks but also offer benefits that store-bought cleaners can’t match. Additionally, using eco-friendly methods not only helps maintain a cleaner environment but also ensures the safety of your home from harsh chemical exposure.
Let’s explore how these simple ingredients can transform your cleaning routine.
Stain Removal Techniques
Baking soda and vinegar are a dynamic duo for tackling stubborn stains on tile and grout.
First, identify the stain using simple stain identification techniques. For example, if you have a grease stain, you’ll want to treat it differently than a food or beverage spill.
Once you’ve pinpointed the stain type, create a paste with baking soda and water, applying it directly to the affected area. After letting it sit for a few minutes, spray with vinegar. The fizzing action helps lift the stain.
For emergency stain solutions, act quickly; the sooner you treat the stain, the easier it’ll be to remove.
Rinse with warm water, and enjoy your refreshed tile and grout!
Natural Cleaning Solution Benefits
While many commercial cleaners can be effective, the benefits of using natural solutions like baking soda and vinegar can’t be overlooked.
These eco-friendly solutions not only tackle stubborn stains but also offer several advantages:
- Non-toxic: You won’t have to worry about harmful chemicals affecting your family or pets.
- Cost-effective: Baking soda and vinegar are affordable and often found in your pantry.
- Versatile: They work well on various surfaces, making them ideal for tile and grout cleaning.
- Natural ingredients: You’ll feel good knowing you’re using safe products that won’t harm the environment.
Using Hydrogen Peroxide for Deep Cleaning Grout
Hydrogen peroxide is a powerful ally in your quest for clean grout, offering impressive stain-fighting benefits.
You’ll want to know the best application techniques to maximize its effectiveness while keeping safety in mind. Additionally, using non-toxic cleaners helps ensure a safe cleaning environment for your family while effectively tackling tough stains.
Benefits Of Hydrogen Peroxide
When it comes to deep cleaning grout, using hydrogen peroxide offers a powerful and effective solution. This versatile cleaner has several notable cleaning benefits that can rejuvenate your floors.
Here are four key advantages:
- Stain Removal: Hydrogen peroxide breaks down tough stains, restoring your grout’s original color.
- Disinfecting Power: It kills bacteria and germs, ensuring a healthier living space.
- Mildew and Mold Prevention: The oxidative properties help prevent mold growth in damp areas.
- Eco-Friendly: It’s a safer alternative to harsh chemicals, making it better for you and the environment.
Incorporating hydrogen peroxide into your cleaning routine not only enhances the appearance of your grout but also promotes a cleaner, safer home.
Application Techniques Explained
To effectively use hydrogen peroxide for deep cleaning grout, start by gathering your supplies: a spray bottle, a soft brush or toothbrush, and some clean water.
Pour equal parts hydrogen peroxide and water into the spray bottle. For best results, choose application methods that work for your grout’s condition; spray the solution directly onto the grout lines for heavy stains or use a damp brush to scrub away dirt.
Allow the solution to sit for about 10-15 minutes before rinsing with clean water.
Consider your cleaning frequency to maintain your grout; deep clean every few months or as needed to keep it looking fresh. Regular upkeep helps prevent grime buildup and keeps your floors looking like new.
Safety Precautions To Consider
While using hydrogen peroxide for deep cleaning grout can be effective, it’s important to take certain safety precautions.
To minimize chemical exposure and guarantee your safety, remember to follow these guidelines:
- Wear protective gear: Use gloves and goggles to shield your skin and eyes from splashes.
- Work in a well-ventilated area: Open windows and doors to allow fresh air circulation, reducing inhalation risks.
- Avoid mixing with other cleaners: Combining hydrogen peroxide with other chemicals can create harmful reactions.
- Store safely: Keep hydrogen peroxide out of reach of children and pets, making sure it’s stored in a cool, dark place.
Best Practices for Daily Tile Maintenance
Even if you’ve just cleaned your tiles, maintaining them daily can prevent dirt and grime buildup. Start by sweeping or vacuuming your floors every day to remove loose debris that can scratch the surface.
Incorporate mopping into your cleaning schedules at least once a week, using a gentle cleaner suitable for your tile type. When spills occur, wipe them up immediately to avoid stains.
If you have high-traffic areas, consider a quick daily routine of spot cleaning to keep them looking fresh. Finally, avoid harsh chemicals and abrasive tools, as they can damage the tiles. Using eco-friendly cleaners can help maintain a safe environment for kids and pets while keeping your floors clean.
How to Use Steam Cleaners Effectively
Using a steam cleaner can transform your tile and grout cleaning routine, making it easier and more efficient.
To get the best results, follow these steam cleaning tips tailored for different steam cleaner types:
- Choose the Right Attachment: Use the appropriate nozzle for your surface to maximize efficiency.
- Pre-Treat Stains: Apply a cleaning solution to stubborn stains before steaming to enhance results.
- Keep It Moving: Glide the steam cleaner over surfaces steadily to prevent over-saturation.
- Let It Dry: After cleaning, allow your floors to air dry completely before walking on them.
Additionally, consider creating a chore chart to involve family members in maintaining cleanliness after your deep cleaning session.
The Benefits of a Professional Tile Cleaning Service
When you choose a professional tile cleaning service, you’re not just saving time; you’re also ensuring a deep clean that DIY methods often can’t match.
These experts use specialized equipment and techniques to tackle dirt and grime that’s embedded in your tiles and grout. This results in a more thorough clean, enhancing your floors’ appearance and longevity.
Plus, you’ll find that hiring professionals can be surprisingly cost effective. While upfront costs may seem higher, the time efficiency they offer frees you up for other important tasks, ultimately saving you money in the long run. Additionally, regular maintenance of your floors can help prevent future buildup and prolong their life.
Tackling Tough Stains With Commercial Products
While professional tile cleaning services offer unparalleled results, there are times when you need a quick solution for stubborn stains.
Professional tile cleaning services provide exceptional results, but sometimes you need a fast fix for those persistent stains.
Commercial products can be a lifesaver in these situations. To effectively tackle tough stains, consider these steps:
- Read commercial product reviews to find the best stain fighter for your needs.
- Compare stain removal products by checking customer feedback and effectiveness ratings.
- Test a small area first to verify the product won’t damage your tiles or grout.
- Follow the manufacturer’s instructions for application and wait times to achieve the best results. Using enzyme cleaners can be an effective method for breaking down organic stains.
With the right commercial product in hand, you’ll be well-equipped to restore your tile’s shine and tackle even the toughest stains.
Tips for Preventing Mold and Mildew in Grout
To keep mold and mildew from taking hold in your grout, it’s essential to maintain a clean and dry environment.
Start by regularly cleaning your floors with a pH-neutral cleaner to eliminate any dirt and soap scum that can encourage growth.
After mopping, make sure to dry the grout lines thoroughly, as moisture is a breeding ground for mold.
Consider using a fan or dehumidifier in damp areas to enhance airflow and reduce humidity levels.
Additionally, look for grout cleaners that offer mildew resistance, providing an extra layer of protection.
Finally, wipe down surfaces in high-moisture areas, like bathrooms and kitchens, to support mold prevention and keep your grout looking fresh and clean. Regular maintenance includes cleaning grout in high-traffic areas at least once a month to ensure long-lasting results.
The Role of Regular Sealing in Tile Longevity
Regularly sealing your tile isn’t just a good idea; it’s essential for extending its lifespan and maintaining its appearance.
The right sealing frequency can protect your tiles from wear and tear while addressing various longevity factors. Here’s how sealing helps:
- Prevents Stains: A good seal blocks spills and stains from penetrating your tile.
- Reduces Grime Buildup: Sealing creates a barrier that makes cleaning easier and less frequent.
- Enhances Durability: Sealing strengthens the surface, making it less susceptible to cracks and chips.
- Retains Color: Regular sealing helps keep your tiles looking vibrant and fresh.
How to Remove Soap Scum From Shower Tiles
How can you tackle the pesky soap scum that builds up on your shower tiles? Start with a simple solution of equal parts vinegar and water in a spray bottle.
Spray it generously on the affected areas and let it sit for about 10-15 minutes. This will help loosen the soap scum, making removal easier.
Next, grab a non-abrasive sponge or cloth and scrub the tiles gently. For stubborn spots, a baking soda paste can boost your soap scum removal efforts. Just mix baking soda with a little water until it forms a paste, apply it, and scrub.
Finally, rinse thoroughly with warm water and dry the tiles to prevent further buildup.
Regular shower tile maintenance will keep your bathroom looking fresh!
The Best Methods for Cleaning Grout Lines
One effective method for cleaning grout lines involves using a simple mixture of baking soda and vinegar.
This powerful duo works wonders for grout color restoration. Here’s how to do it effectively:
- Mix equal parts baking soda and vinegar to form a paste.
- Apply the paste to the grout lines and let it sit for about 10-15 minutes.
- Scrub the grout lines with a grout cleaning tool, ensuring you reach all the nooks and crannies.
- Rinse with warm water to remove any residue.
This method not only cleans but also brightens your grout, giving it a like-new appearance.
Regular maintenance with these techniques will keep your floors looking fresh and extend the life of your tile surfaces.
Eco-Friendly Cleaning Alternatives for Tile Floors
While traditional cleaning products can be effective, they often contain harsh chemicals that may harm the environment.
Instead, consider using eco-friendly methods that harness natural ingredients for a safe and effective clean. For instance, mixing equal parts white vinegar and water creates a powerful tile cleaner that cuts through grime without toxic fumes.
Explore eco-friendly cleaning solutions using natural ingredients for a safe and effective way to clean your home.
Baking soda is another great option; sprinkle it on tiles, then spray with vinegar to create a bubbling reaction that lifts dirt.
Essential oils, like tea tree or lavender, not only add a pleasant scent but also have natural antibacterial properties.
How Often Should You Clean Your Tile and Grout?
Regularly cleaning your tile and grout is essential to maintain their appearance and longevity, especially in high-traffic areas.
To establish an effective cleaning frequency, consider the following guidelines for grout maintenance:
- Weekly: Clean grout lines in kitchens and bathrooms where spills and moisture are common.
- Monthly: Deep clean all tile surfaces to remove built-up dirt and stains.
- Seasonally: Perform a thorough inspection and consider professional cleaning if needed.
- As Needed: Address any visible stains or spills immediately to prevent long-term damage.
Conclusion
With these 15 tile and grout cleaning hacks, you can turn your floors from drab to fab in no time. Think of it as a makeover for your home—just like a fresh coat of paint can transform a room, a little TLC for your tiles can breathe new life into your space. So grab your supplies, channel your inner cleaning guru, and get ready to enjoy a sparkling, like-new look that’ll leave your floors shining bright!