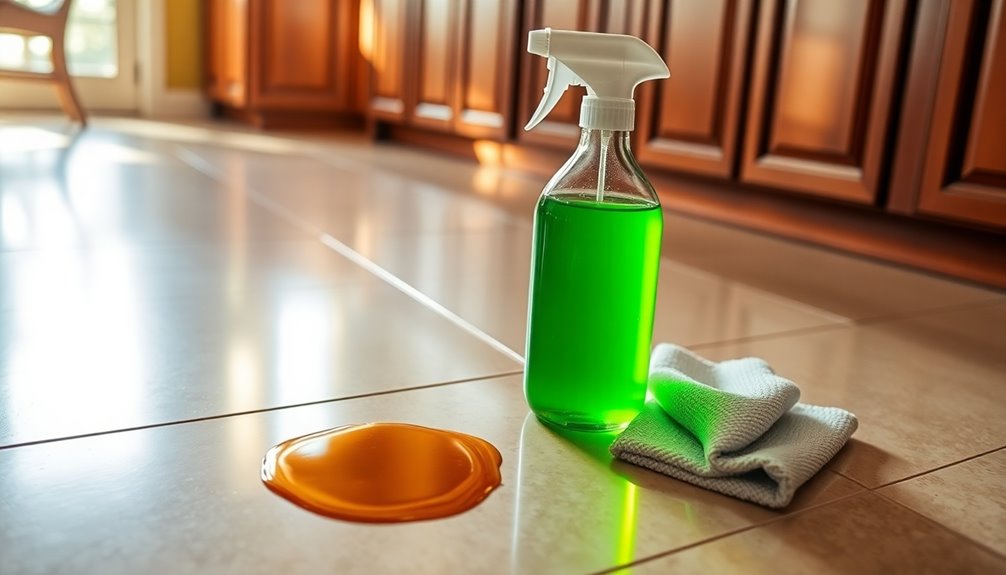
You can easily tackle sticky kitchen spills with a DIY floor cleaner. Just mix one cup of white vinegar, one gallon of warm water, and add a few drops of your favorite essential oil for scent. For tougher messes, a tablespoon of baking soda works wonders. Lightly mist your floors and use a microfiber mop to clean effectively. This homemade solution is safe, eco-friendly, and cost-effective. There’s even more helpful information and tips waiting for you!
Why You Need a DIY Floor Cleaner for Sticky Spills
Have you ever faced the frustration of sticky spills on your floors? You know how annoying they can be, making your home feel unclean and chaotic.
That’s where a DIY floor cleaner comes in handy. By creating your own solution, you can tackle those spills effectively while ensuring it’s safe for your family and pets.
A DIY floor cleaner lets you tackle spills safely, ensuring a clean home for your family and pets.
Plus, you have the freedom to choose eco-friendly options that won’t harm the environment. Not only are these homemade cleaners healthier, but they’re also cost-effective solutions compared to store-bought alternatives. You can save money while keeping your floors spotless.
With just a few simple ingredients, you can whip up a cleaner that’ll make sticky spills a thing of the past. It’s time to reclaim your space! Homemade cleaners also contribute to environmental sustainability by reducing plastic waste.
Essential Ingredients for Your Homemade Floor Cleaner
When you decide to make your own floor cleaner, choosing the right ingredients is essential for effectiveness and safety.
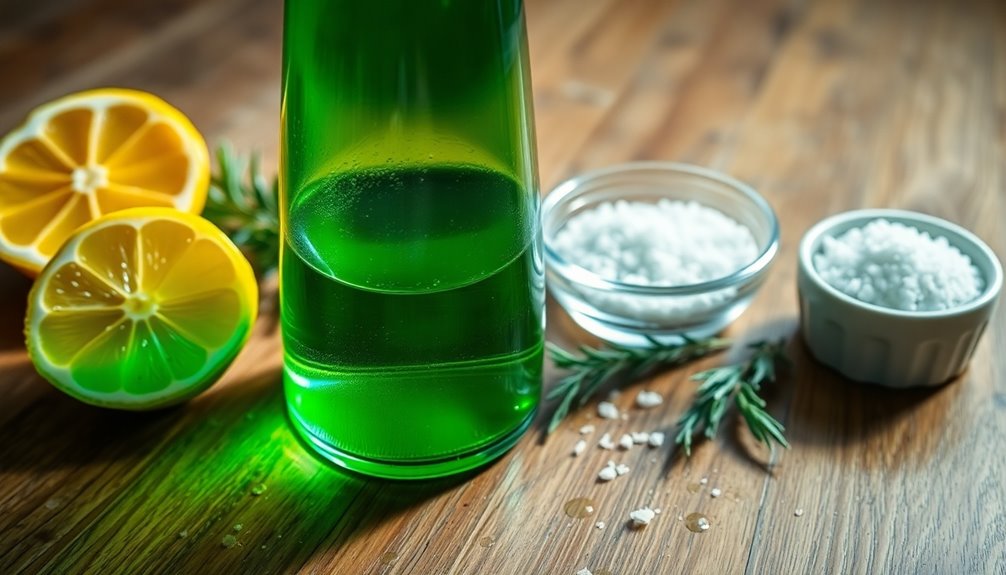
One of the star components is vinegar, thanks to its numerous benefits. It’s a natural disinfectant that cuts through grease and grime, making it perfect for sticky kitchen spills. Plus, it leaves no harmful residues behind. Additionally, white vinegar serves as an environmentally friendly and versatile natural cleaner that boosts cleaning performance.
You’ll also want to include baking soda in your cleaner. This versatile ingredient not only helps deodorize your floors but also acts as a gentle abrasive, helping to lift stubborn stains without scratching.
Together, vinegar and baking soda create a powerful duo that tackles messes effectively while being safe for your family and pets.
Get ready to enjoy a cleaner, fresher kitchen!
Step-by-Step Guide to Making Your Own Floor Cleaner
Creating your own floor cleaner is a straightforward process that can save you money while ensuring a safe environment for your family.
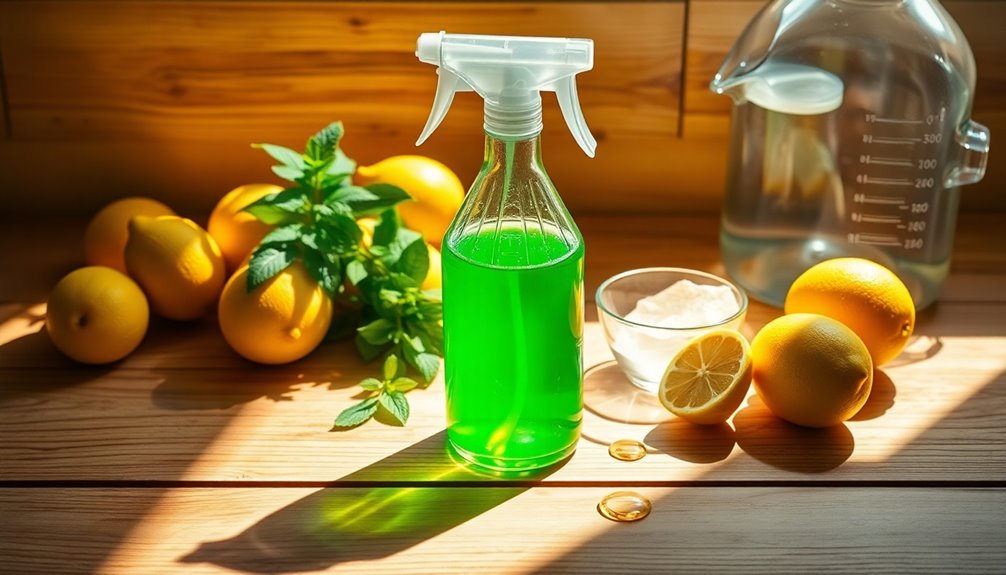
Start by gathering your ingredients: white vinegar, water, and essential oils for a pleasant scent.
Mix one cup of white vinegar with one gallon of warm water in a large bucket. If you want to add a fresh aroma, include a few drops of your favorite essential oil.
This solution serves as an eco friendly option that cuts through grease and grime effectively. Additionally, using eco-friendly alternatives like baking soda can enhance the cleaning process by tackling tougher sticky spots.
For added cleaning hacks, consider adding a tablespoon of baking soda to tackle tougher sticky spots.
Once mixed, pour the cleaner into a spray bottle for easy use, and you’re set to tackle those kitchen spills!
How to Use Your DIY Cleaner Effectively
To get the most out of your DIY floor cleaner, it’s important to use the right application techniques.
You’ll also want to know how to store your cleaner safely to keep it effective and prevent any accidents.
Let’s explore these key points to guarantee your cleaning routine is both efficient and safe. Additionally, using a crevice tool attachment can help you reach tight spots in your kitchen, ensuring a thorough clean.
Proper Application Techniques
Using the right application techniques can make all the difference in how effectively your DIY floor cleaner works.
Start by identifying your application surfaces; different materials may require different approaches. For hardwood or laminate, lightly mist the cleaner and use a microfiber mop to avoid excess moisture.
On tile or vinyl, you can apply the cleaner more liberally, but still use a mop for even distribution. Always allow the solution to sit for a minute or two to break down sticky residues.
When using your DIY cleaner, employ circular cleaning techniques to lift grime effectively. Remember to rinse your mop regularly to prevent spreading dirt around.
Safe Storage Tips
After you’ve mastered proper application techniques, knowing how to store your DIY floor cleaner is equally important for maintaining its effectiveness.
Proper sealing and cool storage are key to guaranteeing your cleaner remains potent and safe for use. Here are three tips to help you store your cleaner effectively:
- Use airtight containers: Choose glass or high-quality plastic bottles with proper sealing to prevent evaporation and contamination.
- Keep it cool: Store your cleaner in a cool, dark place, away from direct sunlight and heat sources to preserve its ingredients.
- Label your bottles: Clearly mark your containers with the contents and date to avoid confusion and guarantee you use the cleaner within an appropriate timeframe.
Tips for Tackling Different Types of Sticky Messes
While sticky messes can feel overwhelming, tackling them effectively is easier than you might think.
Sticky messes may seem daunting, but with the right approach, cleaning them can be a breeze.
For sticky syrup, start by soaking a cloth in warm water and a bit of dish soap, then wipe it away.
Greasy residue requires a stronger mix of vinegar and water to cut through the grease.
Dried sugar and flour spills can be swept up first, then cleaned with a damp cloth.
For fruit juice or wine stains, blot the area immediately with a paper towel and follow up with your DIY cleaner.
Oil splatters need a degreasing agent, while chocolate drips can be handled by scraping off excess and using warm soapy water to finish the job.
Incorporating eco-friendly scrub brushes can enhance your cleaning efforts and reduce environmental impact.
With these tips, you’ll conquer any sticky situation!
Natural Alternatives to Common Floor Cleaners
Here are three great alternatives:
- Vinegar and Water: Mix equal parts of vinegar and water for a versatile cleaner. Vinegar benefits include cutting through grease and disinfecting surfaces.
- Baking Soda Paste: Combine baking soda with water to create a paste. It’s excellent for scrubbing stubborn stains.
- Castile Soap Solution: Mix a few drops of Castile soap in a bucket of warm water. This gentle cleaner is perfect for daily use and safe on various floor types. Incorporating natural ingredients in your cleaning routine not only reduces chemical exposure but also promotes a healthier living environment.
Give these options a try!
Safety Precautions When Using DIY Cleaners
Although DIY cleaners can be safe and effective, it’s important to take certain precautions to guarantee your safety and that of your home.
First, always test your homemade cleaner on a small, inconspicuous area of your floor to verify it won’t cause damage.
When mixing ingredients, wear gloves and a mask to avoid skin irritation or inhaling fumes.
Keep your workspace well-ventilated, especially when using vinegar or essential oils.
Store your DIY cleaner out of reach of children and pets, as some ingredients can be harmful if ingested.
Finally, don’t mix different cleaners together, as this can create toxic reactions. Additionally, be cautious of mixing vinegar with bleach or ammonia, as this can produce hazardous fumes.
Following these DIY safety and cleaner precautions will help you clean effectively while keeping your environment safe.
How to Store Your Homemade Floor Cleaner
When it comes to storing your homemade floor cleaner, choosing the right container is key. You’ll also want to label it clearly to avoid any confusion later. Finally, consider where you keep it to guarantee it stays safe and effective. Additionally, ensure that any cleaning supplies are stored in a dry place to minimize contamination risks.
Best Container Options
Choosing the right container for your homemade floor cleaner is essential to maintain its effectiveness and guarantee safe storage. Here are three great options to evaluate:
1. Glass Spray Bottles: These are perfect for storing your cleaner, as they’re non-reactive and won’t leach harmful chemicals.
Plus, they’re eco-friendly!
2. Reusable Plastic Bottles: If you prefer lighter options, opt for high-density polyethylene (HDPE) bottles.
They’re durable and can be reused multiple times, reducing waste.
3. Funnel and Measuring Cups: While not a container in themselves, having these tools on hand makes it easier to transfer your cleaner into your chosen container without spills.
Labeling Your Cleaner
Once you’ve selected the right container for your homemade floor cleaner, it’s time to focus on labeling. Clear labeling is essential for cleaner organization and guarantees you grab the right solution when needed.
Use waterproof labels or permanent markers to jot down the cleaner’s name and its ingredients. Consider using labeling techniques like color-coding for different types of cleaners or adding symbols for quick recognition.
If your cleaner includes essential oils, note the scent to make your selection even easier. Don’t forget to include a date; homemade cleaners can lose effectiveness over time.
With proper labels, you’ll always know what’s in your bottles, making cleaning tasks more efficient and hassle-free.
Storage Location Tips
Storing your homemade floor cleaner properly is essential for maintaining its effectiveness and safety.
To guarantee your cleaning supplies stay potent, consider these storage solutions:
- Cool, Dark Place: Keep your cleaner away from direct sunlight and heat sources to prevent chemical breakdown.
- Sealed Containers: Use airtight bottles or jars to minimize exposure to air, which can degrade your cleaner over time.
- Labelled Storage: Clearly label your containers with the contents and date made to avoid confusion and guarantee you use them within their effective timeframe.
When to Seek Professional Help for Tough Stains?
When should you consider bringing in the professionals for those stubborn stains? If you’ve tried every DIY solution and the stains still won’t budge, it might be time to call for professional services.
Additionally, if the stains are large or affecting a high-traffic area, the risk of further damage increases, making expert help essential.
Stains from unknown sources or materials can also require special treatment that you mightn’t have the tools for. Remember, some stains can penetrate deep into the surface, and without the right techniques, you could end up making things worse. For instance, some stains may be categorized as hard water stains, which can require specific cleaning methods to effectively remove.
Don’t hesitate to seek help when you’re out of options—sometimes, a professional touch is the best way to restore your floors.
Conclusion
Creating your own floor cleaner for those sticky kitchen spills is a game changer. With just a few simple ingredients, you can tackle messes like a cleaning superhero. You’ll not only save money but also avoid harsh chemicals that can harm your home. Remember, your homemade cleaner is a powerful ally against grime. So, roll up your sleeves, whip up that concoction, and watch your floors shine brighter than a thousand suns! Happy cleaning!