To clean grease off your kitchen ceiling fan, start by gathering supplies like microfiber cloths, a soft-bristle brush, and a degreasing solution, such as vinegar and water. Turn off and unplug the fan before climbing a sturdy ladder to access the blades. Dampen a cloth with your cleaner and wipe down the blades thoroughly, using baking soda for stubborn spots. After cleaning, dry the blades with a clean towel. Stick around for tips on preventing future grease buildup!
Why You Should Clean Your Kitchen Ceiling Fan
Cleaning your kitchen ceiling fan isn’t just about aesthetics; it also plays an essential role in maintaining a healthy home environment. Dust and grease accumulate on your fan blades, which can circulate harmful particles throughout your kitchen. By keeping your fan clean, you enhance your indoor air quality, providing significant health benefits for you and your family.
Moreover, a clean ceiling fan adds to the aesthetic appeal of your kitchen, making it look fresh and inviting. When guests arrive, a sparkling fan reflects your commitment to cleanliness and hospitality. A tidy environment can enhance client confidence and support your reputation as a responsible host.
Taking the time to clean your fan not only supports your health but also elevates the overall atmosphere of your space, creating a more enjoyable cooking and dining experience.
Signs Your Ceiling Fan Needs a Clean
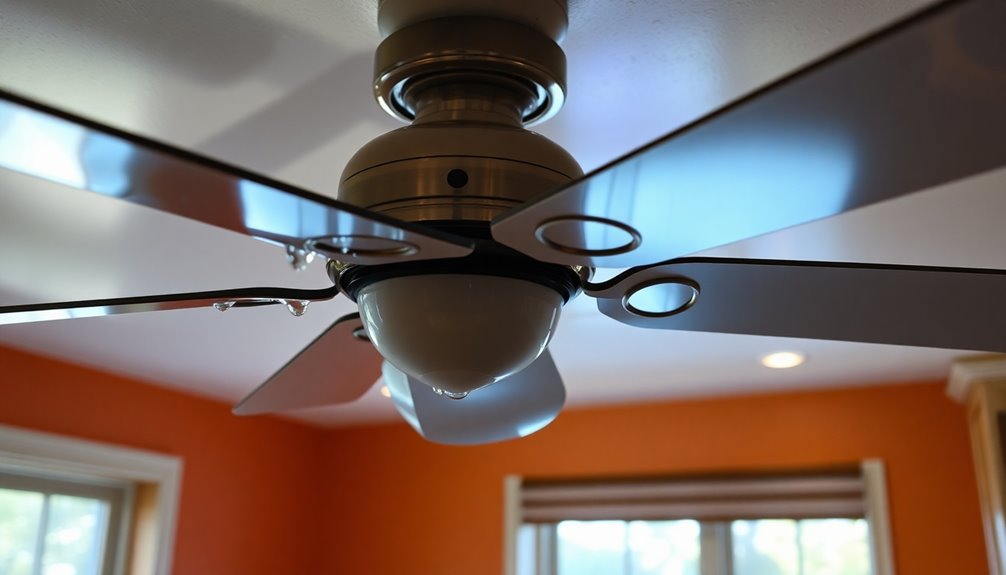
If you notice dust accumulating on your ceiling fan blades, it’s a clear sign that it needs a clean. Additionally, any unpleasant odors emanating from the fan can indicate grease buildup. Staying aware of these signs will help maintain a fresh and clean kitchen environment. Regularly using non-toxic cleaners can effectively eliminate grease without compromising your family’s health.
Accumulated Dust Buildup
You might notice that your kitchen ceiling fan isn’t circulating air as effectively as it once did, which often signals a need for a thorough cleaning.
One of the main culprits is dust accumulation. Over time, dust settles on the blades and motor, hindering performance and airflow. If you can see a visible layer of dust, it’s definitely time to take action.
Regular cleaning frequency is essential to prevent buildup; ideally, you should clean your ceiling fan every month, especially in a kitchen where grease can mix with dust.
Unpleasant Odors Emitting
Dust isn’t the only issue that can signal your ceiling fan needs attention; unpleasant odors can also be a telltale sign. If you notice lingering smells, it’s time to take action.
Here are some indicators that your fan could use a good clean:
- Musty or moldy scents
- Greasy or oily odors
- Cooking smells that won’t go away
- A general stale air feeling
These unpleasant odors often arise from grease and dust accumulating on the fan blades and motor.
When you run the fan, these particles get released into the air, creating an unpleasant atmosphere in your kitchen.
Regular cleaning can help eliminate these lingering smells and keep your space smelling fresh and inviting.
Essential Supplies for Cleaning Greasy Ceiling Fans
Cleaning greasy ceiling fans requires a handful of essential supplies that make the task easier and more effective.
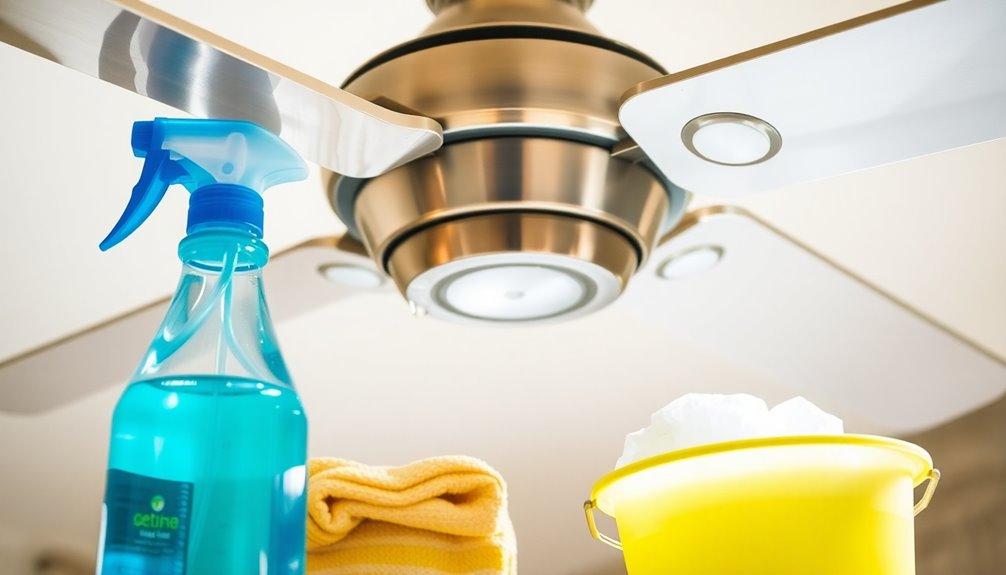
First, gather your cleaning tools, including microfiber cloths, a soft-bristle brush, and a ladder or step stool for safe access. You’ll also need degreasing solutions; you can use a store-bought product or create your own by mixing vinegar and baking soda. A spray bottle is handy for applying the solution evenly.
Don’t forget gloves to protect your hands from grease and chemicals. Finally, have a bucket or tray ready to catch any drips. Using eco-friendly alternatives like baking soda and vinegar can help you maintain a healthier kitchen environment.
With these supplies, you’ll be well-equipped to tackle that greasy build-up and restore your ceiling fans to their original shine. Happy cleaning!
Step-by-Step Guide to Safely Remove Fan Blades
Before you start removing the fan blades, it’s essential to take some safety precautions.
You’ll need specific tools to guarantee the process goes smoothly and safely.
Once you’ve got everything ready, you can follow the proper cleaning techniques to keep your ceiling fan in top shape. Regular degreasing helps maintain kitchen hygiene while preventing grease buildup on your fan blades.
Safety Precautions First
Safety should always come first when tackling the task of removing fan blades for cleaning.
Before you start, make certain you’ve set up a safe cleaning environment and equipped yourself with the right safety gear.
Here are some essential precautions to take:
- Wear safety goggles to protect your eyes from debris.
- Use gloves to prevent cuts or scrapes.
- Confirm the fan is turned off and unplugged.
- Stand on a sturdy ladder to reach the blades safely.
Tools Required For Removal
Having taken the necessary safety precautions, you’re now ready to gather the tools needed for removing the fan blades.
Start with a screwdriver, either flathead or Phillips, depending on your fan’s screws. You’ll also need a ladder or step stool to reach the blades safely. A soft cloth can come in handy for holding the blades steady during removal.
If your fan uses clips or pins, have pliers ready to help you with those. Familiarize yourself with the removal techniques specific to your fan model, as some might require additional tools.
With these cleaning tools at your side, you’ll guarantee a smoother and safer removal process, setting you up for effective cleaning afterward.
Proper Cleaning Techniques
When it comes to cleaning grease off your kitchen ceiling fan, knowing the right steps to safely remove the blades makes all the difference.
Follow this guide to guarantee a thorough and safe cleaning process:
- Turn off the power to the fan.
- Use a ladder to reach the blades comfortably.
- Carefully unscrew or unclip the blades, keeping track of hardware.
- Clean the blades using eco-friendly solutions like vinegar and water.
Establish a regular cleaning schedule to prevent grease buildup, making your job easier.
By sticking to your cleaning schedules and using eco-friendly solutions, you’ll keep your kitchen fan in top shape while guaranteeing a healthier environment.
Happy cleaning!
How to Degrease Fan Blades With Natural Cleaners
Cleaning grease off your kitchen ceiling fan blades doesn’t have to involve harsh chemicals; in fact, you can use simple natural cleaners that are often already in your home.
Start by mixing equal parts water and vinegar to create a vinegar solution. This effective cleaner breaks down grease effortlessly. Dampen a cloth with the solution and wipe the blades thoroughly.
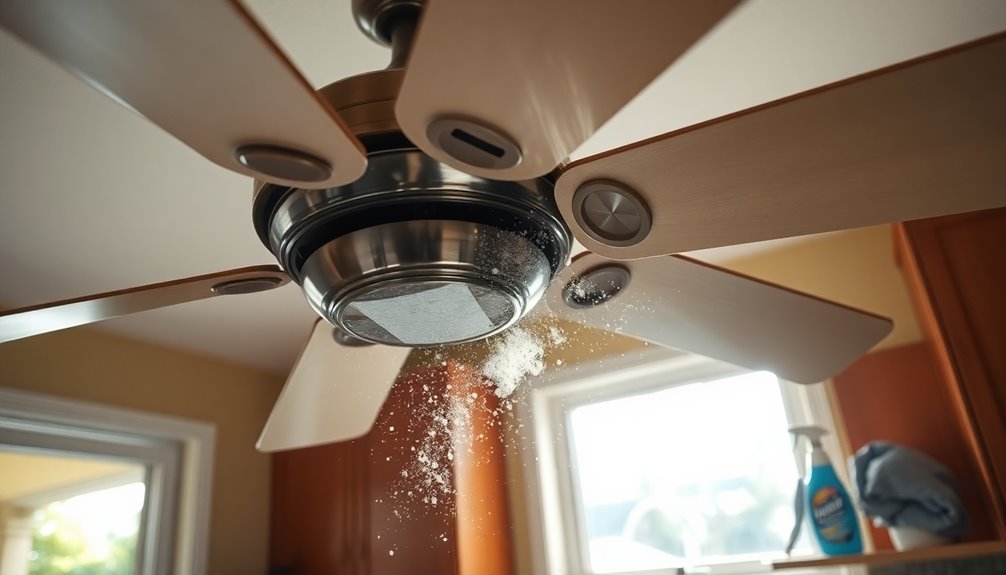
For stubborn spots, sprinkle a bit of baking soda directly onto the blade, then scrub gently with a soft cloth. The baking soda acts as an abrasive to lift the grease without scratching the surface. Using natural cleaners not only ensures a safer cleaning process but also protects your home’s air quality.
Rinse your cloth with water, wipe the blades again to remove any residue, and dry them with a clean towel to finish the job.
Using Store-Bought Cleaners: What to Know
While natural cleaners are a great option for removing grease from ceiling fan blades, sometimes you might prefer the convenience of store-bought products.
When selecting a cleaner, keep these points in mind for ideal grease removal and cleaner effectiveness:
- Check for a specifically labeled degreaser.
- Verify it’s safe for your fan’s material.
- Look for easy application methods, like spray or wipes.
- Read reviews to gauge user satisfaction.
Store-bought cleaners can save you time and effort, but always test a small area first to avoid any damage. Additionally, using microfiber mops can enhance your cleaning routine by effectively capturing dirt and grease without scratching surfaces.
With the right product, you’ll quickly tackle that grease, leaving your ceiling fan looking fresh and clean.
Tips for Cleaning Fan Motors and Other Components
Before you start cleaning the fan motor and other components, make certain to disconnect the power source to guarantee your safety. Choosing the right cleaners is essential for effectively removing grease without damaging the parts. For a natural approach, consider using a solution of vinegar, which contains 4-6% acetic acid that can help break down grease. Let’s explore some tips to keep your fan running smoothly while looking great.
Disconnect Power Source
To guarantee your safety and prevent any electrical hazards, it’s crucial to disconnect the power source before you start cleaning your ceiling fan. Confirming power safety is a critical step in fan maintenance, protecting both you and the fan’s components.
Here’s how to disconnect safely:
- Turn off the wall switch controlling the fan.
- If applicable, unplug the fan from the outlet.
- Check your circuit breaker to verify the power is off.
- Use a multimeter to confirm there’s no electricity flowing to the fan.
Use Appropriate Cleaners
Once you’ve confirmed the power is off, selecting the right cleaners for your ceiling fan is essential for effective maintenance.
For greasy buildup, natural degreasers like vinegar and baking soda work wonders. Mix a solution of equal parts vinegar and water or create a paste with baking soda and water. Avoid harsh chemicals that can damage motor components and finishes.
When cleaning fan motors and other parts, use a soft cloth dampened with your chosen cleaner, ensuring you’re gentle.
Stick to your cleaning schedules—aim for monthly maintenance to prevent grease accumulation. This will keep your fan running smoothly and looking good.
Regular upkeep saves time and effort in the long run, making your kitchen a cleaner, fresher space.
How to Clean Fan Light Fixtures Effectively
How can you guarantee your fan light fixtures shine like new? Effective light fixture maintenance is key.
With the right cleaning techniques, you can keep your fixtures looking pristine. Here are some steps to follow:
- Turn off the power to the fan.
- Use a microfiber cloth dampened with a gentle cleaner.
- Gently wipe the glass and metal surfaces, avoiding harsh chemicals.
- For tough grease, a mixture of vinegar and water works wonders, as the acidic nature of vinegar breaks down oils and dirt.
Regularly cleaning your fan light fixtures not only enhances their appearance but also guarantees peak performance.
Make this a part of your routine, and you’ll enjoy bright, sparkling fixtures that elevate your kitchen’s ambiance.
Don’t forget to check for loose bulbs or fittings while you’re at it!
Preventing Grease Buildup on Your Ceiling Fan
While grease buildup on your ceiling fan is often unavoidable in a busy kitchen, there are effective strategies to minimize it.
First, focus on grease prevention by using an exhaust fan or range hood while cooking. This helps eliminate airborne grease particles before they settle on surfaces.
Using an exhaust fan or range hood while cooking effectively reduces airborne grease particles, keeping your kitchen surfaces cleaner.
Additionally, make sure your kitchen ventilation is ideal; open windows or use fans to improve air circulation, reducing the amount of grease that sticks to your ceiling fan.
Regularly clean your kitchen to prevent grease from accumulating around the cooking area.
Finally, consider using splatter screens when frying or sautéing to contain grease and keep your ceiling fan cleaner for longer. Implementing these tips will go a long way in keeping your ceiling fan grease-free. Furthermore, hiring a reliable local drain cleaning service can help ensure that any grease-related plumbing issues are addressed promptly.
Best Practices for Regular Maintenance of Ceiling Fans
Here are some essential fan maintenance tips to keep in mind:
- Dust the blades weekly to prevent grease buildup.
- Wipe down the motor and pull chain with a damp cloth.
- Check the balance of the fan to minimize noise and wear.
- Inspect the wiring and connections every few months for safety. Regular cleaning of your ceiling fan can also improve indoor air quality, helping to reduce allergens like dust mites and mold.
When to Consider Professional Cleaning Services?
If you notice persistent grease buildup on your kitchen ceiling fan despite regular cleaning efforts, it might be time to contemplate professional cleaning services.
Professional assessments can help identify underlying issues, such as poor ventilation or inadequate cleaning techniques. If you’re struggling to keep up with cleaning schedules and find yourself overwhelmed by the task, hiring experts can relieve that burden.
They’ve specialized equipment and techniques that can effectively eliminate stubborn grease, ensuring your fan operates efficiently.
Additionally, if you’re preparing for a special occasion or simply want to maintain a clean kitchen environment, professionals can provide thorough cleaning that may be hard to achieve on your own.
Don’t hesitate to seek help when needed!
Conclusion
Cleaning your kitchen ceiling fan may seem like a chore, but it’s an essential step in maintaining a healthy cooking environment. Just like a well-tuned instrument, a clean fan enhances your kitchen’s harmony. By regularly tackling grease buildup, you not only prolong the life of your fan but also create a more inviting space for family and friends. So, roll up your sleeves and embrace the task—your kitchen will thank you for it!