To make your shower and grout look brand new, start by gathering essential tools like a grout brush, protective gloves, and non-toxic cleaners. Use a mixture of baking soda and vinegar for effective scrubbing, and consider commercial products for tough stains. Regular maintenance is key; wipe down surfaces after use to prevent buildup. If you want to achieve an even fresher appearance, keep exploring further techniques and tips that can transform your space.
Understanding Grout and Its Challenges
When it comes to bathroom maintenance, understanding grout and its challenges is fundamental for keeping your space looking fresh.
Grout’s porous nature means it easily absorbs stains and dirt, leading to discoloration without regular grout cleaning. If installed improperly or exposed to excess moisture, grout can crack, allowing water seepage and fostering mold growth.
Grout’s porous nature makes it prone to stains and cracks, emphasizing the need for regular maintenance to prevent mold growth.
You’ll often face cleaning challenges like soap scum buildup, which requires dedicated tools like grout brushes or electric cleaners to tackle effectively.
Be mindful of your cleaning solutions too; abrasive cleaners can damage grout, making it important to use non-abrasive options. Regular cleaning and sealing are essential to prevent long-term damage and maintain a clean, attractive appearance in your tiled areas. Additionally, using a homemade paste with baking soda and hydrogen peroxide can effectively remove dirt and grime from grout lines.
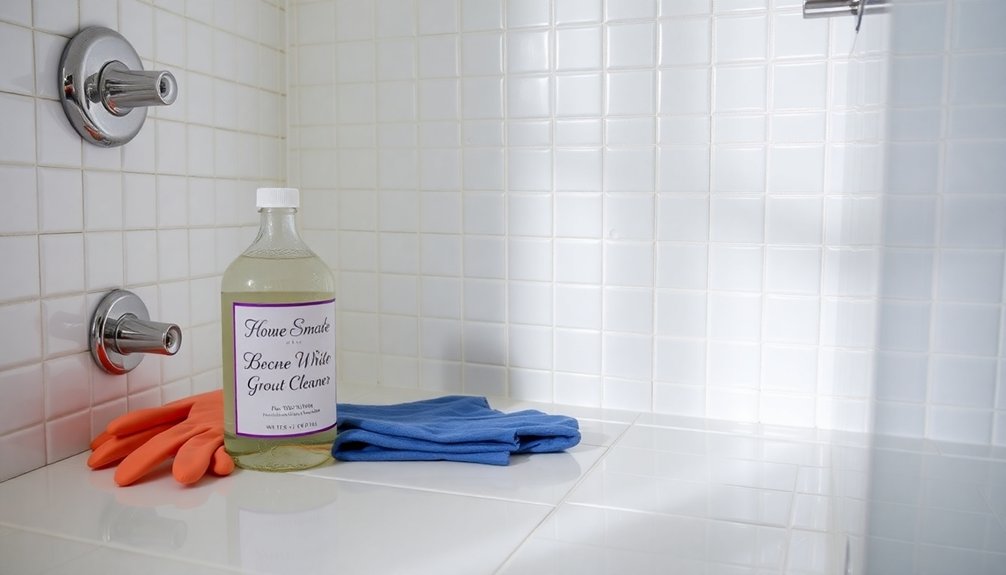
Essential Tools for Grout Cleaning
To tackle grout cleaning effectively, you’ll need the right tools and products at your side.
A good grout brush or an old toothbrush will help you scrub away stubborn stains, while protective gloves and eyewear keep you safe.
Don’t forget microfiber cloths for rinsing and electric grout cleaners for an easier experience! Additionally, using non-toxic cleaners will ensure that your family and pets are safe while you achieve a sparkling clean.
Recommended Cleaning Products
Choosing the right cleaning products can make all the difference in your grout cleaning efforts. Here are some recommended cleaning solutions to evaluate:
- Brand A Cold Grout Cleaner: This specialized cleaner comes with a spray nozzle and brush, making it simple to apply effectively on grout lines.
- Route Groovy Electric Grout Cleaner: An electric tool that rotates back and forth, it’s perfect if you’d rather skip manual scrubbing.
- Baking Soda and Vinegar Paste: Combine these to create a powerful cleaning solution that loosens grime when applied and left to sit.
- Wet and Forget Showers: Incorporate this into your weekly routine to manage soap scum and maintain a pristine shower.
With these products, you’ll achieve a sparkling clean grout effortlessly!
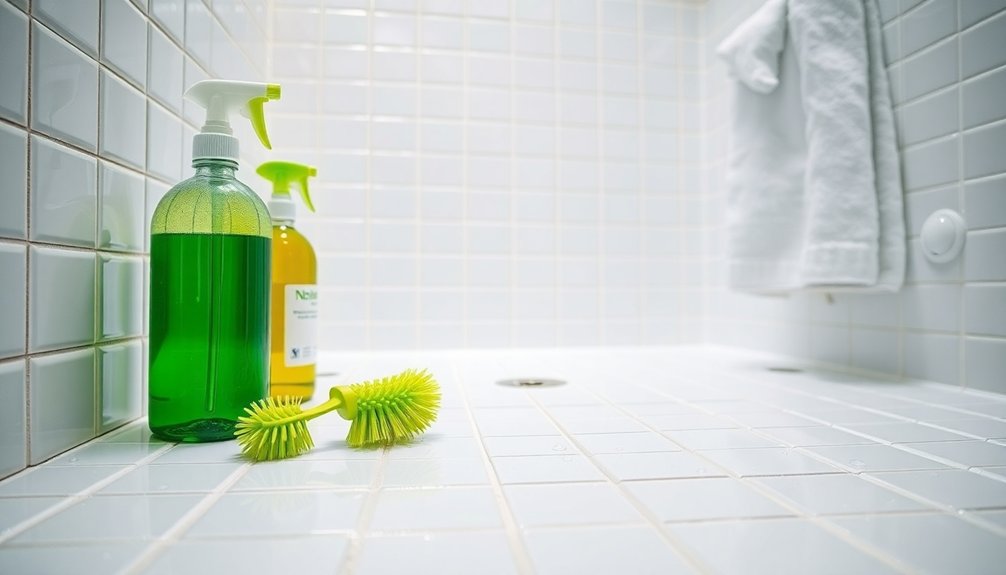
Necessary Scrubbing Tools
Effective grout cleaning requires a few essential scrubbing tools that make the job easier and more efficient.
First and foremost, you’ll need a grout brush, which is specifically designed to reach into those porous grout lines for a deep clean. If you don’t have one, an old toothbrush can work in a pinch.
A microfiber cloth or sponge is vital for rinsing off any cleaning solutions, ensuring no residue remains. Don’t forget to wear protective gloves and eyewear to shield yourself from harsh chemicals and splashes.
Proper ventilation is also key, so open doors and run fans while cleaning.
Finally, consider using a grout-specific cleaning solution to enhance your scrubbing efforts and tackle tough dirt effectively.
Effective DIY Grout Cleaning Solutions
When it comes to cleaning grout, you’ve got plenty of options at your fingertips.
You can mix natural remedies like baking soda and vinegar or choose commercial products designed for tough stains.
Plus, incorporating maintenance tips can keep your grout looking fresh longer, making your cleaning routine easier. Consider using natural cleaning agents to enhance your grout cleaning efforts effectively.
Natural Cleaning Remedies
If you want to keep your bathroom grout looking fresh and clean without relying on harsh chemicals, natural cleaning remedies can be your best friend.
Here are some effective DIY solutions:
- Baking Soda Paste: Mix baking soda and white vinegar to create a powerful paste. Apply it to grout lines and let it sit for 5-10 minutes before scrubbing.
- Essential Oils: Add a few drops of tea tree oil to your cleaning solution for added antibacterial benefits.
- Hydrogen Peroxide: For tough stains, combine hydrogen peroxide and baking soda to boost cleaning power.
- Regular Maintenance: Use a baking soda and water mix regularly to prevent soap scum buildup and discoloration.
These remedies can keep your grout looking brand new without the harsh chemicals.
Commercial Cleaning Products
While natural remedies can do wonders for your grout, commercial cleaning products offer targeted solutions that can tackle even the toughest stains.
For instance, Brand A Cold Grout Cleaner comes with a spray nozzle and brush, allowing you to apply the solution effectively and let it sit before scrubbing.
If you prefer a hands-free option, the Route Groovy grout cleaner uses a rotating mechanism to clean grout lines thoroughly.
Specialty commercial cleaning products are formulated specifically to dissolve soap scum, mildew, and mold, making them far more effective than standard cleaners.
For ongoing maintenance, consider using Wet and Forget Showers weekly to manage soap scum, keeping your grout looking fresh and vibrant.
Maintenance Tips
Maintaining clean grout doesn’t have to be a chore, especially with effective DIY solutions at your fingertips.
Try these simple methods to keep your grout looking fresh:
- Mix baking soda and white vinegar for a natural grout cleaner. Let it sit for 5-10 minutes before scrubbing with a grout brush.
- For tougher stains, use a grout cleaner with a spray nozzle. Apply it to grout lines, wait 2-3 minutes, then scrub with a large toothbrush.
- Incorporate a weekly maintenance spray like Wet and Forget Showers to manage soap scum effortlessly.
- Consider electric grout cleaning tools, like the Route Groovy, for a strain-free clean.
Always rinse thoroughly to remove residues and prevent discoloration, ensuring your grout stays in great shape.
Step-by-Step Guide to Cleaning Shower Grout
Cleaning shower grout doesn’t have to be an intimidating task; with the right approach, you can restore its original shine in just a few simple steps.
Start by mixing baking soda and water to create a cleaning paste. Apply this paste to the grout lines and let it sit for 5-10 minutes to loosen dirt and stains.
Next, grab a grout brush or an old toothbrush, and scrub the grout in circular motions to lift dirt effectively. Rinse off the cleaner thoroughly using a shower wand or a clean cloth, repeating the process for stubborn stains if needed.
For long-term maintenance, consider using products like Wet and Forget Showers weekly, as regular disinfection is essential for maintaining a hygienic bathroom environment.
Finally, allow the grout to dry for 24 hours to prevent water damage.
Alternative Cleaning Methods to Consider
If you’re looking for effective alternatives to traditional grout cleaning methods, several options can help you tackle stubborn stains with ease.
Here are four methods to evaluate:
- Baking Soda and Vinegar: Mix these two powerful cleaners, apply to grout, and let sit for 5-10 minutes before scrubbing to lift dirt and stains.
- Route Groovy Grout Cleaner: This electric tool simplifies the cleaning process, eliminating the need for manual scrubbing.
- Wet and Forget Showers: Spray weekly after deep cleaning to manage soap scum and prevent buildup.
- Drill Attachment: Use this tool for scrubbing tough stains, greatly reducing your cleaning effort.
In addition, regular maintenance, such as wiping down surfaces after each use, can help minimize grime and keep your shower and grout looking fresh without the hassle of traditional cleaning.
Choosing the Right Grout Paint Color
How do you choose the perfect grout paint color for your bathroom? Start by considering how the color will blend with your tile and lighting.
Remember, grout look can change dramatically under different lighting conditions. Polyblend Grout Renew offers over three dozen options; Oyster Gray is a popular choice for a natural vibe against dark slate.
Grout appearance can shift significantly with lighting; consider Oyster Gray for a natural look against dark slate.
Be cautious, though—some users find colors appear lighter post-application, so opting for a slightly darker shade might be wise. Additionally, using liquid soaps can help maintain a cleaner appearance and reduce the risk of soap scum affecting your grout color.
Before applying, verify your surface is clean for better adhesion and appearance. Always test a small area first to see how the color interacts with your tiles.
This way, you can achieve the grout look you desire without surprises.
Applying Grout Renew for a Fresh Look
Now that you’ve chosen the perfect grout color, it’s time to apply Grout Renew for a fresh look. You’ll want to master the application techniques to achieve a smooth, even finish without getting stuck in a corner. With the right approach, you’ll transform your grout and enjoy a vibrant, clean space. Regular disinfection of your bathroom surfaces is essential to prevent harmful bacteria from accumulating and ensure a safe environment.
Color Selection Tips
Choosing the right color for Grout Renew can make a significant difference in the overall look of your bathroom or kitchen. Here are some color selection tips to help you choose wisely:
- Blend with Tile: Consider colors that complement your tile and lighting; Oyster Gray works wonders with dark slate tiles.
- Explore Options: With over three dozen colors, you can customize to fit your aesthetic preferences.
- Test First: Since color accuracy may vary, always test a small area to guarantee you’re happy with the outcome.
- Adjust as Needed: If your chosen color seems lighter after application, opt for darker shades to align with your design vision.
These tips will help you achieve a fresh look you’ll love!
Application Techniques Explained
Applying Grout Renew can transform your bathroom or kitchen, giving it a fresh and updated appearance. To achieve the best results, follow these application techniques explained.
Start by cleaning and drying the grout lines thoroughly to guarantee proper adhesion. Use a thin craft brush for precise application, allowing you to control the product and avoid getting trapped in corners.
Apply Grout Renew in thin layers, working in sections to make quick corrections if needed. Remember, this process may take multiple days due to drying times; allow 24 hours for drying and avoid water exposure for 72 hours afterward.
If you’re concerned about color, opt for a darker shade to achieve your desired aesthetic effect.
Maintenance Tips for Long-Lasting Results
To keep your bathroom grout looking fresh and clean, it’s essential to establish a regular maintenance routine. Here are some maintenance tips to guarantee long-lasting results:
- Clean Weekly: Use non-abrasive cleaners like Mrs. Meyers or Dr. Bronner’s to prevent soap scum and mildew buildup.
- Use Effective Products: Implement Wet and Forget Showers to manage soap scum with minimal effort.
- Prepare Surfaces: Thoroughly clean before applying grout renewal products for effective adhesion.
- Reapply as Needed: In high-moisture areas, reapply grout renewal products regularly to maintain appearance and integrity.
Remember to allow at least 24 hours for drying and avoid water for 72 hours after application for peak performance. Additionally, establish a regular cleaning routine with mild, non-abrasive cleaners to further enhance the longevity of your grout.
Troubleshooting Common Grout Cleaning Issues
Even with a solid maintenance routine, you might still face some common grout cleaning issues. Stubborn discoloration often results from soap scum and improper cleaning.
If traditional methods like baking soda and vinegar don’t work, consider regrouting or using a grout renewal product like Polyblend Grout Renew. This can restore your grout’s appearance with minimal effort.
When applying these products, use a thin craft brush for precision, and make sure to clean surfaces beforehand for the best results. Keep in mind that the renewal process takes several hours, including drying time—avoid water exposure for 72 hours after application. To enhance the effectiveness of your cleaning efforts, consider using hydrogen peroxide as a disinfectant, which can help lift dirt from grout and kill mold and mildew.
For ongoing maintenance, incorporate a product like Wet and Forget Showers weekly to manage soap scum and keep your grout looking fresh.
Community Success Stories and Tips
While many homeowners initially feel overwhelmed by grout cleaning, countless success stories from the community reveal that transforming your bathroom is entirely achievable.
Here are some helpful tips from fellow DIYers:
- Use Polyblend Grout Renew for a stunning aesthetic change—over 3 dozen colors available!
- Apply with a thin craft brush for precision, and plan your starting point to avoid getting trapped.
- Clean surfaces thoroughly before application to guarantee the best results and minimize mistakes.
- After renewal, enjoy reduced cleaning time with easy maintenance using non-abrasive cleaners like Mrs. Meyers.
Additionally, consider using natural disinfectants to maintain a clean and eco-friendly bathroom environment. These community success stories inspire many to tackle similar projects, showcasing that a beautiful bathroom transformation is within reach!
Conclusion
So, after all that effort to scrub and shine, you might think your grout is now invincible. Ironically, it’s only as good as your maintenance routine. Remember, neglecting it again means you’ll soon be back at square one, battling grime. But hey, at least you’ve got the tools and tricks up your sleeve now! Embrace the cycle, enjoy the sparkle while it lasts, and keep that fresh look alive with a little regular TLC.