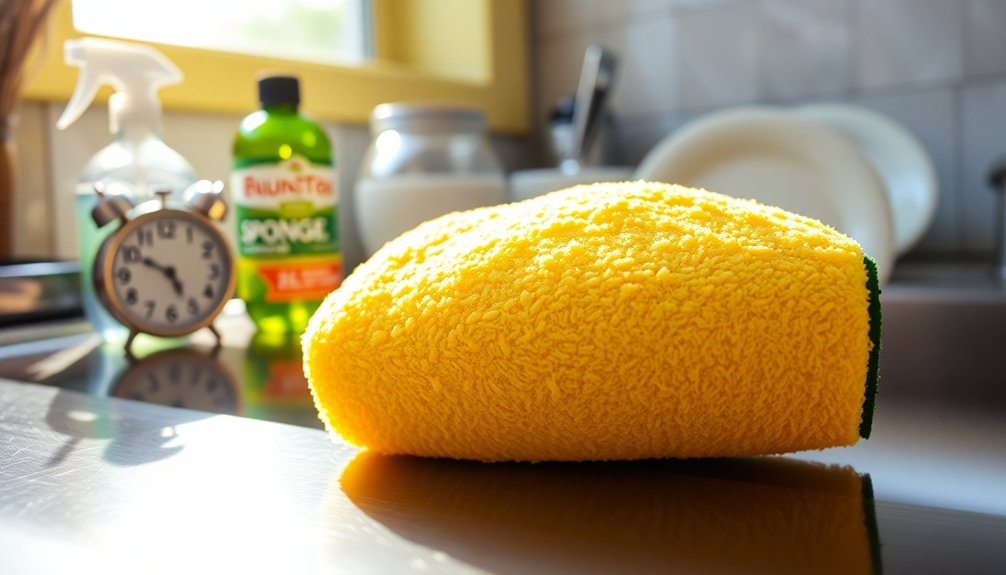
Your kitchen sponge can definitely be a germ factory, harboring millions of bacteria. To keep it clean, rinse and wring it out after every use, and deep clean it every few days. Replace your sponge weekly, especially if it shows signs of damage or odor. For effective sanitation, try methods like microwaving or soaking in vinegar. If you’re curious about more cleaning tips and best practices, there’s plenty more to discover.
Understanding the Problem: Why Sponges Harbor Germs
Although sponges seem like innocent kitchen tools, they can be a breeding ground for harmful bacteria. Kitchen sponges are highly absorbent, retaining moisture and food particles that create an ideal environment for bacteria to thrive.
Studies reveal that used sponges can harbor millions of bacteria, with some exceeding 32 million over time. A National Science Foundation study found that 75% of sponges tested positive for coliform bacteria, often linked to fecal contamination.
Shockingly, sponges can be more contaminated than a toilet seat, posing significant health risks. When you use them on cooking surfaces or dishes, you risk cross-contamination, leading to foodborne illnesses. To maintain kitchen hygiene, it’s crucial to clean and regularly replace sponges. Regular cleaning helps reduce harmful chemical exposure and promotes a healthier indoor environment.
How Often to Clean a Kitchen Sponge
To keep your kitchen sponge in the best condition, it’s essential to clean it regularly. Start by rinsing and wringing out your sponge thoroughly after every use to minimize bacteria from the sponge.
Aim to deep clean your sponge every few days; this helps prevent germ accumulation. If you’ve used it for cleaning raw meat or hazardous foods, it’s best to disinfect your sponge daily.
Additionally, consider cleaning your sponge weekly to maintain ideal kitchen hygiene. Remember, regular replacement of sponges is key—discard yours at the first sign of damage or odor. Using techniques such as hydrogen peroxide can effectively disinfect your sponge and reduce harmful bacteria.
How Often to Replace a Kitchen Sponge

You should keep an eye out for any signs of damage or odor in your kitchen sponge, as these are clear indicators it’s time for a replacement. Experts recommend swapping out your sponge weekly to reduce the risk of harmful bacteria and foodborne illnesses. Regularly replacing your sponge not only helps maintain kitchen hygiene but also protects your health. Additionally, using non-toxic cleaners can further enhance your kitchen’s sanitation and reduce the risk of germs.
Signs of Damage
A kitchen sponge can quickly become a breeding ground for bacteria if not monitored closely. You should replace your sponge at the first sign of damage to keep your kitchen hygienic.
Here are four signs you shouldn’t ignore:
- Tears: Any visible rips or holes can trap bacteria.
- Fraying: Worn-out edges may harbor germs and reduce cleaning effectiveness.
- Unpleasant odor: A foul smell often indicates bacterial growth.
- Discoloration: Any unusual color changes can signal contamination.
Recommended Replacement Frequency
Replacing your kitchen sponge every week is a smart practice to maintain hygiene. This replacement frequency minimizes the risk of harboring harmful bacteria and guarantees a clean environment for food preparation.
At the first sign of damage or odor, it’s time to replace your kitchen sponge, as these are clear indicators of bacterial contamination. Studies show that sponges can contain millions of bacteria, making frequent replacements essential.
Consider buying a large pack of sponges to facilitate weekly swaps, so you always have a clean sponge on hand. You might also explore alternatives like antibacterial wipes or machine-washable towels to enhance your kitchen hygiene and reduce reliance on traditional sponges as cleaning tools.
Health Risks Involved
Maintaining a clean kitchen goes beyond simply swapping out your sponge regularly; it’s essential to understand the health risks involved.
Kitchen sponges can harbor millions of bacteria, including coliform bacteria linked to fecal matter. To minimize these risks, follow these guidelines:
- Replace sponges weekly to maintain hygiene standards.
- Soak and disinfect sponges regularly, but remember this won’t eliminate all bacteria.
- Watch for damage or odors; these are signs it’s time to replace your sponge.
- Invest in a large pack of sponges for easy weekly replacements.
Best Practices for Keeping Your Sponge Germ-Free
How can you guarantee your sponge stays germ-free and effective? First, sanitize your sponge daily, especially after cleaning raw meat or hazardous foods, to minimize cross-contamination.
Use effective cleaning methods like microwaving it for 90 seconds, soaking in vinegar for five minutes, or running it through the dishwasher on the hottest cycle to disinfect thoroughly.
After cleaning, store your sponge in a dry place to reduce moisture, which encourages bacterial growth.
Don’t forget to replace your sponge at the first sign of damage or odor; contaminated sponges can harbor more bacteria than a toilet seat.
Consider using alternatives like dishcloths or brushes for easier cleaning and better hygiene management in your kitchen. Additionally, opt for eco-friendly cleaners to maintain a cleaner environment while reducing plastic waste.
How to Clean a Kitchen Sponge With Vinegar
Cleaning your kitchen sponge with vinegar is a simple yet effective way to eliminate bacteria.
Start by soaking the sponge in white vinegar for about 5 to 7 minutes, which helps kill germs.
After that, rinse it with hot water and wring it out to keep it fresh and odor-free. Additionally, using natural cleaning agents like vinegar can contribute to a healthier home environment.
Vinegar Cleaning Benefits
A kitchen sponge can be a breeding ground for bacteria, but using vinegar offers an easy solution to keep it sanitized. Here are some vinegar cleaning benefits to reflect upon:
- Effective Disinfection: Soaking your sponge in full-strength white vinegar for 5 to 7 minutes kills many bacteria, making it a powerful natural disinfectant.
- Eco-Friendly: Vinegar is a non-toxic alternative to harsh chemical cleaners, ensuring a safer kitchen environment.
- Thorough Cleaning: After soaking, rinsing your sponge with hot water removes residual vinegar and food particles, enhancing cleanliness.
- Bacteria Prevention: Regular vinegar cleaning helps prevent bacterial build-up, keeping your sponges safer for food contact.
Incorporating vinegar into your cleaning routine can greatly improve your kitchen hygiene.
Soaking Process Explained
While you mightn’t think about it often, soaking your kitchen sponge in vinegar is a simple yet effective way to keep it sanitized.
To disinfect a sponge, fill a bowl with white vinegar and soak the sponge for 5 to 7 minutes. This process effectively kills the bacteria that can cause illness.
After soaking, rinse the sponge thoroughly with hot water to wash away any vinegar residue and dislodged germs. Wring it out well to eliminate excess moisture, which helps prevent bacteria from regrowing.
For peak hygiene, regularly cleaning sponges with vinegar every few days can prolong their lifespan and maintain a cleaner kitchen environment.
Make this soaking process a part of your routine for a healthier home!
Rinsing and Drying Tips
After soaking your sponge in vinegar, rinsing and drying it properly is key to maintaining cleanliness.
Follow these steps to guarantee your sponge stays clean and bacteria-free:
- Rinse the sponge thoroughly under hot water to wash away the vinegar and loosened debris.
- Wring the sponge well to remove excess water. This helps prevent further bacterial growth.
- Avoid placing the sponge in a damp environment; moisture promotes bacteria.
- Air dry the sponge in a well-ventilated area to verify it dries completely.
Incorporating these rinsing and drying tips every few days can greatly reduce the bacterial load on your sponge, keeping your kitchen hygienic and safe.
How to Clean a Kitchen Sponge With Boiling Water
Cleaning your kitchen sponge with boiling water is a simple yet effective way to eliminate harmful bacteria.
Start by boiling 1 cup of water in a pot; the high temperature will effectively kill germs. Once the water boils, use a kitchen spoon to fully submerge the sponge and let it boil for 5 to 7 minutes to sanitize it properly.
Boil 1 cup of water, submerge the sponge, and let it sanitize for 5 to 7 minutes to kill germs effectively.
Afterward, allow the sponge to cool before carefully removing it to avoid burns. Wring out any excess water and let it air dry in a well-ventilated area to reduce moisture that can promote further bacterial growth. This method can greatly reduce the bacterial load, but remember to regularly replace sponges to maintain kitchen hygiene, as the cleanliness of surfaces directly correlates with overall home hygiene.
How to Clean a Kitchen Sponge in the Dishwasher
One effective way to sanitize your kitchen sponge is by using the dishwasher. Follow these simple steps to clean a sponge effectively:
- Place the Sponge: Put your sponge on the top rack of the dishwasher to guarantee it’s exposed to hot water and soap.
- Add Detergent: Include dishwasher detergent to help remove grease and food particles from the sponge.
- Select the Cycle: Run the dishwasher on the longest cycle with the highest heat dry setting to maximize sanitation and kill bacteria.
- Regular Cleaning: Aim to sanitize your sponge in the dishwasher at least once a week to maintain hygiene and minimize bacterial buildup. Additionally, consider using effective disinfectants to further ensure your kitchen remains germ-free.
Just make certain your sponge is dishwasher-safe to avoid any damage!
How to Clean a Kitchen Sponge in the Microwave
If you want a quick and effective way to sanitize your kitchen sponge, using the microwave can be a game changer.
Start by rinsing your dirty sponge thoroughly with water to keep it damp, which helps prevent fire hazards during microwaving. Place the wet sponge on a microwave-safe dish and heat it on high for about 90 seconds.
This process effectively kills up to 99% of bacteria without harsh chemicals. It’s important to clean your sponge daily, especially after handling raw meats. Additionally, consider using cleaning vinegar as a natural disinfectant for other kitchen surfaces.
After microwaving, handle it carefully, as it’ll be hot, and let it cool before wringing it out. Remember, replace sponges regularly at the first sign of damage or odor to maintain ideal kitchen hygiene.
Conclusion
To summarize, keeping your kitchen sponge clean is essential to avoid turning it into a germ factory. By regularly cleaning and replacing your sponge, you can guarantee a healthier cooking environment. So, why risk contamination with a dirty sponge when simple cleaning methods can keep germs at bay? Make it a habit to check your sponge regularly, and you’ll enjoy peace of mind knowing you’re taking the right steps to protect your home and family.