To clean a room like a pro, start from the top and work your way down. Dust high surfaces first, like ceiling fans and light fixtures, then move to counters and furniture. Use microfiber cloths for effective dusting, and don’t forget to lift knick-knacks to clean underneath. Finish with vacuuming carpets and mopping hard floors. This method keeps dust from settling on already cleaned areas. There’s plenty more to discover about each step of this cleaning technique.
Understanding the Top-to-Bottom Cleaning Approach
When you clean a room, starting from the top and working your way down is essential for an effective process. This top-to-bottom cleaning approach helps you tackle high surfaces first, like ceilings and shelves, guaranteeing dust and debris fall to areas you’ll clean later.
By adopting this systematic method, you enhance efficiency, minimizing the need for re-cleaning already addressed surfaces. You’ll also want to follow a left-to-right or clockwise pattern to guarantee you don’t overlook any spots.
This organization streamlines your tasks and leads to a thorough clean. Ultimately, focusing on high surfaces first helps create a more hygienic and visually appealing living environment, making your space feel fresh and inviting. Additionally, investing in high-quality cleaning tools can significantly improve your cleaning outcomes.
Essential Cleaning Tools and Supplies
To clean a room effectively, you’ll need a few essential tools and supplies that can make the process quicker and more efficient.
Start with microfiber cloths for dusting and an all-purpose cleaner for surfaces. A good vacuum is crucial for both carpets and hard floors, ensuring a thorough clean.
Don’t forget a sturdy mop for your hard surfaces to tackle dirt and spills. For specialized tasks, invest in a squeegee for windows and a grout brush for bathroom tiles.
Organizing your cleaning supplies in a caddy keeps everything handy and accessible. While disposable wipes are convenient, opt for reusable cloths to be more eco-friendly and cost-effective. Regularly maintaining high-touch areas ensures a hygienic environment while cleaning.
With these tools, you’re ready to tackle any cleaning challenge!
Step-by-Step Guide to Cleaning High Surfaces
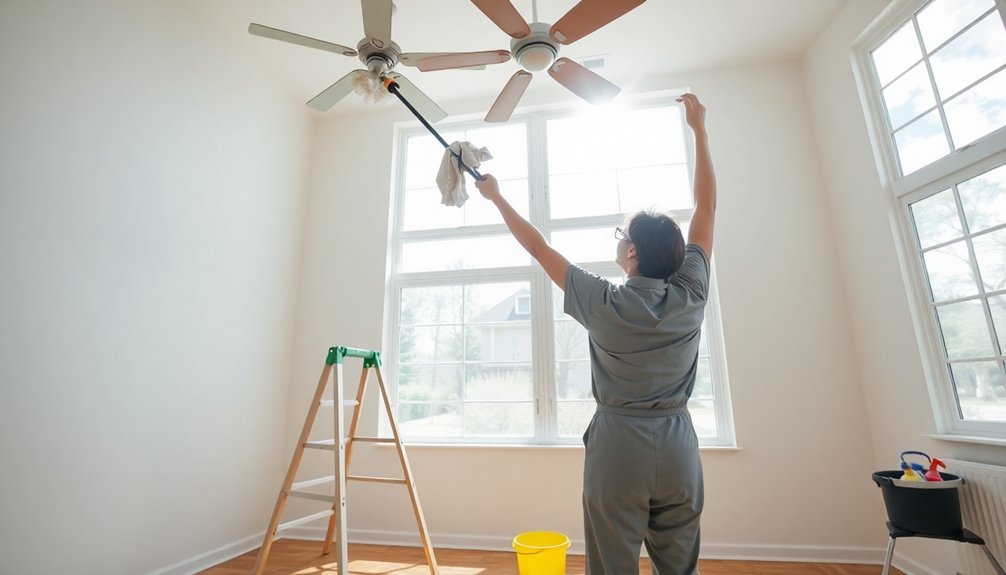
With your cleaning tools ready, it’s time to tackle those high surfaces that often gather dust and grime.
Start by dusting ceiling fans, light fixtures, and top shelves using an extendable microfiber duster, which helps you reach without a ladder.
Next, grab your vacuum with a dusting brush attachment to remove cobwebs from corners and ceiling edges.
For mirrors and glass surfaces, use a glass cleaner and a microfiber cloth, working from the top down to achieve that streak-free shine.
When cleaning walls and ceilings, dampen a microfiber cloth or sponge with an all-purpose cleaner and wipe from the highest points downwards. Incorporating non-toxic cleaning solutions into your routine ensures a safer environment for your family.
Regularly maintaining these high surfaces every few months will keep dust buildup at bay.
Effective Techniques for Dusting and Wiping Down
Dusting and wiping down surfaces doesn’t have to be a chore; it can be a quick and efficient task when done correctly.
Start by dusting high surfaces like ceiling fans and shelves, working your way down to prevent dust from falling on already cleaned areas. Use a microfiber cloth for dusting, as it effectively traps dust and reduces the need for harsh cleaning products. Regularly using microfiber gloves can enhance dust capture effectiveness while protecting delicate surfaces.
Begin dusting from high surfaces like ceiling fans, using a microfiber cloth to trap dust effectively and minimize cleaning product use.
When you dust knick-knacks, lift them to guarantee a thorough clean underneath. For mirrors, grab a glass cleaner and a lint-free cloth, wiping in circular motions for a streak-free shine.
Regularly dusting high-traffic areas, like living rooms and kitchens, helps reduce allergens and keeps your environment cleaner.
Finalizing With Floor Cleaning Methods
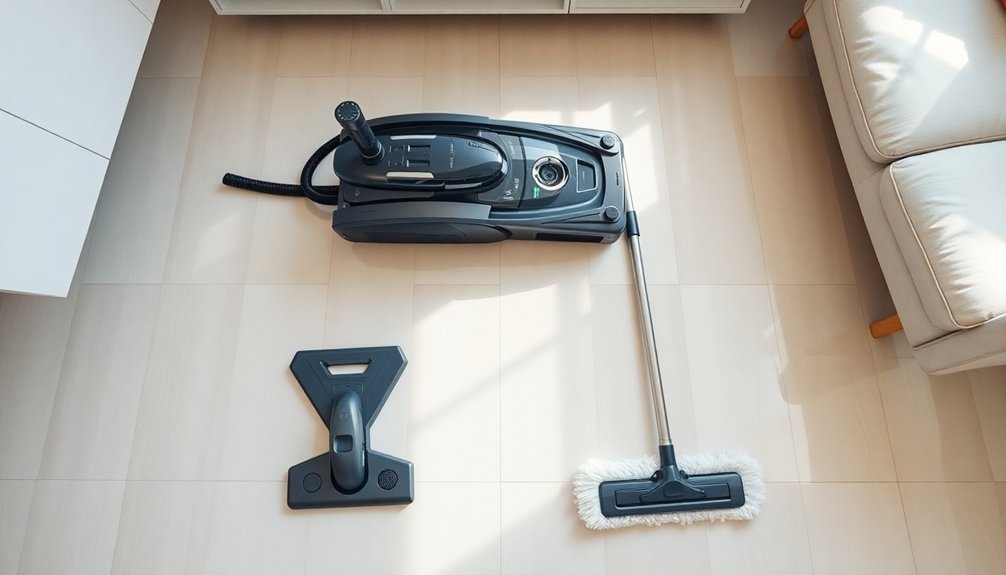
After you’ve tackled dusting and wiped down surfaces, it’s time to focus on the floors, where dirt and debris can easily accumulate.
Start your floor cleaning by vacuuming carpets and rugs to remove embedded dirt effectively. For hard surfaces like tile or linoleum, mop with a suitable cleaning solution, using a damp mop to prevent excess water damage.
Don’t forget to spot clean any major spills immediately, as this prevents stains from setting. Regularly dust and wipe baseboards and corners, enhancing your clean room’s polished look. Additionally, selecting appropriate cleaning materials is essential to ensure you don’t damage your flooring during the cleaning process.
To maintain cleanliness, establish a routine for sweeping or vacuuming high-traffic areas at least once a week, and schedule deep cleaning every few months to tackle built-up grime.
Conclusion
By following the top-to-bottom cleaning method, you’re not just tidying up; you’re orchestrating a symphony of cleanliness that transforms your space. With the right tools and techniques, every corner of your room can shine like a polished gem. Remember, starting high and working your way down guarantees you capture every speck of dust and dirt. So, grab your supplies and let your room’s true beauty emerge, leaving you with a fresh, inviting atmosphere to enjoy.