Discover the secrets to deeply clean your kitchen floors and tiles. Choose the right cleaners for each material—tile, marble, or stone. Test solutions in a hidden spot first. Sweep or vacuum to prep the floor, then scrub with a suitable cleaning mix. Focus on grout lines and use a protective sealant. Regular upkeep is key—vacuum often, tackle grime promptly, and watch for mold. Invest in quality tools and clean small sections thoroughly. Get ready to master every step for spotless kitchen floors and pristine tiles. Improve your cleaning game now!
Key Takeaways
- Select appropriate cleaning materials based on floor material
- Conduct spot tests with pH-neutral solutions
- Follow a step-by-step cleaning process for thoroughness
- Maintain clean floors with regular sweeping and pH-neutral cleaners
- Invest in quality tools for future efficient cleaning
Selecting the Right Cleaning Materials
When selecting cleaning materials for your kitchen floors and tiles, consider the material to guarantee effective and safe cleaning. Different types of floors and tiles require specific cleaning products to maintain their quality and appearance.
For example, when cleaning tile floors, especially the grout, using a tile cleaner designed for this purpose is crucial. Avoid using acidic cleaners on surfaces like natural stone or marble, as they can cause damage. Opt for pH-neutral cleaners to make sure you don't harm delicate materials.
For ceramic, porcelain, or vinyl tiles, choose specialized cleaning solutions that are formulated to clean effectively without causing any harm. By selecting the right cleaner for your specific type of flooring, you can ensure a thorough clean without risking any damage.
Testing Cleaning Solutions
To guarantee the safety and effectiveness of your chosen cleaning solution for kitchen floor tiles, conduct a spot test in an inconspicuous area. Testing cleaning solutions in a small section allows you to check for adverse reactions, discoloration, and other potential issues before applying it to the entire floor.
Opt for a pH-neutral cleaning solution during the testing process to prevent any damage to the tiles or grout. Observing the spot-tested area is essential to identify any signs of negative impact such as fading, etching, or staining.
Make sure that the cleaning solution not only removes dirt and grime effectively but also keeps your kitchen floor tiles safe from harm. Taking the time to perform a spot test before full application can save you from costly mistakes and help maintain the quality of your kitchen floor.
Step-by-Step Cleaning Process
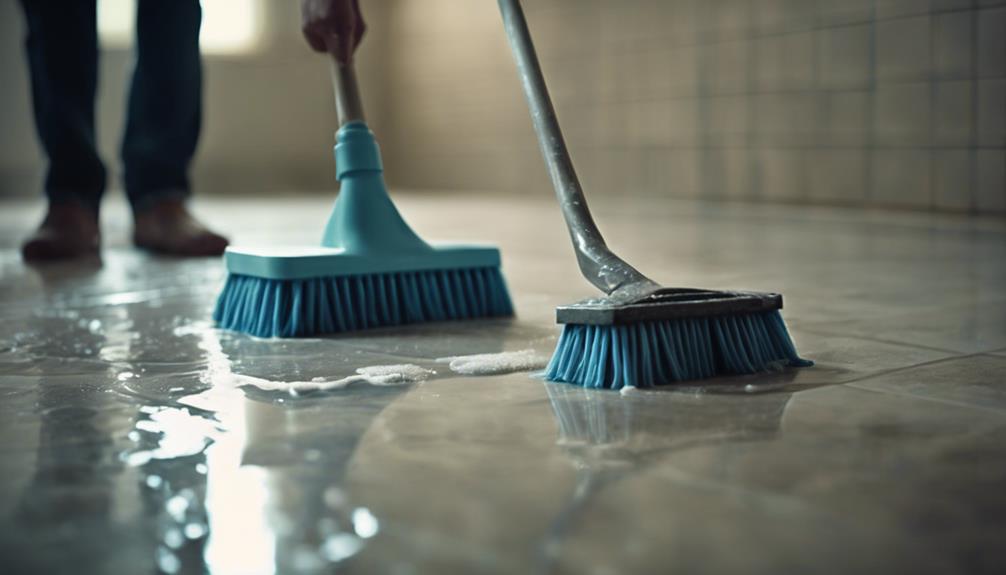
Begin by sweeping or vacuuming the kitchen floor to effectively remove dirt and debris. For a Deep Clean, mix a cleaning solution suitable for your floor type, like a pH-neutral cleaner for most tiles. Apply the solution to the floor, focusing on Cleaning grout lines by scrubbing with a brush or mop.
To make a DIY grout cleaner, mix baking soda with water to form a paste, apply it to the grout, scrub, and rinse. For tough stains, consider using white vinegar as a natural Grout Cleaning agent. Once the floor is clean, rinse it with water and make sure it dries completely to avoid water spots.
To enhance cleanliness and shine, apply a sealer or protective coating. For a quick touch-up, consider using a steam mop for Cleaning grout and tile surfaces. Finish by spot-treating any remaining stains with a Stain Remover for a sparkling kitchen floor.
Maintenance Tips for Clean Floors
Regularly vacuuming or sweeping your kitchen floors is crucial to prevent the accumulation of dirt and grime, maintaining their cleanliness and appearance.
When cleaning tile flooring, pay special attention to the grout lines, where dirt and mold can easily collect.
To keep your porcelain tiles looking their best, use a pH-neutral cleaning solution to avoid damaging their finish.
If you encounter mold and mildew, tackle it promptly with a scrub brush and a mildew-fighting cleaner.
Address water spots quickly to prevent them from becoming stubborn stains.
Consider applying a protective sealant to your tiles to enhance their durability and make future cleaning easier.
Avoid using commercial cleaners with acidic properties, as they can damage the tiles over time.
Future Cleaning Recommendations

If you want to guarantee the long-term cleanliness and quality of your kitchen floors and tiles, consider implementing these future cleaning recommendations.
To make your life easier, invest in a quality mop like the O-Cedar EasyWring Microfiber Spin Mop for efficient cleaning.
When dealing with tough stains on tiles or natural stone surfaces, opt for suitable cleaning solutions that won't damage the material. Remember to pay special attention to tile grout to keep it looking fresh and prevent mold growth.
For porcelain floors, a conditioning cleaner can help maintain their shine and cleanliness. When deep cleaning, tackle small sections at a time for a thorough job.
Conclusion
Now that you have all the tools and knowledge to deep clean your kitchen floors and tiles, your kitchen will sparkle like never before.
Imagine walking into your kitchen, feeling the smooth, clean tiles under your feet, and breathing in the fresh scent of a spotless space.
With regular maintenance and future cleaning recommendations, your kitchen will always be a welcoming and hygienic environment for you and your loved ones.
Happy cleaning!