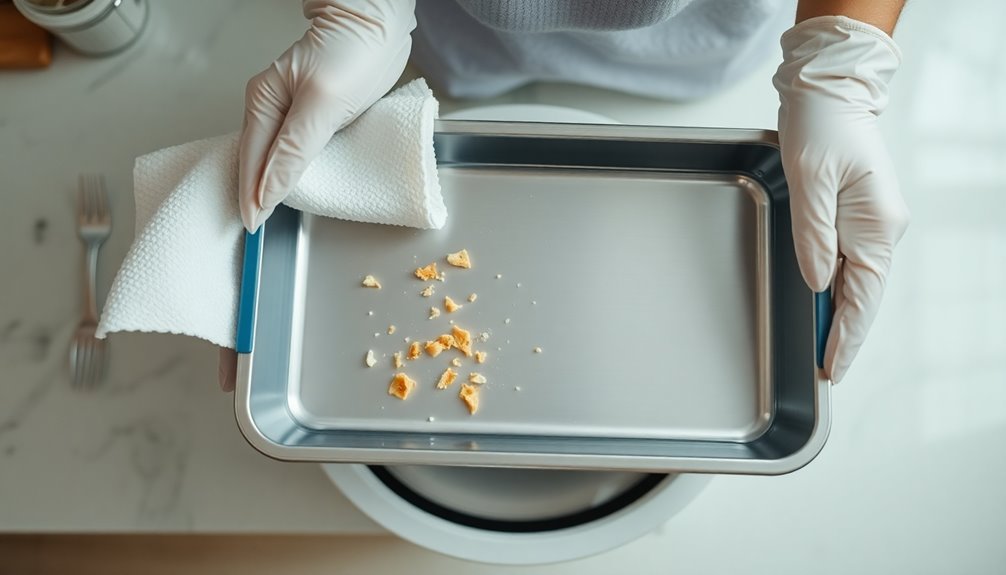
To clean your toaster tray without making a mess, first unplug the toaster for safety. Remove the tray and shake it over the sink or trash can to dislodge crumbs. Use a soft brush or cloth to sweep out any remaining debris. Soak the tray in warm, soapy water for about 15 minutes, then scrub with a non-abrasive sponge. Rinse and dry thoroughly before reinserting. Interested in more tips for keeping your toaster clean?
Why Cleaning Your Toaster Tray Matters
While it might seem like a minor chore, cleaning your toaster tray is crucial for both safety and performance. Neglecting toaster hygiene can lead to the buildup of crumbs and grease, which not only affects how well your toaster works but also poses potential health concerns.
When those remnants accumulate, they can attract pests or even ignite a fire. Regularly cleaning the tray helps guarantee your appliance operates efficiently and safely. Plus, it keeps your kitchen environment healthier by reducing allergens and bacteria. Additionally, maintaining a clean kitchen space can contribute to overall employee well-being, fostering a more pleasant cooking environment.
Signs That Your Toaster Tray Needs Cleaning

You might notice your toaster tray needs cleaning if you see a pile of crumbs accumulating or if an unpleasant odor starts wafting from it. Discoloration or stains are also clear signs that it’s time to give it a good scrub. Keeping an eye out for these indicators can help maintain your toaster’s performance and hygiene. Regular maintenance can prevent buildup, similar to how eco-friendly methods can help unclog drains effectively.
Visible Crumbs Accumulation
If you notice a buildup of crumbs in your toaster tray, it’s a clear sign that it’s time for a cleaning session.
Crumb buildup not only affects the efficiency of your toaster but can also pose a fire hazard if left unattended. When you see crumbs piling up, it’s best to tackle the mess before it gets worse.
Removing the tray is usually a simple process; just slide it out and dump the contents into a trash bag. You can then wipe the tray down with a damp cloth and some mild soap to guarantee it’s clean.
Regularly checking your toaster tray for crumbs will help maintain your appliance and keep your kitchen tidy. Don’t let crumbs linger!
Unpleasant Odor Emission
An unpleasant odor coming from your toaster tray is often a telltale sign that it needs a good cleaning. When crumbs and food particles build up, they can produce stale or burnt smells that linger in your kitchen.
To tackle this issue, you can use effective odor neutralization techniques like vinegar or baking soda. Simply mix these ingredients with water, wipe down the tray, and let it air dry.
For toaster scent prevention, make it a habit to clean your toaster tray regularly, ideally after every few uses. This way, you’ll keep unpleasant odors at bay and enjoy a fresher cooking environment.
Discoloration or Stains Present
Discoloration or stains on your toaster tray are clear indicators that it’s overdue for a cleaning.
These unsightly marks can stem from various discoloration causes, such as crumbs, grease, or burnt food residue. Regular maintenance not only keeps your toaster looking great but also guarantees it functions properly.
To effectively tackle stain removal, consider these steps:
- Gather Supplies: Get a soft sponge, baking soda, and vinegar.
- Create a Paste: Mix baking soda with a little water to form a paste for tough stains.
- Scrub Gently: Apply the paste to the stains, let it sit briefly, then scrub gently before rinsing.
Essential Tools for a Mess-Free Cleaning
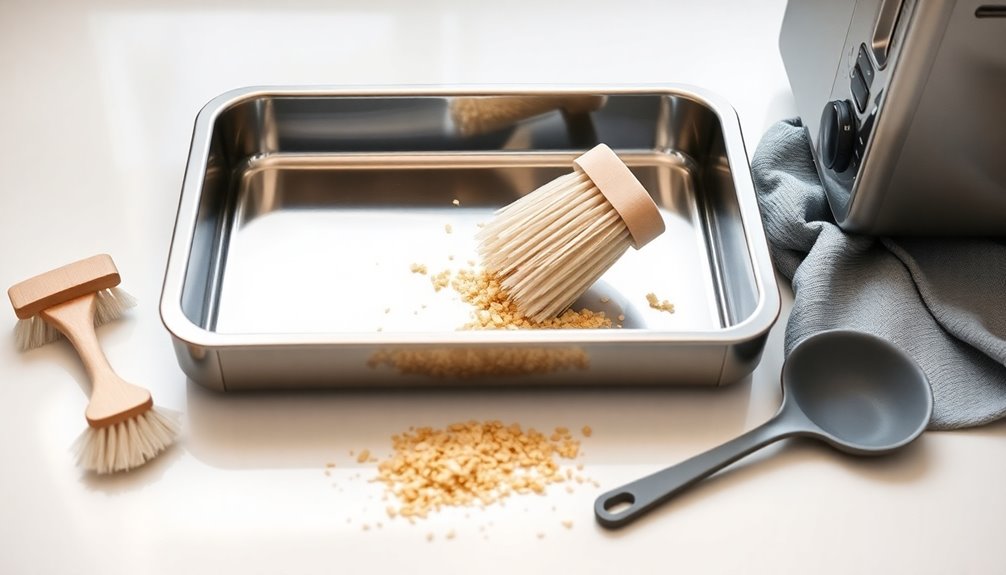
To guarantee a mess-free cleaning of your toaster tray, gathering the right tools is essential. Start with a soft brush or a handheld vacuum to remove crumbs easily.
A microfiber cloth is great for wiping down surfaces without leaving lint behind. For tough stains, you’ll need a gentle scrubber and a non-abrasive cleaner.
Don’t forget a small bowl of warm soapy water for soaking any stubborn debris. These cleaning tools not only help in achieving a spotless tray but also aid in mess prevention. Using a dual-sided scrub sponge can enhance your cleaning efficiency for tougher stains as well.
If you have a baking sheet or tray underneath the toaster, it’ll catch any falling crumbs. With these tools on hand, you’re set for an efficient and tidy cleaning experience!
How to Prepare Your Toaster for Cleaning
Before you start cleaning, unplug your toaster to guarantee safety.
Ensuring toaster safety is essential before diving into the cleaning process. It’s also a good idea to clean your toaster regularly to prevent buildup and maintain its performance.
Toaster safety is crucial; regular cleaning prevents buildup and keeps your appliance performing optimally.
Here’s how to prepare your toaster for cleaning:
- Remove the Tray: Check if the tray is easily detachable. This will make cleaning much simpler.
- Inspect for Crumbs: Shake the toaster gently over the sink or trash can to dislodge any loose crumbs.
- Gather Supplies: Have your cleaning tools ready, like a soft brush and damp cloth, to avoid delays while you clean. Additionally, cleaning supplies should be organized for a structured approach to ensure efficiency during the cleaning process.
Step-by-Step Guide to Removing the Tray
Removing the tray from your toaster is a straightforward process that can be done in just a few simple steps.
First, make certain your toaster is unplugged to guarantee safety. Depending on the toaster types you have, locate the tray at the bottom or the back.
Gently pull it out; some models may require a slight lift before sliding it free. If it feels stuck, check for any crumbs or debris that might be obstructing it.
Once removed, inspect the tray for any buildup, which can indicate how often you should clean it. Regular cleaning frequency helps maintain the toaster’s performance and hygiene. Additionally, regular maintenance of kitchen appliances like toasters can significantly enhance their longevity and efficiency.
With the tray out, you’re now ready for the next steps in your cleaning routine!
Best Techniques for Cleaning the Toaster Tray
With the toaster tray now removed, you can focus on the best techniques for cleaning it effectively. Here are some handy toaster tray hacks and cleaning tips to make the process easier:
- Soak in Soapy Water: Fill a basin with warm, soapy water and let the tray soak for about 15 minutes. This helps loosen crumbs and grease.
- Use a Soft Scrubber: Grab a non-abrasive sponge or cloth to scrub the tray gently. Avoid harsh materials that could scratch the surface.
- Rinse and Dry Thoroughly: Rinse the tray with warm water to remove any soap residue, then dry it completely with a clean towel to prevent rust.
Additionally, consider using hydrogen peroxide to effectively kill germs and keep your toaster tray hygienic.
Following these techniques will keep your toaster tray clean and functional for your next meal!
Tips for Dealing With Stubborn Residue
If you’ve ever faced stubborn residue on your toaster tray, you’re not alone; many people struggle with this common issue.
To tackle those stubborn stains, start by soaking the tray in warm, soapy water for about 15 minutes. This helps loosen the residue, making it easier to scrub away.
Soak the toaster tray in warm, soapy water for 15 minutes to loosen stubborn stains for easier scrubbing.
For tougher spots, a paste of baking soda and water can work wonders; apply it directly to the stains and let it sit for a few minutes before scrubbing. Use a non-abrasive sponge to avoid scratching the surface. Additionally, consider using baking soda and lemon juice as a powerful combination for cutting through baked-on grease.
If needed, a gentle vinegar solution can assist in residue removal, breaking down grease and grime.
Rinse thoroughly and dry completely before reinserting the tray into your toaster.
How to Clean the Toaster’s Interior Without a Mess
After tackling stubborn residue on the toaster tray, you’ll want to guarantee the interior of your toaster remains clean and free of crumbs.
Follow these cleaning hacks to ensure toaster safety while keeping things tidy:
- Unplug the Toaster: Always disconnect the appliance before cleaning to avoid any electrical hazards.
- Use a Soft Brush: Gently remove crumbs from the interior using a small brush or a soft cloth. This prevents crumbs from scattering everywhere.
- Damp Cloth Wipe: With a damp cloth, wipe the interior surfaces. Make sure it’s not too wet to avoid moisture getting into electrical parts. Additionally, regularly inspecting and cleaning your kitchen sponge hygiene can help minimize bacteria that may transfer to your cooking appliances.
Safe Practices for Cleaning Electrical Appliances
When cleaning electrical appliances, it’s crucial to prioritize safety to prevent accidents or damage. First, unplug the appliance to eliminate the risk of electrical shock.
Always use non-abrasive cleaning materials to avoid scratching surfaces and damaging components. Wear gloves to protect your hands from any cleaning solutions you might use.
Ascertain your workspace is dry and free from clutter, which can lead to spills or accidents. It’s wise to read the manufacturer’s instructions for specific safety precautions related to your appliance. Incorporating eco-friendly products can also enhance safety while minimizing environmental impact.
Regular appliance maintenance goes a long way in keeping your devices in good working order. By following these practices, you’ll not only clean safely but also extend the lifespan of your electrical appliances.
Quick Maintenance Tips to Prevent Future Mess
Maintaining your toaster tray can save you from messy cleanups down the line.
Keeping your toaster tray clean can prevent future messes and simplify your cleaning routine.
By implementing a few preventive measures, you can keep your toaster in top shape and make cleaning easier.
Here are three quick maintenance tips:
- Set a Cleaning Schedule: Clean your toaster tray weekly to prevent crumbs from piling up and becoming harder to remove.
- Use a Liner: Place a small piece of parchment paper or aluminum foil under the tray to catch crumbs, making cleanup a breeze.
- Avoid Overstuffing: Don’t overload your toaster with bread or pastries, as this can lead to more crumbs and spills inside the appliance. Additionally, prioritize high-traffic areas in your cleaning routine to ensure that other areas of your kitchen remain tidy and easy to maintain.
How Often Should You Clean Your Toaster Tray?
Cleaning your toaster tray regularly is essential for maintaining its performance and your kitchen’s hygiene.
You should establish a daily routine and consider weekly maintenance to keep things in check.
Plus, knowing the signs that it’s time for a deeper clean can help you avoid buildup and keep your toaster in top shape.
Daily Cleaning Routine
To keep your toaster functioning well and your kitchen tidy, it’s essential to establish a daily cleaning routine for the toaster tray.
Incorporating this into your daily habits not only prevents crumbs from piling up but also maintains the appliance’s efficiency.
Here’s a simple cleaning checklist to follow:
- Empty the Tray: After each use, remove and discard crumbs from the tray.
- Wipe Down: Use a damp cloth to wipe the tray, ensuring you remove any residue.
- Dry Completely: Allow the tray to air dry before reinserting it into the toaster.
Weekly Maintenance Tips
While daily cleaning is important, you shouldn’t overlook the need for weekly maintenance of your toaster tray. To keep it in top shape, set a cleaning frequency that works for you—ideally, once a week.
This routine helps prevent crumbs and grease from building up, which can lead to unpleasant odors and even fire hazards. During your weekly check, remove the toaster tray and empty it completely.
Give it a thorough wash with warm, soapy water, or wipe it down with a damp cloth if it’s not too dirty. Ascertain it’s completely dry before reinserting it.
Signs It’s Time
How can you tell when it’s time to clean your toaster tray? Keeping up with toaster maintenance is essential for its longevity and performance.
Regular cleaning frequency helps prevent crumbs from accumulating and burning, which can affect your food’s taste. Here are three signs it’s time to clean:
- Visible crumbs: If you see crumbs piling up in the tray, it’s definitely time for a clean.
- Burnt smell: A burnt odor while toasting indicates leftover food debris needs to be addressed.
- Sticky residue: If you notice any sticky spots or stains, they’re a sign that your toaster tray requires immediate attention.
Eco-Friendly Cleaning Solutions for Your Toaster Tray
Although many commercial cleaners promise quick results, eco-friendly solutions can effectively clean your toaster tray without harmful chemicals.
Consider using a simple mixture of baking soda and vinegar as an eco-friendly alternative. Just sprinkle baking soda on the tray, then spray or dab vinegar over it. Let it sit for 10-15 minutes, and scrub gently with a soft cloth or sponge. Rinse thoroughly with water.
Another great natural cleaning solution is lemon juice mixed with water. This not only helps break down grease but also leaves a fresh scent.
For tougher stains, try using a paste of baking soda and water. These eco-friendly alternatives guarantee your toaster tray stays clean while being kind to the environment.
Conclusion
Cleaning your toaster tray not only keeps your kitchen tidy but also extends the life of your appliance. Did you know that nearly 60% of kitchen fires start due to grease buildup? By regularly maintaining your toaster, you can considerably reduce this risk. So, take a few minutes to follow the steps outlined, and enjoy a cleaner, safer kitchen. With just a little effort, you’ll keep your toaster in top shape and prevent future messes!