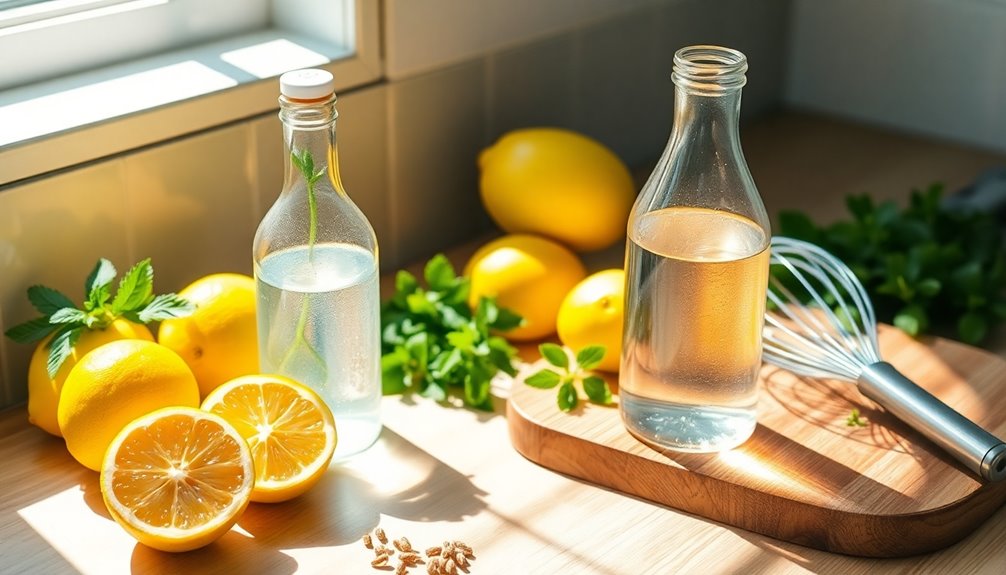
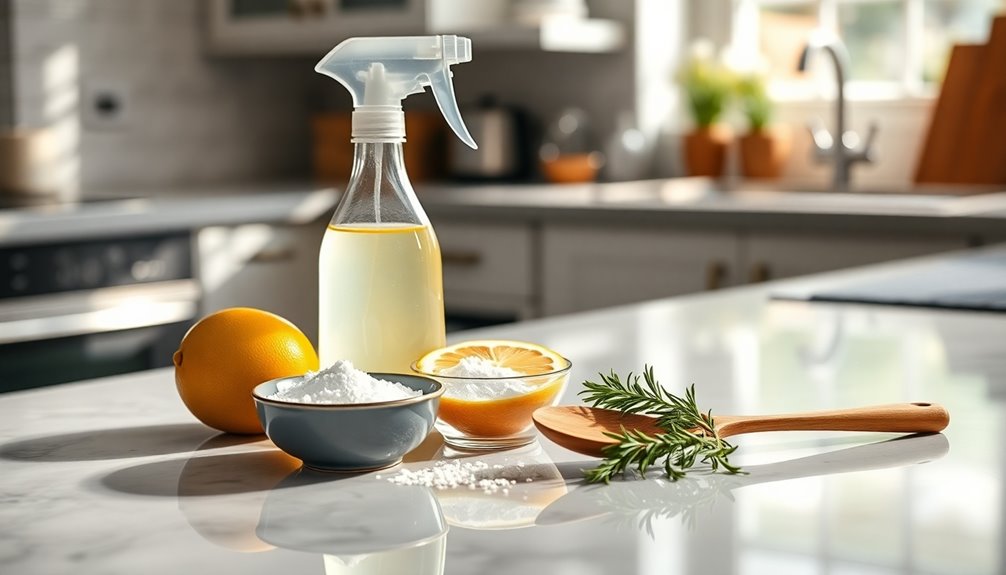
You can easily make your own all-purpose cleaner at home with just a few ingredients. Combine one cup of white vinegar and one cup of water in a spray bottle. Add two tablespoons of baking soda for extra cleaning power, and feel free to include lemon juice or essential oils for fragrance. Shake it gently, then spray on surfaces and wipe clean. If you’re curious about customizing the recipe or storing your cleaner, there’s more to explore.
Why Choose an All-Purpose Cleaner?
When you’re looking for a versatile cleaning solution, an all-purpose cleaner is hard to beat. It serves multiple uses, allowing you to tackle various surfaces with one product. This makes it a cost-effective solution, saving you both money and storage space.
Instead of cluttering your cabinets with specialized cleaners, you can simplify your routine. Plus, if you’re keen on avoiding harsh chemicals, an all-purpose cleaner can be a chemical-free alternative. You can easily make one at home, ensuring it’s safe for your family and pets. Additionally, using natural ingredients in your cleaner can improve indoor air quality, promoting health for kids and pets.
Essential Ingredients for Your Cleaner
To create an effective all-purpose cleaner, you’ll need a few essential ingredients that pack a cleaning punch.
First up is white vinegar, which has numerous vinegar benefits; it cuts through grime, disinfects surfaces, and neutralizes odors. Its acidity makes it especially good for tackling hard water stains and soap scum.
Next, grab some baking soda. This powerful ingredient works as a gentle abrasive, perfect for scrubbing tough spots without scratching surfaces. It also helps neutralize odors, making your cleaner smell fresh. Additionally, combining baking soda with lemon juice enhances its stain removal and deodorizing properties.
Combine these two ingredients, and you’ve got a dynamic duo that can tackle almost any mess.
With vinegar and baking soda in your arsenal, you’ll be well on your way to a sparkling clean home.
Step-by-Step Instructions for Making Your Cleaner
Now that you’ve gathered your white vinegar and baking soda, it’s time to put them to work.
Start by mixing one cup of white vinegar with one cup of water in a spray bottle. This combination serves as a powerful base for your all-purpose cleaner.
Next, add two tablespoons of baking soda—this will create fizzing action that helps tackle tough grime. You can also choose scent options like lemon juice or essential oils for a pleasant aroma. Vinegar’s cleaning properties make it effective against grease, stains, and odors.
Shake the bottle gently to combine the ingredients without overflowing.
For effective cleaning techniques, spray the solution onto surfaces and let it sit for a few minutes before wiping it away with a cloth.
Enjoy your homemade cleaner!
How to Customize Your Cleaner for Different Surfaces
Customizing your all-purpose cleaner for different surfaces can make a big difference in its effectiveness. You’ll want to evaluate surface-specific ingredients and the right dilution ratios to guarantee safety and cleanliness. Plus, testing for compatibility will help you avoid any damage to your surfaces while achieving great results. Incorporating eco-friendly products not only enhances cleaning but also promotes a healthier home environment.
Surface-Specific Ingredients
While creating your all-purpose cleaner, it’s important to take into account the surfaces you’ll be tackling, as different materials require specific ingredients for ideal cleaning.
For instance, vinegar works wonders on glass and countertops, offering surface-specific benefits like streak-free shine. However, avoid using vinegar on natural stone, as it can damage the finish.
Instead, consider using a gentle soap solution for those surfaces. When customizing your cleaner, verify ingredient compatibility—baking soda can neutralize odors and works great on appliances, while essential oils can enhance scents and provide antibacterial properties.
Dilution Ratios Explained
Understanding dilution ratios is key to creating an effective all-purpose cleaner that suits various surfaces. By adjusting these ratios, you can customize your cleaner’s strength.
For everyday cleaning, a common ratio is one part vinegar to three parts water, making effective mixtures for counters and glass. For tougher grime, you might increase the vinegar to a one-to-one ratio.
Conversely, if you’re cleaning delicate surfaces, like wood, a more diluted solution—one part vinegar to five parts water—works best.
Always remember that the right dilution ratios guarantee you get the cleaning power you need without damaging your surfaces. Experiment a bit, and you’ll find the perfect blend that meets your specific cleaning needs.
Testing for Compatibility
Before diving into cleaning, it’s essential to test your all-purpose cleaner on a small, inconspicuous area of the surface you plan to clean. This step is vital for ensuring surface compatibility and preventing any damage.
Apply a small amount of your cleaner and wait a few minutes to see how the surface reacts. Look for any discoloration, peeling, or other negative changes.
This simple test helps you gauge the cleaner’s effectiveness on different materials, whether it’s wood, tile, or glass. If you notice adverse effects, consider adjusting your cleaner’s dilution or ingredients.
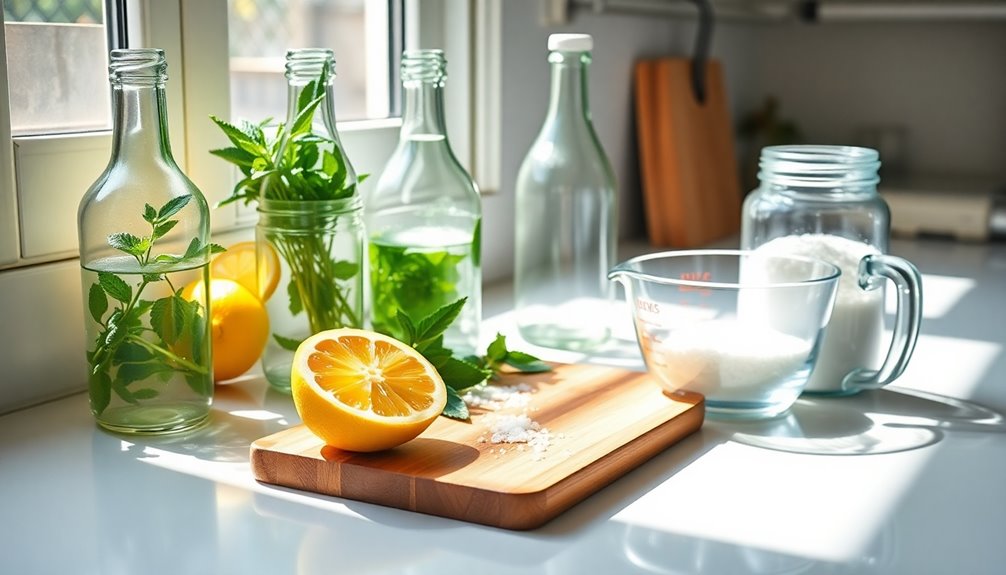
Tips for Storing Your Homemade Cleaner
When it comes to storing your homemade cleaner, choosing the right container is key.
Make sure to label and date each cleaner so you know what’s inside and when you made it. This simple step helps keep your cleaning supplies organized and safe to use. Additionally, consider keeping your cleaner in high-traffic areas where it can be easily accessed for quick cleaning tasks.
Choose Appropriate Containers
Selecting the right container for your homemade all-purpose cleaner is essential for maintaining its effectiveness and ensuring safety.
Consider container types like spray bottles, squeeze bottles, or jars, depending on how you plan to use the cleaner. Spray bottles are ideal for quick applications, while jars work well for thicker mixtures.
When it comes to container materials, opt for glass or high-density polyethylene (HDPE) plastics, as they resist chemical reactions and won’t break down easily. Avoid using containers made from materials that can leach chemicals, like certain plastics.
Remember to choose containers with tight-sealing lids to prevent spills and contamination. This way, you can keep your homemade cleaner safe and effective for all your cleaning needs.
Label and Date Cleaners
Labeling and dating your homemade cleaners is essential for safe and effective storage. Following proper labeling guidelines helps you easily identify your cleaners and their ingredients. Write the name of the cleaner, the date you made it, and any specific usage instructions. This not only prevents mix-ups but also guarantees you’re using the cleaner within its effective lifespan.
For date tracking, consider using a permanent marker or label maker for clarity. If you notice any changes in color or smell over time, it’s best to discard the cleaner.
Regularly checking your supplies helps keep your cleaning routine efficient and safe. By staying organized, you’ll simplify your cleaning tasks and avoid any mishaps with outdated or ineffective solutions.
Safety Precautions When Using Natural Cleaners
While natural cleaners are often safer than their chemical counterparts, it’s essential to take specific safety precautions to protect yourself and your environment.
Always check the natural ingredient safety of each component before use, as some ingredients can still cause irritation or allergic reactions.
When mixing or using your cleaner, make sure you’re in a well-ventilated space. Following proper ventilation guidelines, like opening windows or using fans, helps disperse any strong odors and prevents buildup of fumes.
Additionally, wear gloves to protect your skin, especially if you have sensitive skin.
Finally, store your homemade cleaner out of reach of children and pets, making certain it remains safe for everyone in your home. Regularly using non-toxic cleaners promotes a hygienic environment while prioritizing family safety.
Eco-Friendly Benefits of Homemade Cleaners
Creating your own all-purpose cleaner not only saves money but also benefits the environment. By opting for homemade solutions, you embrace sustainability benefits while reducing your health impact.
Here are four eco-friendly advantages of using homemade cleaners:
- Reduced Chemical Waste: You avoid harmful chemicals that can pollute water systems.
- Biodegradable Ingredients: Most ingredients, like vinegar and baking soda, break down naturally.
- Less Plastic: You minimize plastic waste by reusing containers instead of buying new bottled cleaners.
- Safer Indoor Air Quality: Natural ingredients improve air quality, reducing allergens and irritants in your home. Additionally, choosing biodegradable ingredients helps support a balanced ecosystem.
These simple changes contribute to a healthier planet and a safer living environment for you and your family.
Common Mistakes to Avoid When Making Your Cleaner
When making your own all-purpose cleaner, it’s easy to make mistakes that could affect its effectiveness. Using the wrong ingredients or storing your mixture improperly can lead to disappointing results. Let’s look at some common pitfalls to avoid for a cleaner that truly works. For instance, failing to properly dilute vinegar can result in damage to certain surfaces like natural stone.
Using Wrong Ingredients
Making your own all-purpose cleaner can be a rewarding experience, but using the wrong ingredients can lead to ineffective solutions or even damaging reactions.
To avoid harmful ingredient effects, steer clear of these common wrong ingredient combinations:
- Vinegar and Baking Soda: While both are great cleaners individually, mixing them creates carbon dioxide gas, which reduces effectiveness.
- Bleach and Ammonia: This combination produces toxic chloramine vapors that can be extremely dangerous.
- Essential Oils and Vinegar: Many essential oils lose their potency when mixed with vinegar, making them less effective.
- Hydrogen Peroxide and Vinegar: Mixing these can create peracetic acid, which can irritate your skin and lungs.
Choose your ingredients wisely for a safe, effective cleaner!
Improper Storage Methods
Although you’ve crafted the perfect all-purpose cleaner, improper storage methods can undermine your efforts. One common mistake is improper sealing of your cleaner. If you don’t secure the lid tightly, air can degrade your solution, reducing its effectiveness. Always make sure your container is sealed well to preserve its potency.
Temperature control is another essential factor. Storing your cleaner in extreme heat or cold can alter its composition, leading to separation or diminished cleaning power.
Aim for a cool, dark place to keep your cleaner fresh. By avoiding these improper storage methods, you’ll maintain the quality of your homemade cleaner and make sure it remains effective for all your cleaning needs.
How to Use Your All-Purpose Cleaner Effectively
Using your all-purpose cleaner effectively can transform your cleaning routine into a breeze. To maximize its potential, try these cleaning techniques and application methods:
Maximize your cleaning routine with these effective techniques for using all-purpose cleaner.
- Spray and Wipe: Spray your cleaner directly onto surfaces and wipe with a microfiber cloth for a streak-free shine.
- Soak Stubborn Stains: For tough stains, apply the cleaner and let it sit for a few minutes before wiping.
- Dilute for Delicate Surfaces: Mix your cleaner with water for cleaning delicate surfaces like glass or wood.
- Use a Scrub Brush: For textured or heavily soiled areas, apply your cleaner and use a scrub brush to lift dirt effectively. Additionally, incorporating baking soda and lemon juice can enhance the cleaning power of your solution.
Cleaning Hacks With Your All-Purpose Cleaner
When you want to elevate your cleaning game, your all-purpose cleaner can be a versatile ally in tackling everyday messes. Use it to wipe down kitchen counters and dining tables; it’s effective on various surface types, from wood to stainless steel.
For stubborn bathroom grime, spray and let it sit for a few minutes before scrubbing—this cleaning technique helps break down tough stains. You can also dilute it in water to create a handy spray for glass surfaces, leaving windows streak-free. Incorporating homemade cleaner solutions can enhance your cleaning routine by utilizing eco-friendly ingredients.
Got pet odors? Mix your cleaner with baking soda and sprinkle it on carpets before vacuuming. These hacks not only simplify your routine but also optimize the power of your all-purpose cleaner for every corner of your home.
Troubleshooting: What to Do if Your Cleaner Doesn’t Work?
Ever wondered why your all-purpose cleaner doesn’t seem to be cutting through tough stains? If you’re facing lackluster cleaning performance, it might be time to troubleshoot.
Is your all-purpose cleaner falling short on tough stains? It may be time to troubleshoot for better results.
Here are some steps you can take:
- Check your ingredient quality: Make sure you’re using fresh, effective components like distilled vinegar or essential oils.
- Adjust the ratios: Sometimes, the strength of your cleaner depends on the right mix; try increasing the concentration of active ingredients.
- Give it time: For stubborn stains, let the cleaner sit for a few minutes before wiping it off.
- Use the right tools: Pair your cleaner with appropriate cloths or scrubbers to enhance its effectiveness.
With these tips, you can boost your cleaner’s performance and tackle those tough messes!
Frequently Asked Questions About Homemade Cleaners
Curious about homemade cleaners? You might wonder about their effectiveness compared to store-bought options.
Homemade cleaner benefits include being cost-effective, safer for your family and pets, and customizable to your preferences. Plus, you’re using natural cleaning alternatives, reducing exposure to harsh chemicals.
Another common question is about the shelf life of these cleaners. Most homemade solutions last about a month, so it’s best to make small batches.
You may also ask if they can tackle tough stains—many can, especially when you use ingredients like vinegar or baking soda.
Lastly, don’t hesitate to experiment! Adjusting recipes based on your needs can lead to even better results. Embrace the world of homemade cleaners for a healthier home environment!
Alternatives to All-Purpose Cleaners You Might Consider
While all-purpose cleaners are popular for their versatility, several effective alternatives can meet your cleaning needs without relying on commercial products.
Here are four options you might consider:
- Vinegar Alternatives: Mix lemon juice with water for a revitalizing, natural cleaner that cuts through grease and grime.
- Baking Soda: Use baking soda as a gentle abrasive to scrub surfaces and eliminate odors—just sprinkle, scrub, and rinse.
- Castile Soap: This plant-based soap works well for cleaning various surfaces and is biodegradable.
- Essential Oils: Add a few drops of oils like tea tree or lavender to your vinegar mix for added antibacterial properties and a pleasant scent.
These alternatives are simple, effective, and eco-friendly!
Conclusion
By making your own all-purpose cleaner, you’re not just saving money; you’re creating a safe haven for your family, much like a warm embrace at the end of a long day. With just a few simple ingredients, you can tackle grime and germs while feeling empowered and resourceful. So, release your inner DIY enthusiast and transform your cleaning routine into a ritual of care—one spray at a time. Your home deserves that personal touch!