To deep clean your freezer and pantry for maximum space, start by clearing out all items to assess what’s expired or freezer-burned. Clean surfaces with warm, soapy water and make sure everything dries completely. Organize remaining items using clear, labeled containers and a “first in, first out” system to minimize waste. Regularly check your pantry and freezer to maintain cleanliness. There’s more to learn about efficient organization and storage solutions that’ll help you maximize space effectively.
Preparation for Cleaning
Before you plunge into deep cleaning your freezer and pantry, it’s essential to prepare your space effectively. Start by clearing clutter—return any non-kitchen items to their rightful places and eliminate distractions.
Gather your cleaning supplies, including trash bags for expired items, containers for food storage, and a clean towel for wiping surfaces. It’s also wise to remember the importance of regular purging to maintain a clean environment.
Collect essential cleaning supplies like trash bags for expired food, storage containers, and a clean towel for surface cleaning.
Next, remove all items from the pantry and freezer, carefully checking expiration dates. Create a designated space for perishables to keep them safe during the process.
Don’t forget to allocate enough uninterrupted time to focus on the task at hand, ensuring a thorough clean. Using ice packs or an insulated cooler can also help keep those perishables fresh while you scrub and tidy up.
Emptying the Freezer
Now that you’re ready to empty your freezer, start by evaluating your frozen inventory.
As you go through each item, be sure to safely dispose of anything that’s freezer-burned or past its prime. Regular cleaning is crucial to prevent sticky grease layers from accumulating in your kitchen appliances.
Once you’ve cleared it out, organizing the remaining contents will help you keep track and make meal planning easier.
Assessing Frozen Inventory
How often do you take the time to empty your freezer and assess its contents?
Start by removing everything, keeping perishable items cold in a well-insulated cooler with ice. As you clear out the freezer, check for expired food or items with freezer burn that need to be tossed.
Once it’s empty, grab some warm soapy water and wipe away any spills or residue. Scrub all surfaces, including shelves and door seals, to guarantee a thorough clean.
Afterward, create an inventory list of what you want to keep, categorizing items by type for easier meal planning.
Finally, reorganize your freezer, placing older items at the front to help reduce future waste and ensure nothing goes forgotten.
Safe Food Disposal
While emptying your freezer, it’s essential to prioritize safe food disposal to prevent any health risks. Start by checking the expiration date on all items. Dispose of any frozen foods that show signs of freezer burn or have been stored for over 12 months.
Remember the USDA’s “2-Hour Rule” to avoid foodborne illness—don’t leave perishable items at room temperature for more than two hours. If you find expired or inedible foods, consider composting them to minimize waste and support eco-friendly practices.
Once you’ve cleared everything out, thoroughly clean the interior of your freezer with warm soapy water. Make sure it’s completely dry before restocking to keep your food fresh and safe.
Organizing for Efficiency
After you’ve safely disposed of expired items and cleaned your freezer, it’s time to focus on organizing for efficiency.
Start by emptying your freezer completely, placing the food in a well-insulated cooler to keep it cold while you deep clean. Discard any food that shows signs of freezer burn or has been stored for over 12 months.
Once your freezer is clean, take inventory of the remaining items; this list will help with meal planning and reduce future waste.
When you reorganize, group similar items together and label containers to streamline your searches.
Cleaning the Freezer
Cleaning your freezer not only helps maximize space but also guarantees your food stays fresh and safe to eat.
Start by emptying it completely, discarding any freezer-burned items or those older than 12 months. This step reduces waste and makes cleaning easier.
Next, use warm, soapy water to scrub the interior, wiping away grime and odors. Make sure you clean all surfaces thoroughly.
Afterward, let the freezer dry completely to prevent moisture buildup, which can lead to ice formation.
Finally, create an inventory list of the remaining items to streamline meal planning and avoid forgotten foods. Regularly clean small appliances to prevent bacteria buildup and ensure a healthy kitchen environment.
Aim to clean your freezer at least once a year to maintain peak performance and prolong its lifespan.
Organizing the Freezer
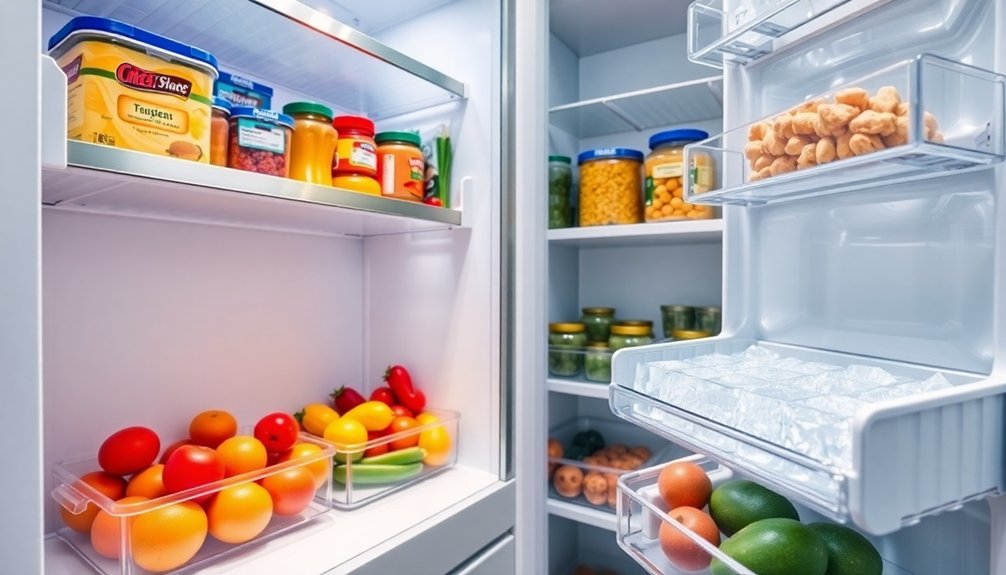
To effectively organize your freezer, start by emptying it completely and getting rid of any expired or freezer-burned items. This keeps your space clean and guarantees your food remains safe.
Next, create an inventory list of what’s left; this helps you track your items and plan meals to reduce food waste.
Creating an inventory list of remaining items helps you track your food and plan meals, minimizing waste.
Use clear, labeled containers or bins to group similar items together, like meats, vegetables, and prepared meals. This makes it easier to find what you need quickly.
Implement a “first in, first out” system by placing older items at the front, ensuring nothing gets forgotten.
Finally, check and reorganize your freezer every few months to maintain tidiness and maximize storage efficiency. Additionally, you can assess functionality of your items during your reorganization to ensure that everything is necessary for your cooking needs.
Emptying the Pantry
Emptying your pantry is an essential step in maintaining an organized and functional kitchen. Start by removing items from the shelves and checking expiration dates. Discard any expired or unwanted food to create a clean slate for organization.
Next, vacuum the shelves with an upholstery attachment to eliminate dust and debris. After that, wipe down the pantry shelves and cabinet interiors with warm, soapy water to guarantee a hygienic storage space.
Once everything’s clean, it’s time to organize your pantry. Group similar items together, like baking supplies, canned goods, and snacks, for easier access. Consider using clear containers for dry goods and implement a labeling system to track freshness dates effectively. This will maximize your pantry’s efficiency! Additionally, regularly checking expiry dates in pantry storage will help maintain organization and prevent overcrowding.
Cleaning the Pantry
Once you’ve cleared out your pantry, it’s time to tackle the cleaning process head-on.
Start by vacuuming the shelves with an upholstery attachment to get rid of dust and debris. Next, grab some warm soapy water and wipe down all surfaces, including the inside of the pantry door. This guarantees a thorough cleaning and a tidy appearance.
As you clean, check the expiration dates on your dry goods and dispose of anything expired. For items you’re keeping, consider placing them in clear plastic containers to protect against moisture and insects. Regularly maintain high-touch areas to ensure a hygienic pantry.
Finally, establish a labeling system to track freshness dates, making it easier to manage your pantry in the future.
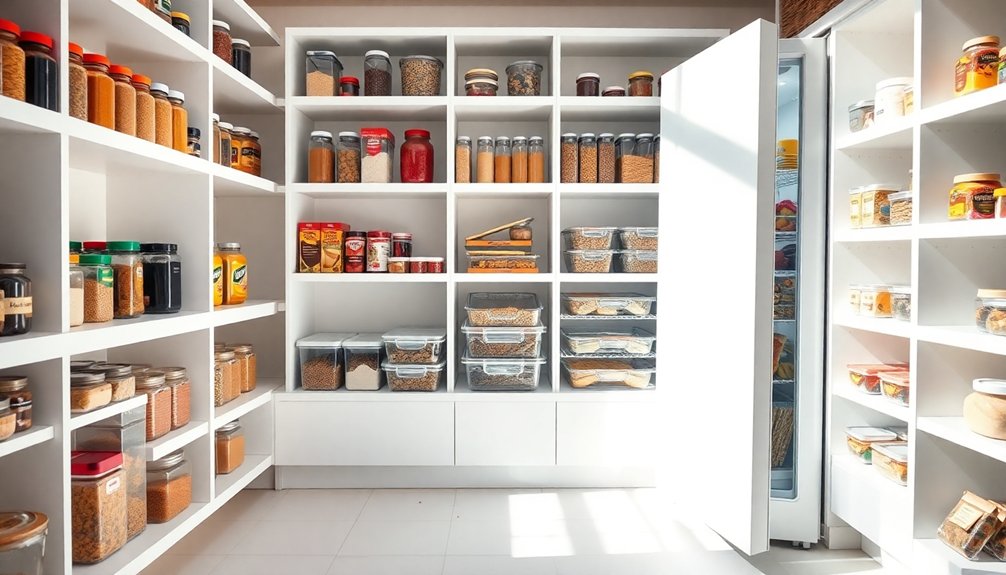
Organizing the Pantry
As you plunge into organizing your pantry, start by completely emptying the space to create a clean slate. Check expiration dates and dispose of any expired food.
Once the pantry is empty, use a vacuum with an upholstery attachment to remove dust and debris from the shelves. Wipe them down with warm, soapy water to guarantee a fresh start.
Next, focus on organizing pantry contents by grouping similar items together; keep baking supplies, canned goods, and snacks in their own sections. Implement a labeling system for containers and jars to easily track freshness dates. Consider using clear plastic containers for dry goods, as they prevent moisture and insect damage while letting you see contents at a glance. Additionally, effective organization of pantry items can enhance accessibility and simplify meal prep, making cooking a more enjoyable experience.
Storage Solutions in the Pantry
With your pantry organized, it’s time to explore effective storage solutions that maximize space and keep everything easily accessible.
Start by using clear plastic containers for your dry goods. They prevent moisture and insects while allowing you to see what you have at a glance. Implement a labeling system with expiration dates on these containers to track freshness and reduce food waste.
Group similar items together—like baking needs, canned goods, and snacks—to streamline your organization and simplify meal planning.
Don’t forget to utilize shelf risers or stackable bins; they enhance your vertical space and boost storage efficiency. Incorporating vertical storage solutions can further optimize your pantry layout and keep items easily accessible.
Regularly evaluate what you have, donating any non-expired items you won’t use to declutter and create more room in your pantry.
Maintaining Cleanliness and Organization
To keep your pantry and freezer in top shape, you need a regular cleaning schedule that includes purging expired items. Implementing effective storage solutions, like clear containers and organized shelves, makes it easier to find what you need. Staying on top of these tasks not only prevents clutter but also minimizes food waste. Additionally, maintaining a regular cleaning routine for other kitchen areas, like your sink, promotes a hygienic environment throughout your home.
Effective Storage Solutions
Effective storage solutions can transform your freezer and pantry into organized, efficient spaces.
Start by using clear, labeled plastic containers for your dry goods. This not only prevents moisture and insect damage but also makes it easier to see and access items.
Implement a “first in, first out” (FIFO) system for pantry items to guarantee older products are used before newer ones, cutting down on waste.
Regularly assess and reorganize your pantry contents by grouping similar items like baking supplies and snacks.
Consider tiered shelving or stacking bins to maximize vertical space, keeping frequently used items at eye level.
Finally, maintain an inventory list of freezer contents to aid in meal planning and prevent expired items from piling up.
Regular Cleaning Schedule
Keeping your freezer and pantry organized requires more than just effective storage solutions; it also demands a regular cleaning schedule. Aim to clean these spaces at least once every six months to prevent food spoilage and buildup.
Set a monthly reminder to check expiration dates, promptly discarding any expired items to keep your pantry clutter-free. Utilize the “first in, first out” method by rotating items, ensuring you use older products before newer ones.
Additionally, create an inventory list of your pantry and freezer contents to aid meal planning, helping you use ingredients before they expire. Designate a specific day each month for quick tidying, ensuring both spaces remain functional and efficient for your needs.
Purging Expired Items
A clean and organized pantry and freezer starts with regularly purging expired items.
Check your pantry and freezer often, and discard any fresh foods that have passed their expiration date. If you find frozen items with freezer burn or those older than 12 months, throw them out too.
Evaluate canned goods and spices; if they haven’t been used in the past 6 to 12 months, consolidate duplicates and discard expired ones.
To maintain cleanliness, establish a “first in, first out” method, ensuring older items are used before newer ones.
Keeping an organized inventory list of what you have can help you track freshness and reduce waste, making your meal planning more efficient.
Conclusion
Now that you’ve deep cleaned and organized your freezer and pantry, you can enjoy the satisfaction of a clutter-free kitchen. Imagine opening your pantry to find everything neatly arranged, versus rummaging through a chaotic mess. With a little effort, you’ve transformed a intimidating task into a invigorating space. Maintain this newfound organization, and you’ll save time and reduce stress during meal prep. Embrace the ease of cooking in a well-kept kitchen, and let the creativity flow!