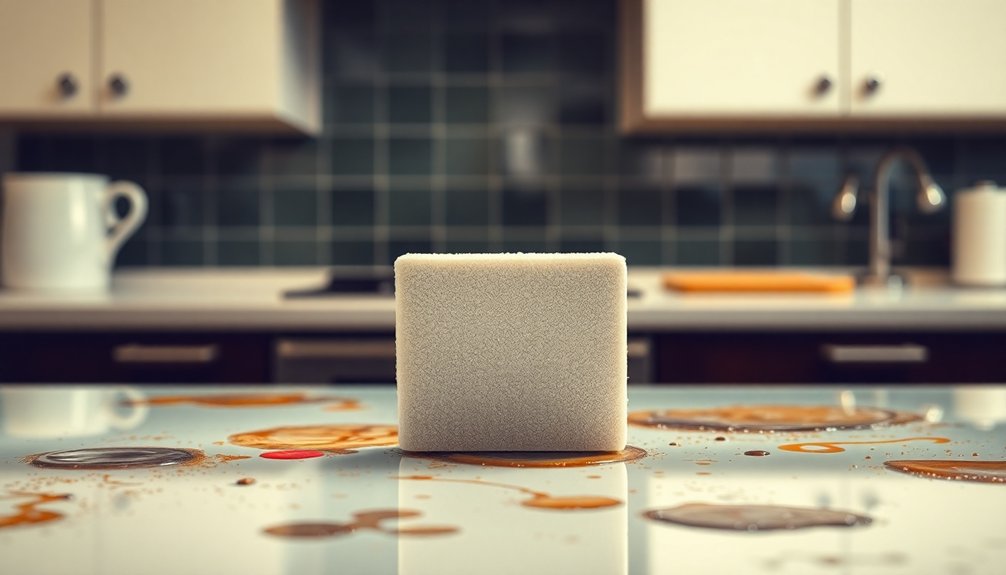
The Magic Eraser’s great for tackling stubborn kitchen messes, like greasy appliances and tough stains on dishes. It can also clean hard water stains on shower glass and eliminate toilet bowl rings. But watch out—it’s not safe for all surfaces and can damage delicate finishes. Make sure to test it first, especially with food prep items. If you want to know its other uses and potential dangers, stick around!
Effective Cleaning of Greasy Appliances
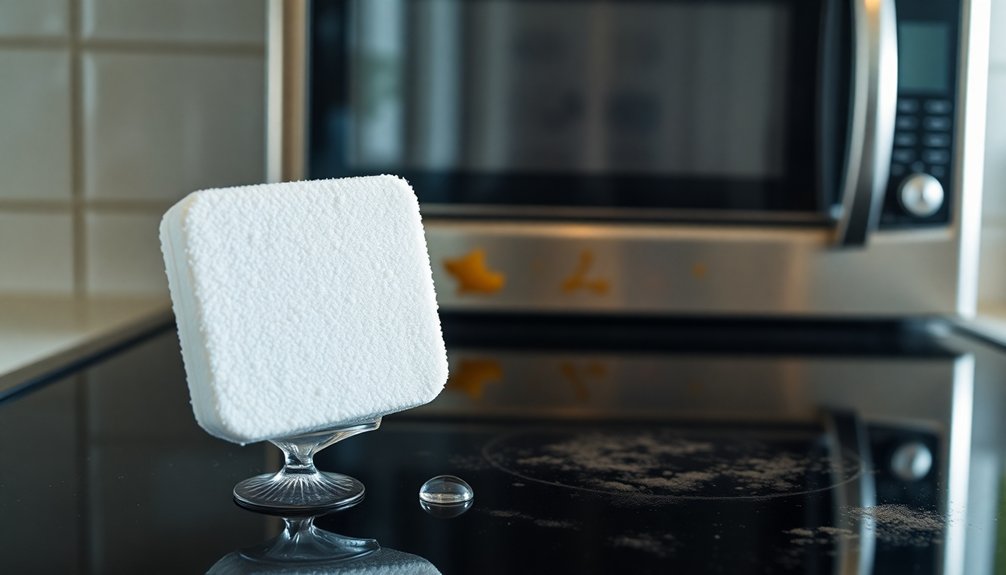
When you’re faced with greasy appliances, a Magic Eraser can be your best friend. This powerful cleaning product works wonders on toaster ovens and ranges, easily cutting through built-up grime and grease.
Just dampen the eraser and scrub away; you’ll be amazed at how quickly it restores your appliances to their shiny selves. However, before diving in, it’s smart to test the Magic Eraser on a hidden spot first. This way, you can avoid any potential damage to finishes or surfaces. Regular cleaning is crucial to prevent sticky grease layers from forming and becoming more difficult to remove.
After cleaning, especially on food surfaces, be sure to rinse the area thoroughly to eliminate any residue. With a little care, you’ll find that your kitchen appliances can look like new again!
Stubborn Stain Removal From Glass Surfaces
If you’ve struggled with stubborn stains on glass surfaces, a Magic Eraser can be a game-changer. Its fine abrasive properties effectively tackle hard water stains and baked-on grime.
However, be cautious—using too much pressure might leave permanent scratches on your glass. To minimize this risk, consider testing the Magic Eraser on a small, inconspicuous area first.
For best results, soak the stained area beforehand to loosen debris, reducing abrasiveness. While the Magic Eraser can be useful, combining it with a glass cleaner and a microfiber cloth is a safer method that helps maintain the clarity of your glass surfaces. Additionally, regular cleaning can prevent the buildup of fingerprints and smudges, ensuring your glass remains pristine.
Always prioritize preserving your glass’s condition while tackling those tough stains.
Tackling Coffee and Tea Stains on Dishes

Although coffee and tea stains can be frustrating, using a Magic Eraser can make quick work of them on your dishes. This handy tool effectively tackles stubborn stains thanks to its fine abrasive material that scrubs away residue on glass and ceramic surfaces.
However, be cautious—the abrasive cleaning action may scratch or dull glossy finishes. It’s wise to test the Magic Eraser on a small, inconspicuous area before applying it fully. Additionally, for long-lasting results, consider regular maintenance of your dishes to prevent tough stains from setting in.
After you’ve removed the stains, rinse your dishes thoroughly to eliminate any leftover abrasive particles.
For non-glass surfaces or delicate finishes, it’s better to use a gentler method, like a soft sponge with mild dish soap, to protect your dishes from damage.
Removing Soap Scum From Bathroom Tiles
If you’re tired of soap scum ruining your bathroom tiles, a Magic Eraser can be your best friend.
It’s effective at cutting through stubborn buildup, but you need to be careful to avoid damaging the surface. Additionally, understanding the chemical reactions between soap and hard water minerals can help you choose the right cleaning method for effective removal.
Let’s explore how to use it safely and consider some alternative cleaning methods too.
Effective Soap Scum Removal
When tackling soap scum on bathroom tiles, a Magic Eraser can be your best friend, as its micro-scrubbing action lifts grime effectively.
Start by dampening the Magic Eraser with water to boost its cleaning power without being too abrasive. Before going all in, test it on a small, inconspicuous area to avoid scratching or dulling your tiles.
Gently scrub the affected areas to break down stubborn soap scum buildup. For the best results, follow up by rinsing the tiles thoroughly with clean water. This step guarantees no residue from the Magic Eraser remains, preventing potential surface damage.
Using a Magic Eraser can make your bathroom tiles sparkle again, so give it a try!
Alternative Cleaning Methods
While a Magic Eraser is great for tackling soap scum, there are plenty of alternative cleaning methods that can be just as effective.
One simple approach is mixing vinegar and baking soda, applying it to the tiles, and letting it sit for 10-15 minutes before scrubbing with a sponge. You can also use commercial tile cleaners designed for soap scum; just follow the manufacturer’s instructions for the best results.
For a natural option, create a paste from equal parts baking soda and water and gently scrub with a non-abrasive sponge. Regular maintenance with a microfiber cloth dampened with warm water can help prevent soap scum build-up over time.
Always test any cleaning tool on a small area first!
Avoiding Surface Damage
To avoid damaging your bathroom tiles while removing soap scum, it’s essential to test any cleaning tool, like a Magic Eraser, on a small, hidden area first. Its abrasive texture can scratch or dull the surface, especially on tiles with sensitive finishes.
While a Magic Eraser can effectively lift soap scum, using it carelessly might lead to costly repairs. For a safer alternative, consider using a microfiber cloth with an appropriate tile cleaner.
Regular maintenance with non-abrasive cleaners can help prevent soap scum buildup, minimizing the need for harsher tools. If your tiles are particularly delicate, a vinegar and water solution can break down soap scum without risking scratches, ensuring your tiles remain intact and shiny.
Cleaning Shower Glass of Hard Water Stains
Cleaning hard water stains from your shower glass can be a breeze with the right techniques.
You’ll want to use tools like Magic Erasers to effectively lift those pesky deposits without scratching the surface. Additionally, a vinegar soak can help break down mineral deposits, making the cleaning process even easier.
Effective Stain Removal Techniques
Although hard water stains can be a persistent nuisance on your shower glass, effective stain removal techniques can restore its clarity.
Start by testing a Magic Eraser on a small, inconspicuous area to avoid scratches. For stubborn stains, soak the glass with a vinegar-water mixture for a few minutes, then gently scrub with the Magic Eraser.
- A gentle glimmer of clean glass
- The satisfying glide of a microfiber cloth
- The invigorating scent of vinegar
- The sparkle of a crystal-clear shower
Regularly cleaning shower glass with a microfiber cloth and gentle glass cleaner can prevent hard water buildup.
After using a Magic Eraser, rinse thoroughly to remove any residue and maintain your shower’s brilliance.
Recommended Cleaning Tools
Maintaining clear shower glass requires the right tools to effectively tackle hard water stains without causing damage.
For safe cleaning, microfiber cloths paired with a gentle glass cleaner are your best bet. They won’t scratch the surface, keeping your glass clear and shiny.
A vinegar-water mixture in a spray bottle is also one of the recommended cleaning tools, as it dissolves hard water stains without harming the glass.
Things you should never use include Magic Erasers; their abrasive texture can lead to permanent scratches and dull the finish.
Additionally, using a squeegee after each shower can help prevent those pesky stains from forming in the first place, making regular maintenance much easier.
Avoiding Surface Damage
To avoid damaging your shower glass while tackling hard water stains, it’s important to choose the right cleaning methods.
Using a Magic Eraser might seem tempting, but its abrasive texture can scratch the surface, leading to permanent damage.
Instead, try these safer alternatives:
- A gentle glass cleaner
- A soft microfiber cloth
- A vinegar and water mixture
- Regular maintenance with appropriate cleaners
Before using a Magic Eraser, always test it on a small, inconspicuous area first.
By focusing on avoiding surface damage and opting for non-abrasive tools, you can effectively clean your shower glass without the risk of scratches.
Regular upkeep will also help prevent hard water stains from becoming a bigger issue.
Spot Cleaning Hot Hair Tools
Hot hair tools like curling irons and flat irons can accumulate gunky residue over time, making them look less than their best. A Magic Eraser can effectively remove this buildup, restoring their sleek appearance.
Hot hair tools can gather stubborn residue, but a Magic Eraser can restore their shine effortlessly.
However, you need to use it with caution. Always unplug your hair tools and let them cool completely before cleaning to avoid burns or injuries.
For best results, dampen the Magic Eraser slightly; this helps lift off the residue without excessive scrubbing. Before applying it to the entire surface, test a small, inconspicuous area of the tool to verify the Magic Eraser won’t damage the finish. Additionally, keeping your tools clean can help extend their lifespan, similar to how regular maintenance can prolong the longevity of upholstery.
With these steps, you can keep your hot hair tools looking pristine and ready for use!
Eliminating Toilet Bowl Rings
If you’re tired of stubborn toilet bowl rings, a Magic Eraser can be your go-to cleaning solution.
Just keep in mind that while it’s effective, the abrasive texture may scratch the porcelain over time. To get the best results, cut the eraser into smaller pieces for easier handling and always rinse the bowl thoroughly afterward. Additionally, incorporating regular maintenance can help prevent the buildup of such stains in the first place.
Effective Toilet Cleaning Solution
One effective solution for tackling stubborn toilet bowl rings is using a Magic Eraser. This handy cleaning solution works wonders thanks to its fine abrasive nature, which lifts tough stains with ease.
To get started, wet the eraser and scrub the affected areas thoroughly. For hard-to-reach spots, consider cutting the Magic Eraser into smaller pieces for more precise application.
- Scrubbing away dark, unsightly rings
- Revealing a sparkling white porcelain surface
- Transforming your toilet into a fresh oasis
- Leaving no residue behind after a thorough flush
Just remember to flush and rinse your toilet after use to guarantee all traces of the cleaning solution are gone. Your toilet will look brand new in no time!
Potential Damage Risks
While Magic Erasers can effectively remove toilet bowl rings, it’s important to recognize the potential damage risks they pose to your toilet’s porcelain surface.
Their abrasive nature may scratch the porcelain, creating tiny grooves where bacteria can thrive. Before using a Magic Eraser, it’s wise to test it on a small, inconspicuous area to guarantee it won’t damage the finish.
When you do use it, avoid excessive scrubbing, which can exacerbate surface wear. After cleaning, make sure to rinse the toilet thoroughly to eliminate any residue.
To maintain the integrity of your toilet, consider using non-abrasive cleaners specifically designed for toilets, allowing you to remove stains without risking scratches or compromising hygiene.
Best Practices for Use
To effectively eliminate toilet bowl rings, start by cutting the Magic Eraser into smaller pieces for better handling and targeted cleaning.
Wet the eraser and scrub the stained areas vigorously to lift and remove the rings. After scrubbing, rinse the toilet bowl thoroughly to guarantee no residue remains, as it could affect future cleanings.
Remember these best practices for use:
- Smaller pieces allow for easier maneuvering.
- Wet the eraser before use for maximum cleaning.
- Thoroughly rinse to prevent residue buildup.
- Avoid exteriors and non-porous surfaces to prevent scratches.
Regular maintenance with a Magic Eraser can keep your toilet bowl looking fresh and make future cleanings easier.
Removing Marks From Walls and Baseboards
If you’re dealing with unsightly marks on your walls and baseboards, a Magic Eraser can be a game changer. It effectively tackles marks from children’s art supplies, fingerprints, and scuff marks, making it a versatile cleaning tool.
However, always test it on an inconspicuous area before applying it to painted walls, as its abrasive surface may strip paint or discolor certain finishes.
For baseboards, the Magic Eraser can eliminate dirt and grime build-up, but use it carefully to avoid scratching.
If your walls have delicate or high-gloss finishes, consider opting for a softer cleaning method, like a microfiber cloth with all-purpose spray, to prevent any potential damage while keeping your space looking pristine. Additionally, using non-toxic cleaners can enhance your cleaning routine while prioritizing family safety.
Caution With Food Preparation Areas
Magic Erasers are highly effective for cleaning various surfaces, but caution is essential when it comes to food preparation areas.
Using a Magic Eraser on countertops or cutting boards can lead to potential issues that compromise food safety and surface integrity.
Using a Magic Eraser on food prep surfaces may compromise safety and damage integrity.
- Harmful residues may linger, risking contamination.
- Abrasive actions could scratch and damage your food preparation surfaces.
- Testing in a hidden area is vital before full application.
- Opt for microfiber cloths or soft sponges with all-purpose cleaners for safer cleaning. Additionally, consider using EPA-certified disinfectants for maintaining cleanliness and safety in your kitchen.
Potential Risks to Delicate Surfaces
While you might think of Magic Erasers as a miracle cleaning tool, they can pose significant risks to delicate surfaces in your home.
Their abrasive nature can scratch or dull glossy finishes on lacquered furniture and high-gloss countertops. If you use a Magic Eraser on stainless steel or glass, you might notice unsightly streaks or scratches that compromise their appearance. Regular maintenance with natural cleaning agents can prevent such damage while enhancing the longevity of your surfaces.
Non-stick cookware is also at risk; using a Magic Eraser can strip away the protective coating, exposing you to harmful chemicals.
Electronics, like laptop screens and tablets, can suffer damage to their finishes and coatings, while painted walls and wood furniture can lose their sheen or develop marks.
Always consider these risks before reaching for a Magic Eraser.
Conclusion
In the grand scheme of things, using a magic eraser in the kitchen can be a real game changer for tackling tough stains and keeping surfaces spotless. Just remember to tread carefully with delicate areas and food prep zones, as they can be a bit finicky. By following these tips, you can make your kitchen shine without breaking a sweat. So go ahead, give it a whirl, and enjoy a cleaner, fresher space!