To disinfect your kitchen sponge, you can microwave it for 1-2 minutes when wet, or run it through the dishwasher on a hot cycle. Alternatively, soak it in vinegar, boiling water, or a bleach solution for effective sanitization. Remember to replace your sponge every 1 to 2 weeks, especially if it smells bad or shows visible damage, as these are signs it’s harboring harmful bacteria. Stick around to find out more about keeping your kitchen sponge hygienic!
Importance of Cleaning Your Kitchen Sponge
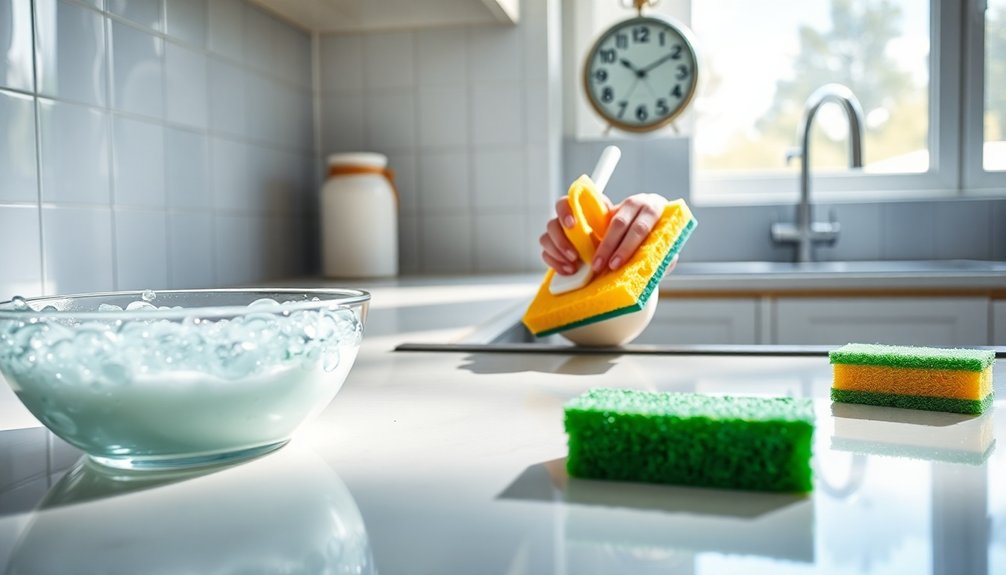
Cleaning your kitchen sponge is essential, especially since it can harbor harmful bacteria, mold, and yeast. Your sponge’s porous nature makes it an ideal breeding ground for pathogens, which can lead to foodborne illnesses.
Studies show that used dish sponges rank among the dirtiest items in any household, spreading germs instead of cleaning them. If you notice an unpleasant odor, it’s a clear sign that bacterial growth is significant, and you should clean or replace it immediately.
Used dish sponges can be among the dirtiest household items, often spreading germs instead of cleaning. If you smell an odor, clean or replace it immediately.
To maintain kitchen hygiene, verify your sponge dries completely between uses. The USDA recommends regular cleaning and sanitizing to reduce microbial hazards and extend your sponge’s usability. Regular use of non-toxic cleaners can help ensure that your sponge remains as sanitary as possible.
Keep your kitchen safe by making sponge hygiene a priority!
Methods to Disinfect Kitchen Sponges
When it comes to disinfecting your kitchen sponge, you’ve got several effective options at your fingertips. You can use the microwave for a quick kill of bacteria, run it through your dishwasher, or try alternative methods like soaking in bleach. Additionally, using eco-friendly disinfectants can ensure that your sponge is sanitized without harsh chemicals. Let’s explore these techniques to keep your sponge fresh and safe for use.
Microwave Sanitization Technique
To effectively disinfect your kitchen sponge, using the microwave is a quick and efficient method. Here’s how to do it safely with your microwave sanitizer:
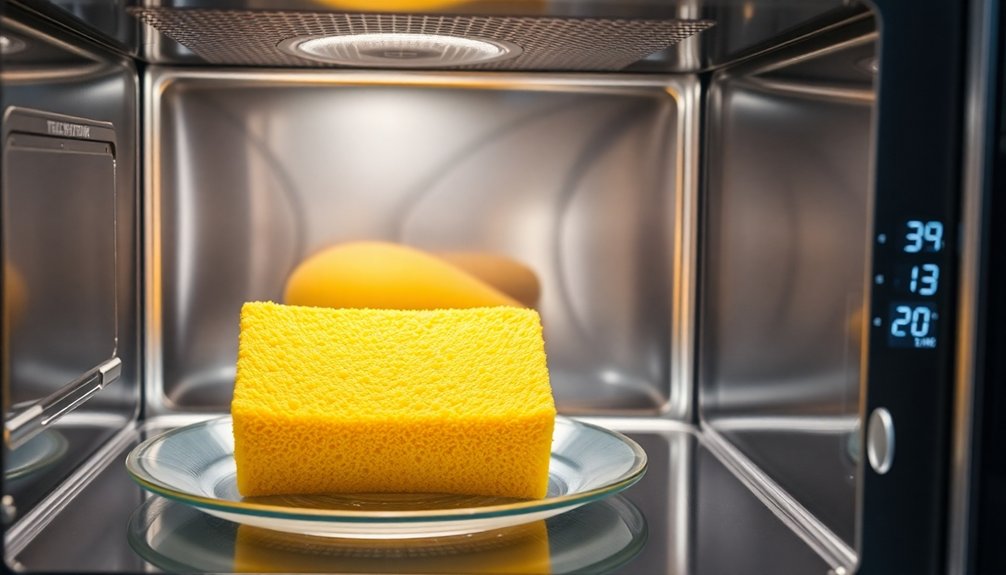
- Wet the Sponge: Verify your sponge is completely wet to prevent fires.
- Use a Microwave-Safe Bowl: Place the sponge in a microwave-safe bowl to catch any steam.
- Microwave: Heat the sponge on high for 1 to 2 minutes. This can kill up to 99.9999% of bacteria and mold.
- Cool Down: Allow the sponge to cool for 10 to 15 minutes before handling to avoid burns.
Dishwasher Cleaning Procedure
Using your dishwasher to disinfect kitchen sponges is a simple and effective method that many people overlook.
To follow this dishwasher cleaning procedure, place your sponge in the top rack, ensuring it’s safe and secure. Opt for the hottest and longest cycle available to maximize sanitation.
Enabling the additional dry cycle can eliminate up to 99.9998% of harmful microbes, enhancing the cleaning process. Don’t forget to add dishwasher detergent; it helps remove food particles and odors from the sponge.
It’s best to clean your sponges in the dishwasher every few days to prevent bacterial buildup. Regularly using this method contributes to a healthier kitchen environment by minimizing the risk of cross-contamination.
Alternative Sanitizing Methods
While the dishwasher is a convenient option for disinfecting kitchen sponges, there are several alternative methods you can use to guarantee they stay germ-free.
Here are some effective alternative sanitizing methods:
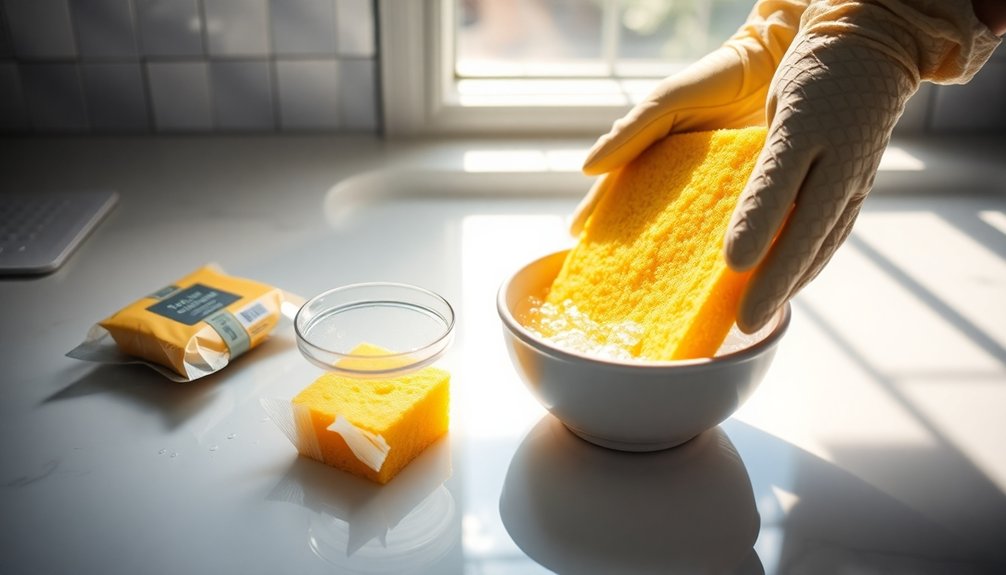
- Vinegar Soak: Soak your sponge in white vinegar for 5 to 7 minutes, then rinse with hot water and air dry.
- Boiling Water: Submerge the sponge in boiling water for 5 to 7 minutes to kill most bacteria.
- Microwaving: Microwave a wet sponge for 90 seconds to eliminate about 99.9999% of bacteria.
- Bleach Solution: Mix 1 tablespoon of bleach with 1 quart of water, soak the sponge for a few minutes, then rinse thoroughly.
These methods are quick and effective, ensuring your sponges remain clean and safe for use.
Microwave Sanitization Guidelines
Microwave sanitization is an effective method for disinfecting kitchen sponges, as it can eliminate up to 99.9999% of harmful bacteria and mold.
Before you microwave, make sure the sponge is completely wet and free of any metallic materials to avoid fire hazards. Place the sponge in a microwave-safe bowl filled with water to prevent it from catching fire.
Microwave the sponge on high for 1 to 2 minutes for best results. After microwaving, let the sponge cool for 10 to 15 minutes before handling to avoid burns. Regular microwave sanitization greatly reduces the risk of foodborne illnesses caused by contaminated sponges, keeping your kitchen safe and clean. Additionally, ensuring effective grease management is vital for maintaining a hygienic cooking environment.
Dishwasher Sanitization Guidelines
To effectively sanitize your kitchen sponge in the dishwasher, place it on the top rack for best cleaning. Use the hottest cycle setting available to guarantee maximum bacteria elimination. You can also enable the dry cycle for extra heat, which helps kill any lingering germs. Additionally, incorporating regular use of enzyme cleaners can help maintain kitchen hygiene and prevent the buildup of bacteria on sponges.
Top Rack Placement
When you want to effectively sanitize your kitchen sponge, placing it in the top rack of the dishwasher is crucial. This guarantees that the sponge receives adequate water circulation and heat during the cleaning cycle.
Here are a few tips for ideal sanitization:
- Always use the top rack to prevent the sponge from being damaged by intense heat from the bottom elements.
- Opt for the hottest and longest cycle available to maximize bacteria elimination.
- Enable the additional dry cycle option to help eradicate lingering microbes.
- Regularly sanitizing sponges in the dishwasher can maintain kitchen hygiene and prevent the spread of germs.
Hottest Cycle Settings
Selecting the hottest cycle settings on your dishwasher is essential for effectively sanitizing your kitchen sponge.
To maximize cleaning efficiency, always opt for the longest cycle available. This method can eliminate up to 99.9998% of microbes, making it a reliable choice for maintaining sponge hygiene.
Be sure to place your sponges on the top rack, ensuring they receive ideal cleaning without the risk of damage from intense heat below.
Regularly sanitizing sponges in the dishwasher not only helps keep your sponges fresh but also contributes to overall kitchen cleanliness.
Dry Cycle Benefits
Utilizing the dry cycle in your dishwasher greatly boosts the sanitization of your kitchen sponges. By enabling this feature, you can guarantee your sponges aren’t just clean but also free from harmful bacteria.
Here are some key benefits of the dry cycle:
- High Heat: It eliminates remaining moisture, which can harbor bacteria.
- Microbe Reduction: When combined with the hottest wash, it can kill up to 99.9998% of microbes.
- Complete Drying: Guarantees sponges are completely dry before storage, reducing bacterial growth.
- Extended Lifespan: Prevents deterioration caused by prolonged moisture exposure.
Regularly using the dry cycle promotes ideal hygiene for your kitchen sponges, helping you maintain a healthier kitchen environment.
Alternative Cleaning Methods
While traditional cleaning methods can be effective, exploring alternative options for disinfecting your kitchen sponge can save you time and enhance hygiene.
One popular method is soaking the sponge in white vinegar for 5 to 7 minutes, then rinsing it with hot water.
You can also submerge your sponge in boiling water for 5 to 7 minutes to kill harmful bacteria and reduce odors.
If you prefer using a dishwasher, place the sponge on the top rack and run the longest cycle with high heat.
For a quick disinfection, try the microwave method: rinse the sponge, place it on a microwave-safe dish, and microwave for 90 seconds.
Just remember, avoid using metallic scrub pads in the microwave! Additionally, consider using natural cleaning agents like vinegar for an eco-friendly approach to sponge sanitation.
Frequency of Sponge Replacement
You should replace your kitchen sponge every 1 to 2 weeks to keep bacteria at bay. Watch for signs like an unpleasant odor or visible damage, which indicate it’s time to toss it. Organizing your sponge storage can help you track their lifespan and guarantee you replace them on schedule. Regularly replacing your sponge reduces the risk of harmful bacteria that can lead to infections.
Signs of Sponge Wear
Kitchen sponges can harbor harmful bacteria if not replaced regularly, so it’s crucial to recognize the signs of wear.
Here are key indicators that it’s time to toss your sponge:
- Fraying Edges or Holes: These imperfections can trap bacteria, making cleaning less effective.
- Unpleasant Odor: If your sponge smells bad, it’s a sure sign that harmful germs are multiplying.
- Color Change: A noticeable change in color can indicate deterioration, suggesting it’s time for a new sponge.
- Stains or Discoloration: Visible stains may mean your sponge is harboring bacteria, especially if you use it for dishes daily.
Recommended Replacement Schedule
Replacing your kitchen sponge every 1 to 2 weeks is essential for maintaining a clean and healthy cooking environment. Following this recommended replacement schedule helps prevent the buildup of harmful bacteria and unpleasant odors.
If your sponge shows signs of wear, damage, or starts to smell, toss it immediately to keep your kitchen hygienic. Remember, sponges can harbor a high concentration of germs, including fecal coliform, so it’s vital to stay on top of replacements.
To make managing sponges easier, consider using different colored sponges for specific tasks. This not only helps in organizing their lifespan but also prevents cross-contamination in your kitchen.
Keep your sponges fresh and your cooking space safe!
Organizing Sponge Storage Solutions
Keeping sponges organized is key to maintaining hygiene and ensuring timely replacements. To make this easier, consider these tips for sponge storage solutions:
- Dedicated Storage: Use a specific drawer or container to keep your sponges together, making it easy to check their condition.
- Color Coding: Assign different colored sponges for various tasks—like dishes and surfaces—to minimize cross-contamination.
- Regular Checks: Monitor your sponges weekly for any signs of damage or odor, and replace them every 1 to 2 weeks.
- Set Reminders: Use your phone or calendar to remind you when it’s time to replace your sponges, reducing harmful bacteria buildup.
With these practices, you’ll promote kitchen cleanliness and safety effectively.
Signs It’s Time to Replace Your Sponge
A reliable sponge is essential for maintaining a clean kitchen, but it’s important to know when it’s time to toss it. Watch for clear signs it’s time to replace your sponge.
If you notice any unpleasant odors, that’s a sign of high bacteria levels, and you should discard it immediately. Visible wear or damage, like fraying or breaking apart, also indicates it’s time to go.
Unpleasant odors or visible wear on your sponge are clear signs it’s time to replace it for better kitchen hygiene.
Ideally, you should change your sponge every 1 to 2 weeks, depending on how much you use it, to prevent microbial buildup. Additionally, if your sponge has cleaned up raw meat, poultry, or fish, replace it right away to avoid cross-contamination. Regularly replacing sponges keeps your kitchen hygienic and safe. Moreover, maintaining a clean kitchen environment helps prevent grease accumulation, which is crucial for avoiding unpleasant odors and pests.
Health Risks Associated With Dirty Sponges
Dirty sponges are a breeding ground for bacteria, which can jeopardize your health. Here are some potential risks you should be aware of:
- Bacterial Overload: A sponge can harbor over 54 billion bacteria per square centimeter, including harmful coliforms.
- Cross-Contamination: Heterotrophic bacteria can transfer to food, increasing the risk of foodborne illnesses.
- Unpleasant Odors: A smelly sponge signals bacterial contamination and potential hazards, indicating it’s time for a change.
- Increased Illness Risk: Using dirty sponges raises the likelihood of spreading harmful pathogens, compromising your kitchen hygiene.
Regularly sanitizing and replacing your sponges is essential to mitigate these health risks associated with dirty sponges. Additionally, using effective disinfectants such as Clorox Clean-Up Cleaner + Bleach can help ensure that your kitchen surfaces are safe from harmful bacteria.
Environmental Considerations for Sponge Use
While you focus on maintaining a clean kitchen, it’s important to contemplate the environmental impact of your sponge choices.
Opting for cellulose sponges can greatly reduce environmental waste since they’re biodegradable and compostable. Rinsing sponges thoroughly before disposal allows you to compost them, contributing to more sustainable waste management.
Being mindful of the carbon footprint associated with cleaning supplies can steer you toward eco-friendly options, further minimizing your impact. Balancing cleanliness with environmental considerations is key; avoiding disposable cleaning products helps cut down on waste.
Proper disposal of contaminated sponges not only mitigates potential environmental harm but also promotes responsible waste practices. By making informed choices, you can keep your kitchen clean without compromising the planet’s health. Additionally, using eco-friendly cleaning products can enhance indoor air quality and demonstrate a commitment to sustainability.
Expert Recommendations for Sponge Hygiene
Keeping your kitchen sponge clean is essential for preventing the spread of bacteria and ensuring food safety. To maintain ideal hygiene, follow these expert recommendations:
- Sanitize Daily: Experts recommend disinfecting your kitchen sponges every day to minimize bacterial growth.
- Microwave Method: Heat sponges in the microwave for 1-2 minutes to kill off harmful bacteria effectively.
- Dishwasher Cycle: Run sponges through the dishwasher on the hottest cycle to sanitize them.
- Replace Regularly: Change kitchen sponges every 1 to 2 weeks to reduce the risk of foodborne illnesses. Regular cleaning prevents grime and stains build-up, which can enhance hygiene in your kitchen.
Conclusion
Your kitchen sponge is like a hidden treasure chest, harboring both germs and good intentions. By disinfecting it regularly—whether in the microwave’s steamy embrace or the dishwasher’s swirling waters—you’re not just cleaning; you’re safeguarding your health. But remember, when it starts to fray or smells off, it’s time to bid it farewell. Embrace a fresh sponge, and you’ll keep your kitchen sparkling and safe, turning your cooking space into a clean, vibrant haven.