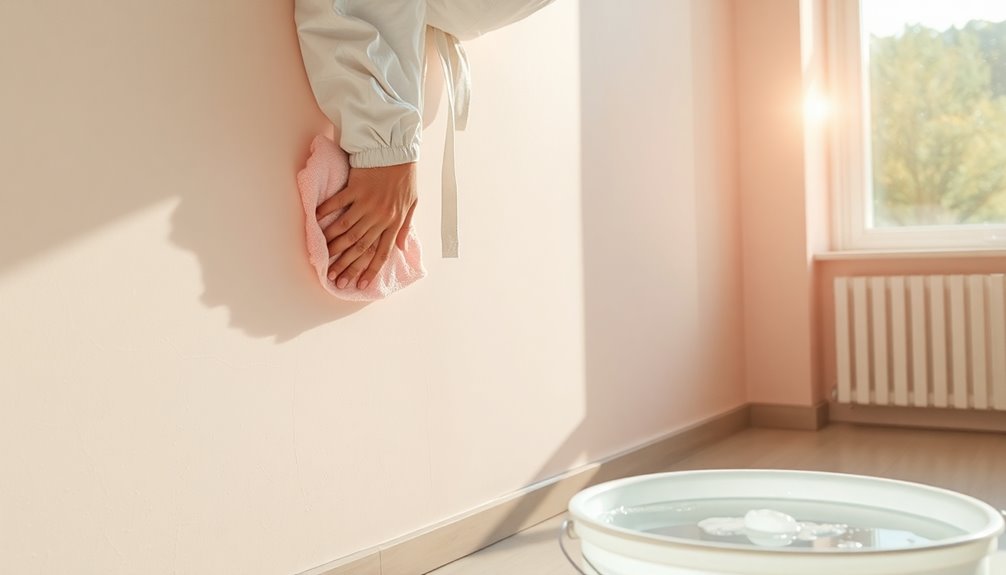
To wash walls without leaving marks, start with a soft microfiber cloth or sponge to avoid scratches. Use a pH-balanced cleaner or a mixture of vinegar and water. Work in small sections and wipe in circular motions, rinsing your cloth frequently. For tough stains, a baking soda paste or magic eraser can help. Don’t forget to protect your floors and clear the area first. If you want to learn more tips for effective cleaning, keep going!
Why Regular Wall Cleaning Is Important
While you mightn’t think about it often, regular wall cleaning is essential for maintaining a fresh and inviting home environment. Dust, fingerprints, and stains can accumulate, compromising your walls’ aesthetic appeal.
By prioritizing wall maintenance, you not only enhance the overall look of your space but also prolong the life of your paint and wallpaper. Clean walls create a welcoming atmosphere, making your home feel well cared for and inviting to guests. Plus, it can help identify any potential issues, like mold or damage, before they escalate. Neglecting this task can lead to a dull and unkempt appearance, detracting from the beauty of your home. Additionally, maintaining clean walls contributes to a reduced stress and anxiety environment, promoting overall well-being.
What Tools Do You Need for Wall Washing?
To effectively wash your walls, you’ll need a few essential tools to guarantee the job is done right.
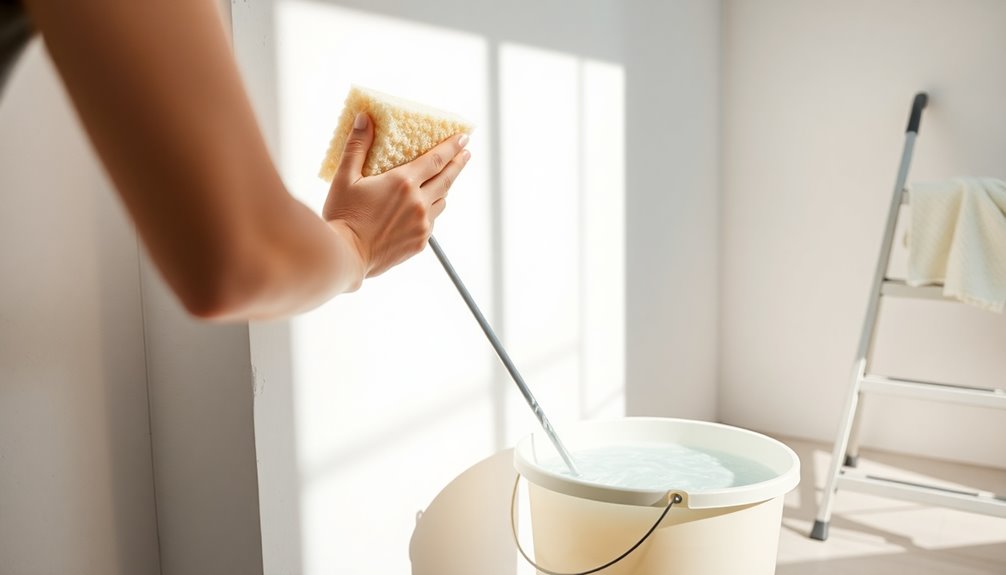
Start with a soft microfiber cloth or sponge—these are great wall cleaning tools that won’t scratch your paint. A bucket for your cleaning solution is vital, too, as it keeps things organized.
Begin with a soft microfiber cloth or sponge to avoid scratching your paint, and use a bucket to keep your cleaning solution organized.
Consider a long-handled mop for hard-to-reach areas; it makes wall washing techniques easier and keeps you from stretching too much. A step ladder can also be handy for taller walls.
Don’t forget some protective gear like gloves to keep your hands safe. Additionally, always test cleaning solutions on an inconspicuous area first to ensure they won’t damage your paint.
With these tools in hand, you’re well on your way to achieving clean, mark-free walls. Happy cleaning!
Choosing the Right Cleaning Solution
When it comes to washing your walls, picking the right cleaning solution is key. You’ve got options, from natural cleaners to commercial products, each with its own benefits. Understanding the importance of pH-balanced cleaners can help you maintain your walls without causing damage. Incorporating eco-friendly practices can also enhance your cleaning routine while being gentle on your walls.
Natural Cleaning Solutions
Choosing the right natural cleaning solution can make a significant difference in how effectively you wash your walls.
Using homemade solutions with natural ingredients not only guarantees safety but also leaves your walls sparkling clean. Here are some effective options to take into account:
- Vinegar and Water: Mix equal parts for a streak-free shine.
- Baking Soda Paste: Combine baking soda with water for tough stains.
- Castile Soap: A few drops in warm water create a gentle yet effective cleaner.
- Lemon Juice: Its natural acidity cuts through grime and leaves a fresh scent.
These natural cleaning solutions are easy to make, eco-friendly, and help you maintain a clean, healthy home without harsh chemicals.
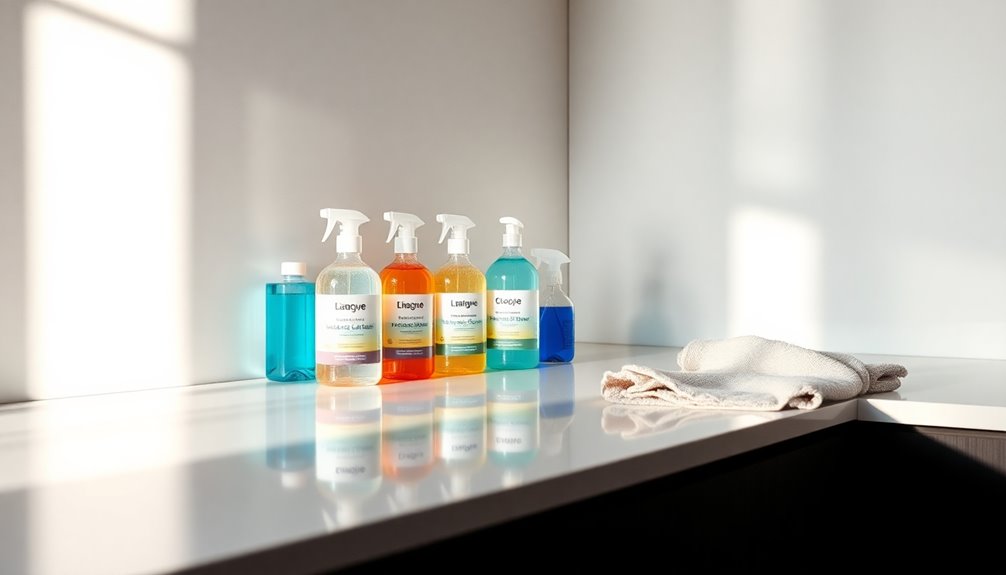
Commercial Products Overview
While natural cleaning solutions are a great start, commercial products can offer specific formulations designed for different wall materials and stains.
When choosing a cleaner, consider your wall type—whether it’s painted, wallpapered, or textured—as this can affect the product’s effectiveness.
Many commercial brands provide eco-friendly options that reduce environmental impact without sacrificing cleaning power.
Look for labels that highlight biodegradable ingredients and non-toxic formulas, ensuring safety for your family and pets.
Additionally, some products are specially designed for tough stains like grease or crayon marks, making your task easier.
By selecting the right commercial cleaner, you’ll achieve spotless walls without leaving unwanted marks or damage.
Make sure to follow the manufacturer’s instructions for the best results.
pH-Balanced Cleaners Importance
Understanding the importance of pH-balanced cleaners can make a significant difference in maintaining your walls. Using the right cleaner not only guarantees cleaner effectiveness but also protects your wall surfaces.
Here’s why you should choose pH-balanced options:
- Prevents Damage: Harsh cleaners can strip paint or finish, while pH-balanced solutions are gentle.
- Enhances Longevity: Maintaining the pH balance helps preserve the wall’s integrity over time.
- Reduces Streaks: A balanced cleaner minimizes residue, leaving your walls spotless.
- Safe for All Surfaces: pH-balanced formulas are versatile and suitable for various materials.
How to Prepare Your Walls for Cleaning
Before you start washing your walls, clear the area of any furniture or decorations to prevent damage.
Once the space is ready, gather the right cleaning tools to make the job easier. A well-organized space can enhance overall efficiency, making the cleaning process smoother and more effective.
With everything set, you’ll be prepared for a thorough clean.
Clear The Area First
To guarantee a smooth wall-cleaning process, you’ll want to clear the area around your walls first. This wall preparation step guarantees you have enough space to work without obstacles, and it protects your belongings from potential damage.
Here’s how to do it effectively:
- Remove furniture: Shift couches, tables, and chairs away from the walls.
- Take down wall décor: Remove pictures, mirrors, and shelves to avoid accidental breakage.
- Protect the floor: Lay down drop cloths or old sheets to catch drips and dirt.
- Clear pathways: Confirm you have enough space to move freely while cleaning.
Choose Suitable Cleaning Tools
Choosing the right cleaning tools is essential for making your wall-cleaning task efficient and effective. Start with a microfiber cloth or sponge, as these materials won’t scratch your walls and provide excellent wall coverage.
For larger areas, consider using a mop with a washable pad, which can reach high spots without a ladder. Don’t forget a bucket filled with warm, soapy water; it’s perfect for rinsing your tools and keeping your walls clean.
If your walls have tough stains, a soft-bristle brush can help lift dirt without damaging the paint. Remember, using the right cleaning tools not only saves time but also guarantees you achieve a spotless finish without leaving marks.
Step-by-Step Guide to Washing Walls
Washing your walls can transform a room’s appearance in just a few simple steps. Follow these wall cleaning techniques for a spotless finish:
- Dust the Walls: Start with a microfiber cloth or broom to remove dust and cobwebs.
- Prepare Your Solution: Mix warm water with a few drops of mild dish soap in a bucket.
- Wash in Sections: Use a sponge or soft cloth, starting at the top and working your way down. Rinse frequently to avoid streaks.
- Dry the Wall: Use a clean towel to gently dry the area, ensuring no moisture lingers. Regular maintenance, such as squeegeeing tiles, can help reduce moisture buildup and prolong cleanliness.
These wall maintenance tips will help keep your walls looking fresh and clean for longer.
Happy cleaning!
Techniques for Different Wall Finishes
When washing walls, the finish matters more than you might think.
For flat paint, gentle techniques work best, while glossy finishes require a different approach to avoid streaks. Regular cleaning habits can help maintain the wall’s appearance and prevent food buildup that might lead to more stubborn stains down the line.
Let’s explore the right methods for each type so you can achieve a spotless look.
Flat Paint Techniques
Flat paint can add a smooth, elegant finish to your walls, but it also requires specific techniques for effective cleaning.
To maintain flat paint durability and guarantee your walls look fresh, follow these steps:
- Dust the Walls: Use a microfiber cloth or duster to remove loose dirt and cobwebs.
- Prepare a Gentle Cleaning Solution: Mix warm water with a few drops of mild dish soap.
- Test in a Small Area: Before washing the entire wall, test your solution on a hidden spot to check for any adverse reactions.
- Wipe Gently: Using a soft sponge, lightly wipe the wall in a circular motion to avoid streaks.
Glossy Finish Methods
While glossy finishes can create a striking look that enhances light in a room, they also require specific care to maintain their shine.
To clean glossy surfaces effectively, start by dusting with a microfiber cloth to remove loose debris. For stubborn stains, use a mixture of warm water and a few drops of mild dish soap. Avoid abrasive cleaners, as they can scratch the finish.
Dampen a soft sponge in the solution, wring it out, and gently wipe the wall in circular motions. Rinse the sponge frequently to prevent spreading dirt.
After cleaning, dry the surface with a clean, dry cloth to prevent streaks. By using these cleaning techniques, you’ll keep your glossy finishes looking fresh and vibrant.
Tips for Removing Stubborn Stains
Stubborn stains on walls can be a real eyesore, but tackling them doesn’t have to be an intimidating task.
With the right stain removal techniques, you can restore your walls to their former glory. Here are some effective cleaning techniques to evaluate:
- Baking Soda Paste: Mix baking soda with water to form a paste. Apply it to the stain and gently scrub.
- Vinegar Solution: Combine equal parts of white vinegar and water in a spray bottle. Spray and wipe with a microfiber cloth.
- Dish Soap Mix: Blend a few drops of dish soap with warm water. Use a sponge to clean the stained area.
- Magic Eraser: Lightly rub a magic eraser on the stain for quick results.
Additionally, regular use of effective cleaning agents can prevent tough stains from forming, helping keep your walls looking fresh.
Try these methods, and you’ll see those stubborn stains disappear!
How to Avoid Streaks While Cleaning
To achieve streak-free walls, start by using the right tools and techniques. For effective streak prevention, choose a quality cleaner specifically designed for walls. Mix it according to the instructions, avoiding overly concentrated solutions that can leave residue.
Achieve streak-free walls by using the right cleaner and mixing it correctly to avoid residue.
When you begin cleaning, work in small sections, using a consistent motion—up and down or side to side. This helps distribute the cleaner evenly.
Using a damp microfiber cloth can enhance your results; it absorbs dirt without leaving lint behind. Rinse your cloth frequently to prevent dirt buildup, which can cause streaks.
Finally, be sure to dry the walls with a clean, dry cloth to eliminate any lingering moisture. Following these cleaning techniques will leave your walls looking fresh and streak-free. Incorporating a consistent cleaning routine can also help maintain clarity and avoid buildup over time.
The Best Cloths and Sponges to Use
When it comes to washing walls, the right cloths and sponges make all the difference. Microfiber cloths are your best bet for trapping dirt without scratching surfaces, while choosing the right sponge can help you tackle tough spots effectively. Additionally, using microfiber cloths can enhance your overall cleaning efficiency by improving dust trapping and surface care. Let’s explore how to pick the best options for your cleaning task.
Microfiber Cloth Benefits
Microfiber cloths are a game changer for wall cleaning, offering unmatched versatility and effectiveness. Their unique fibers provide excellent microfiber durability and absorption, making them perfect for tackling dirt and grime without leaving marks.
Here’s why you should use them:
- Highly absorbent: They soak up liquid quickly, reducing streaks on your walls.
- Gentle on surfaces: Their soft texture won’t scratch your paint or finish.
- Durable: You can wash and reuse them multiple times, saving you money.
- Efficient: They capture dust and allergens, leaving your space cleaner.
Switching to microfiber cloths can make wall cleaning easier and more effective, ensuring your walls look pristine after every wash.
Choosing The Right Sponge
Next, think about sponge shapes. A flat sponge works well for large, flat areas, while a corner sponge can reach tight spots and edges easily.
You might also want a sponge with a handle for better grip and leverage.
When to Use a Pressure Washer?
Using a pressure washer can be an effective way to tackle tough grime on your walls, especially when you’re dealing with stubborn mold, mildew, or years of accumulated dirt.
Using a pressure washer effectively removes tough grime, mold, and years of dirt from your walls.
However, you should consider using one in these situations:
- Heavy Stains: When dirt and stains won’t budge with regular cleaning.
- Mold and Mildew: If you notice persistent growth that regular washing can’t eliminate.
- Outdoor Walls: For exterior surfaces where dirt builds up more quickly.
- Frequent Washings: If your walls need attention more than twice a year, a pressure washer may save you time. Additionally, using eco-friendly methods can help prevent environmental impact while cleaning effectively.
How to Clean Walls With Wallpaper
Cleaning walls with wallpaper can be a delicate task, but with the right approach, you can refresh their appearance without damaging the material.
Start by identifying your wallpaper types; vinyl wallpapers are more durable and can handle a bit of moisture, while fabric or paper types require extra caution.
For general maintenance, dust the walls with a soft cloth or a vacuum with a brush attachment.
When deeper cleaning is needed, mix a mild soap solution and gently wipe with a damp sponge, testing a small area first.
Rinse with a clean, damp cloth to avoid residue.
Always remember to dry the walls to prevent water damage.
Regular maintenance keeps your wallpaper looking fresh and vibrant!
Eco-Friendly Cleaning Alternatives
While you might think that effective wall cleaning requires harsh chemicals, there are plenty of eco-friendly alternatives that can do the job just as well.
Using eco-friendly ingredients not only protects your walls but also supports sustainable practices. Here are four great options to explore:
Using eco-friendly ingredients safeguards your walls while promoting sustainable practices. Explore these natural cleaning options for a greener home.
- Vinegar and Water: Mix equal parts for a natural disinfectant that cuts through grime.
- Baking Soda Paste: Combine baking soda with water to create a gentle abrasive for stubborn stains.
- Castile Soap: This plant-based soap is perfect for a deep clean without harmful residues.
- Lemon Juice: Its natural acidity helps brighten and freshen up your walls.
How Often Should You Wash Your Walls?
When it comes to maintaining a clean home, knowing how often to wash your walls is essential for keeping your space looking fresh.
Ideally, you should aim for a wall maintenance frequency of every six months, but it can vary based on your lifestyle. If you have kids or pets, consider a wall cleaning schedule of every three to four months to tackle smudges and stains.
In high-traffic areas like hallways, more frequent cleaning is a good idea. Don’t forget to inspect your walls regularly; if you notice dirt or fingerprints, it’s time to grab your cleaning supplies.
Staying on top of wall cleaning helps maintain your home’s overall appearance and can prolong your paint’s life.
Troubleshooting Common Wall Cleaning Issues
Even with a regular cleaning schedule, you might run into some common issues when washing your walls. To tackle these, focus on proper wall prep and effective spot cleaning techniques. Here’s what you can do:
- Streaks: Use a microfiber cloth and clean in a circular motion to avoid leaving marks.
- Dirt Residue: Verify your cleaning solution is well-diluted; too much soap can leave a film.
- Paint Damage: Test any cleaning product in a hidden area first to avoid damaging the paint.
- Water Marks: Wipe with a dry cloth immediately after washing to prevent water spots.
Final Touches: Inspecting and Touching Up Your Walls
After you’ve cleaned your walls, it’s essential to inspect them for any imperfections that may need attention.
Start your final inspection by looking for scuffs, stains, or uneven areas. Use good lighting to spot any issues more easily.
Begin your inspection by searching for scuffs, stains, or uneven patches, utilizing good lighting for optimal visibility.
For minor marks or chips, apply touch-up techniques like using a small brush to dab paint onto the affected areas. Be certain to blend in the paint with the surrounding wall for a seamless finish.
If you notice larger problems, consider repainting that section entirely.
Once you’ve done your touch-ups, step back and admire your work. This final step guarantees your walls look pristine, enhancing the overall appearance of your space.
Conclusion
Washing your walls doesn’t just keep your space looking fresh; it can also improve air quality by removing dust and allergens. In fact, studies show that clean walls can reduce indoor dust levels by up to 30%. By following the right techniques and using the right tools, you can achieve a spotless finish without any marks. So, grab your supplies and make wall cleaning a regular part of your home maintenance routine!